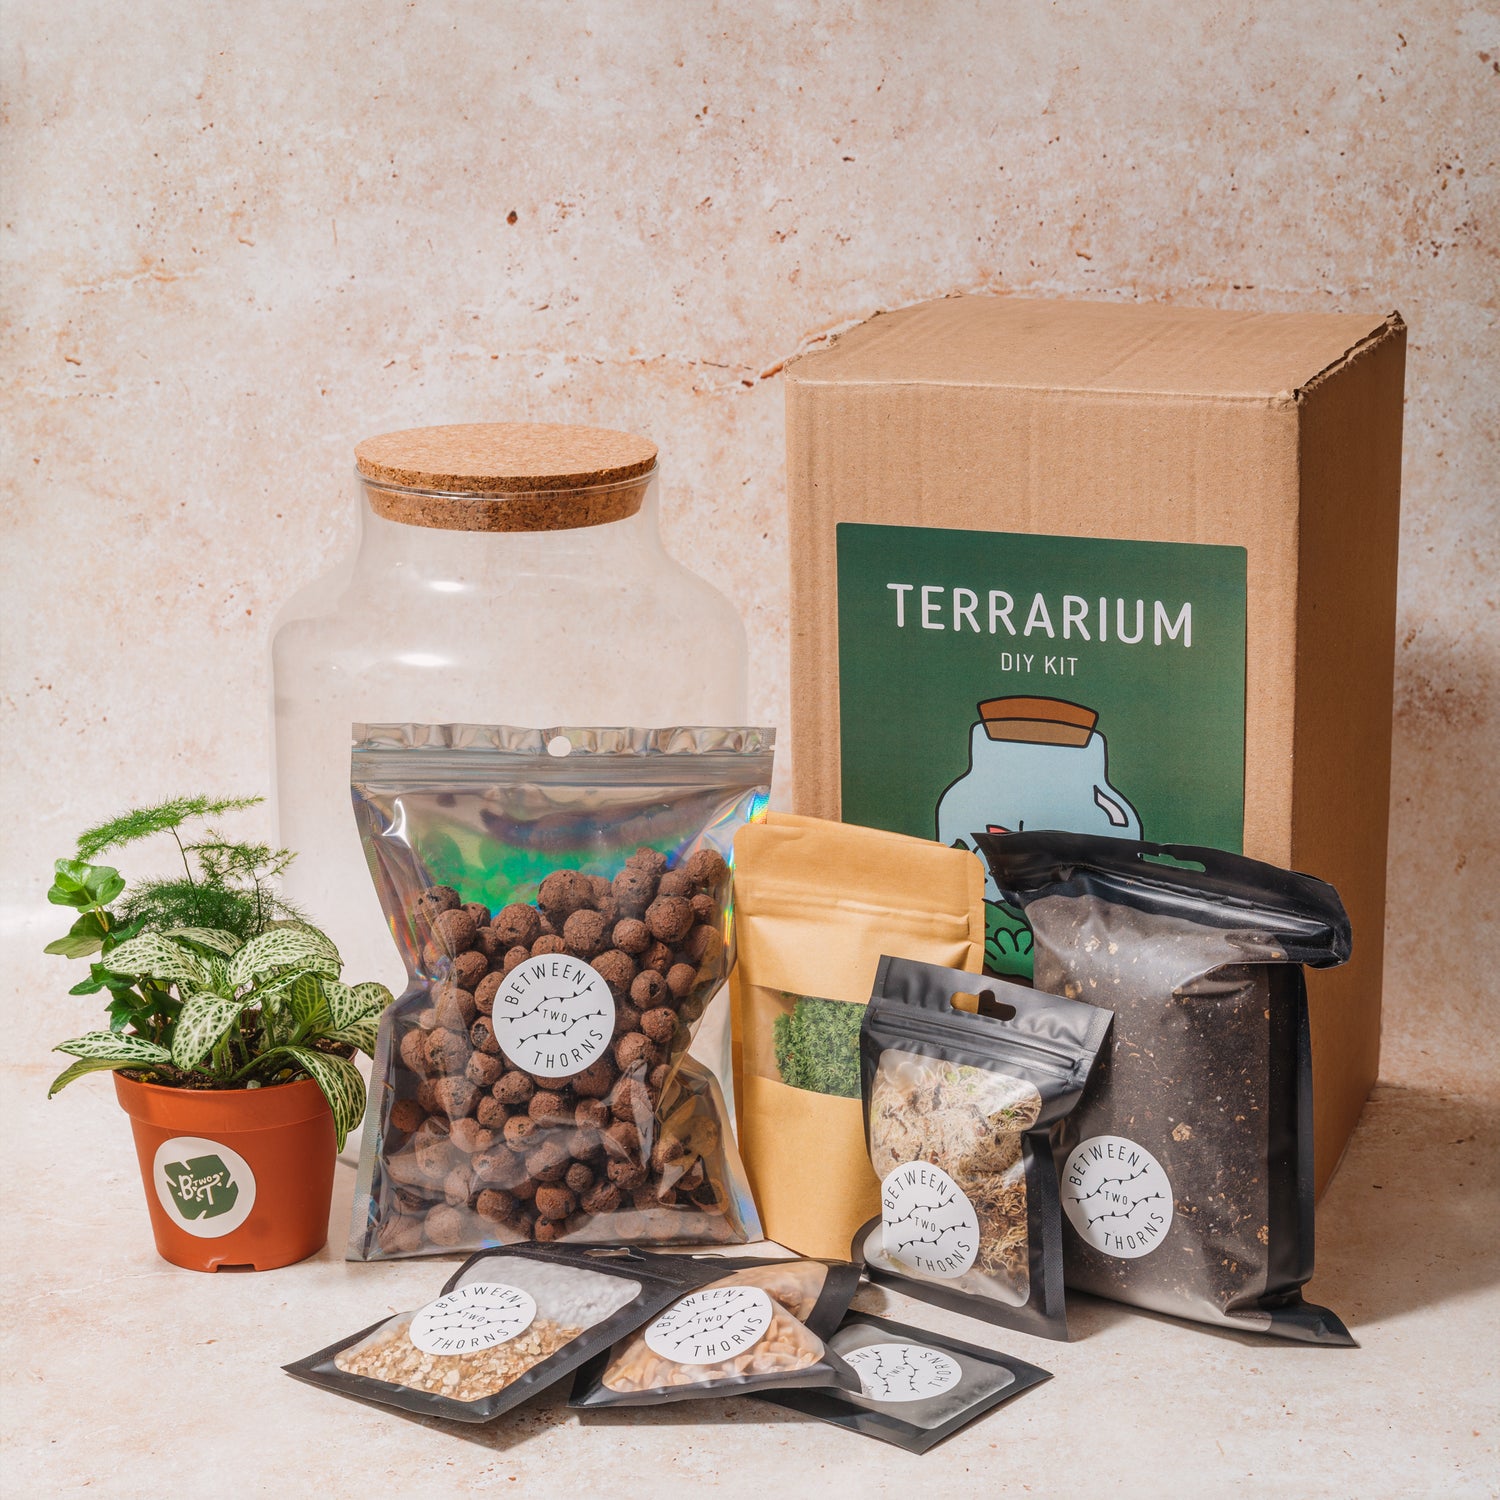
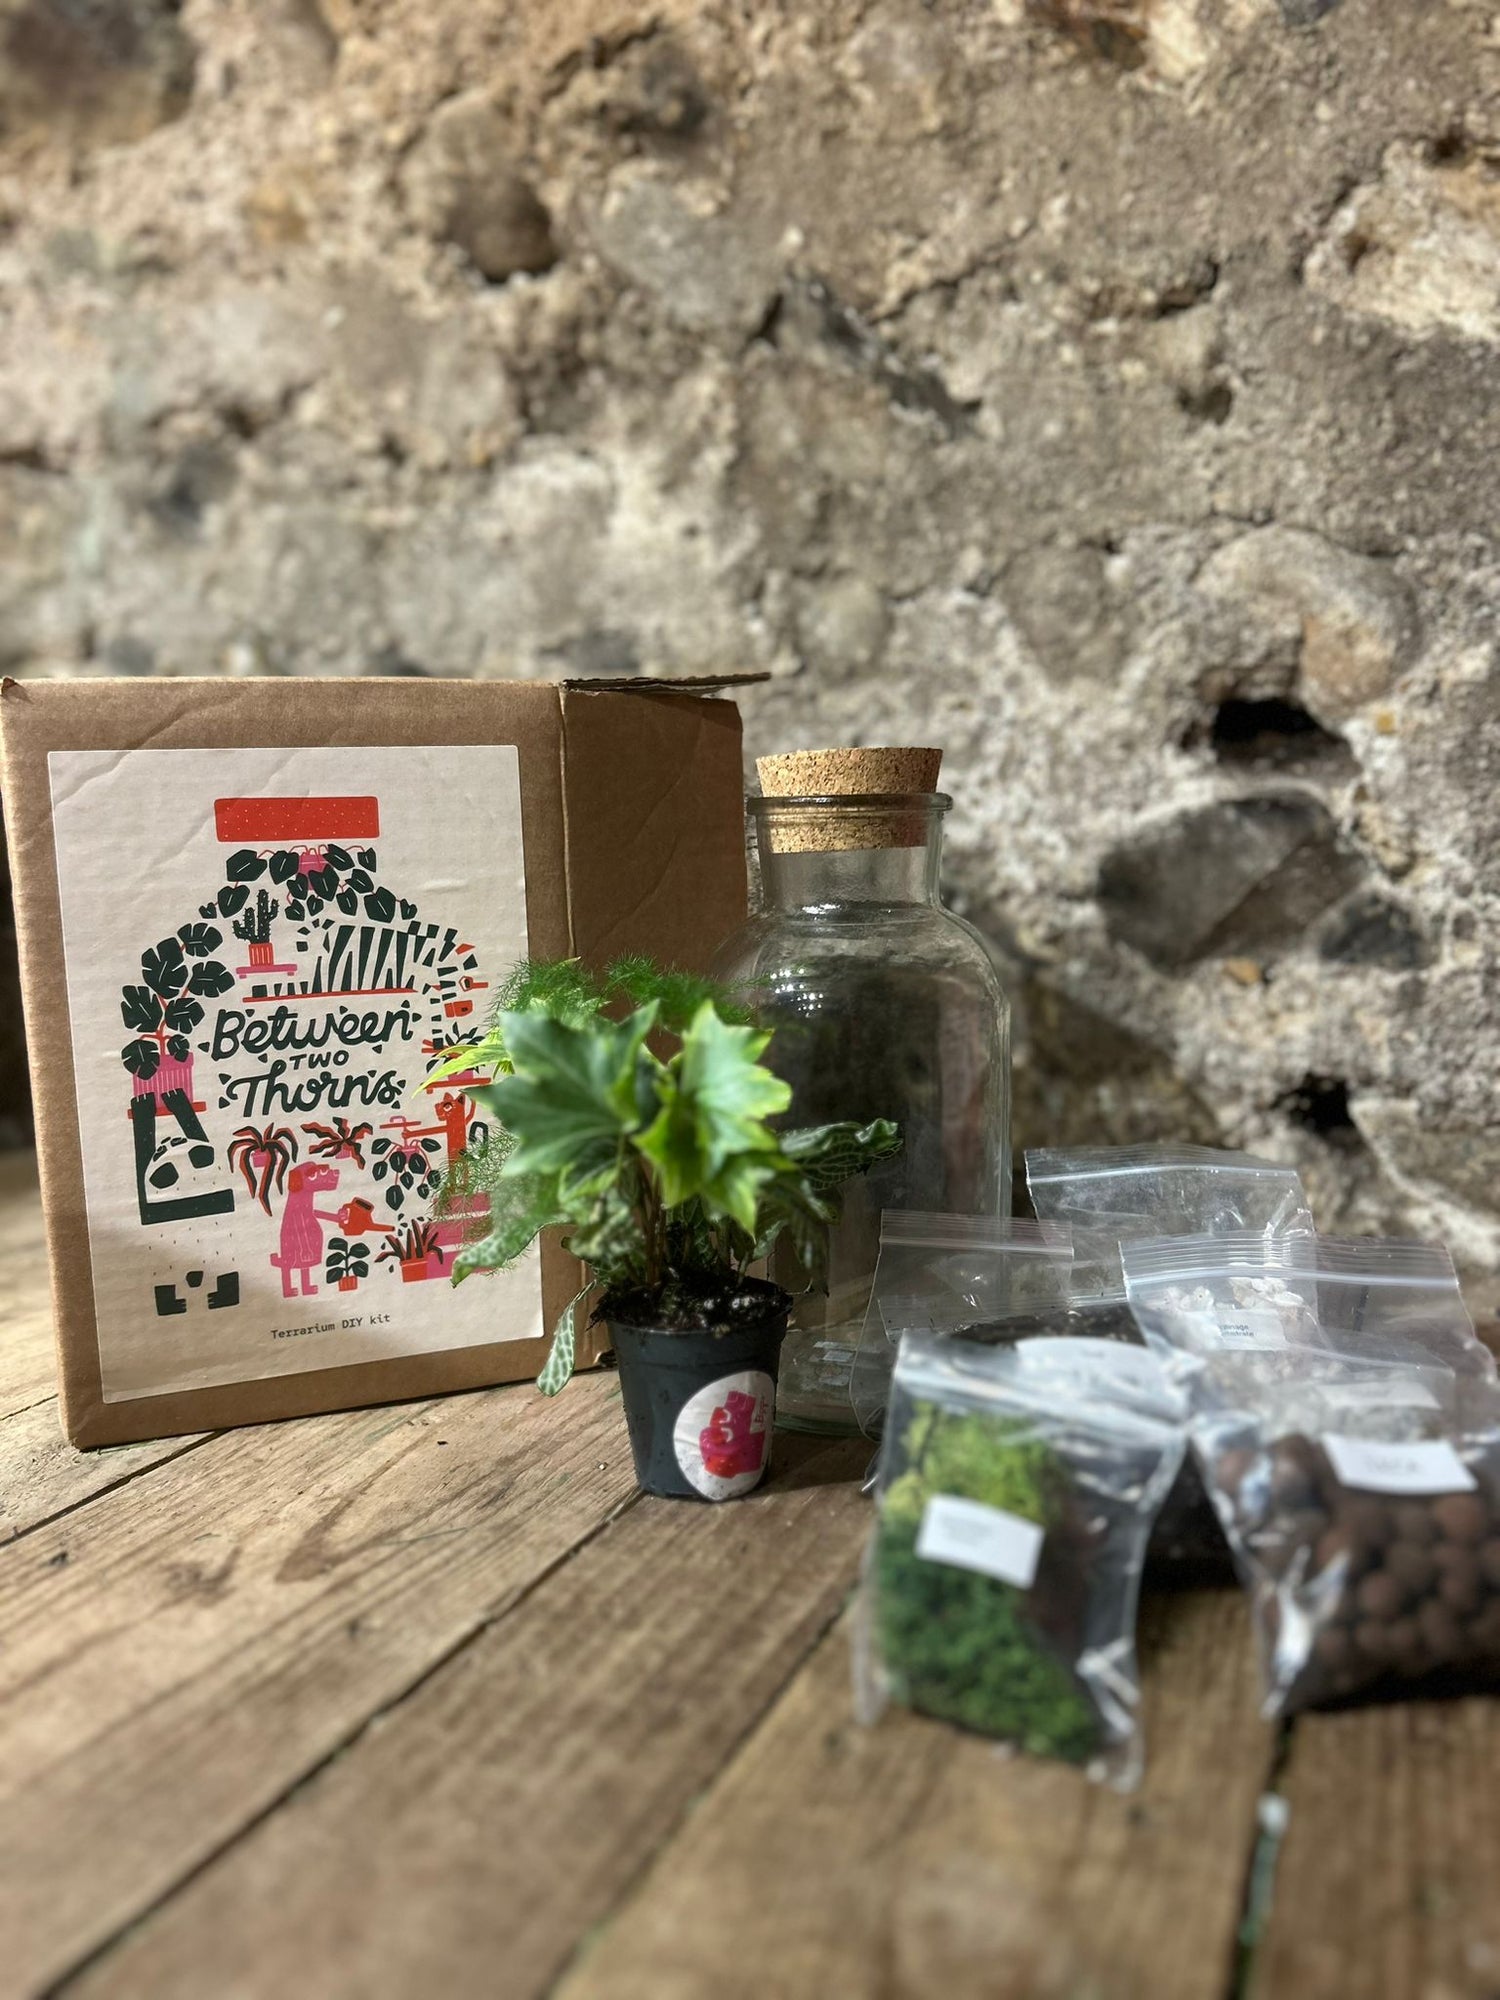
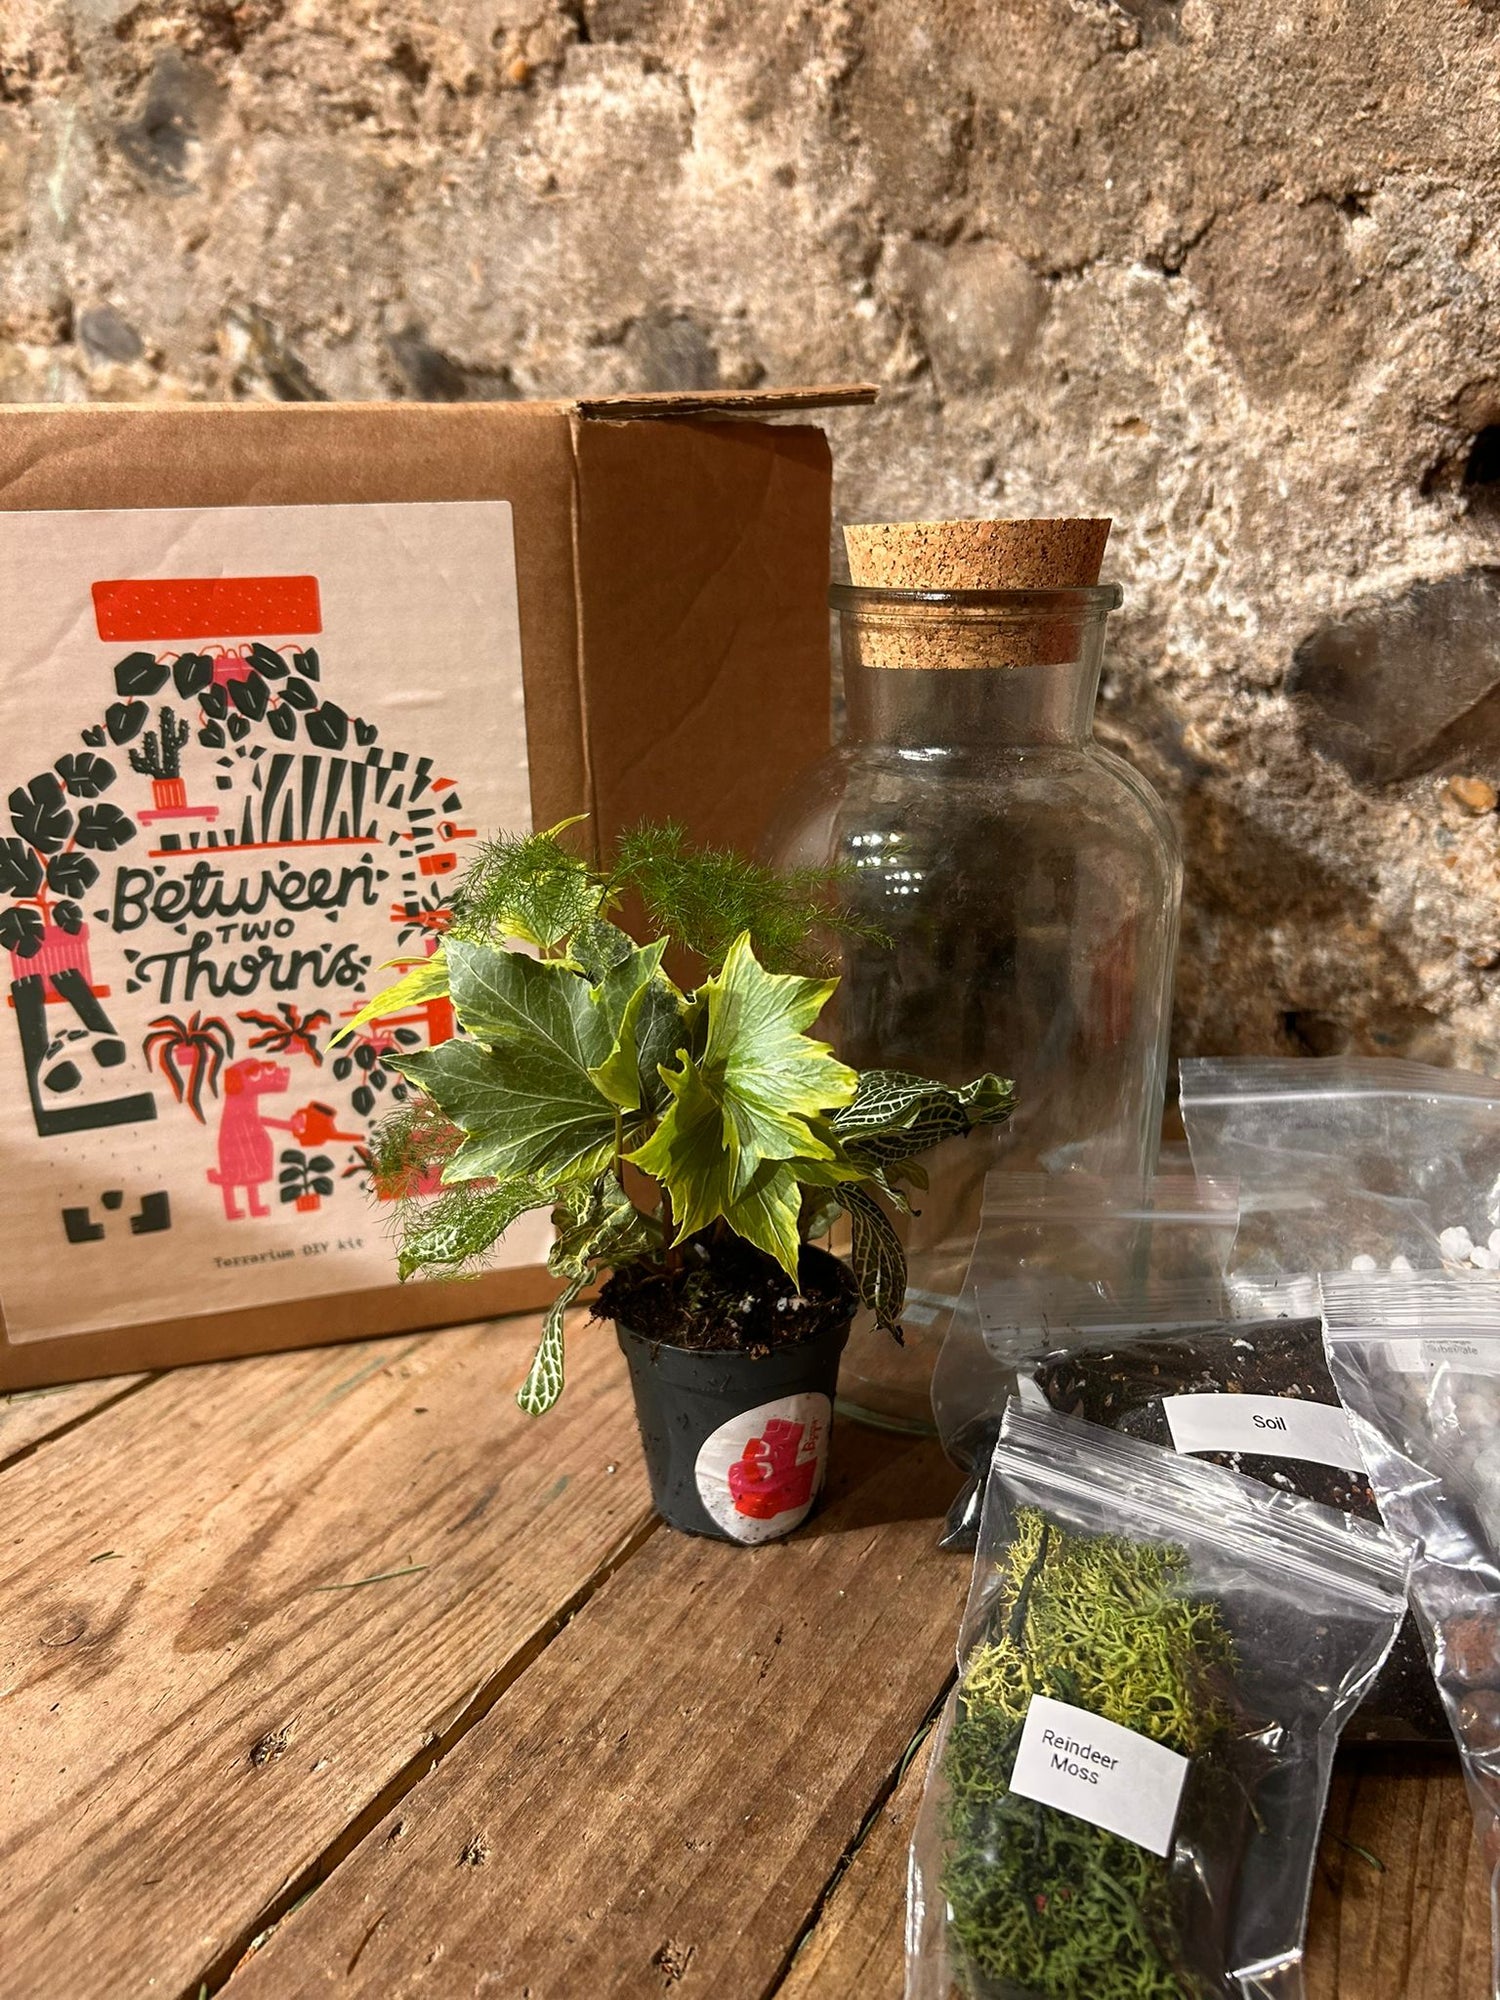
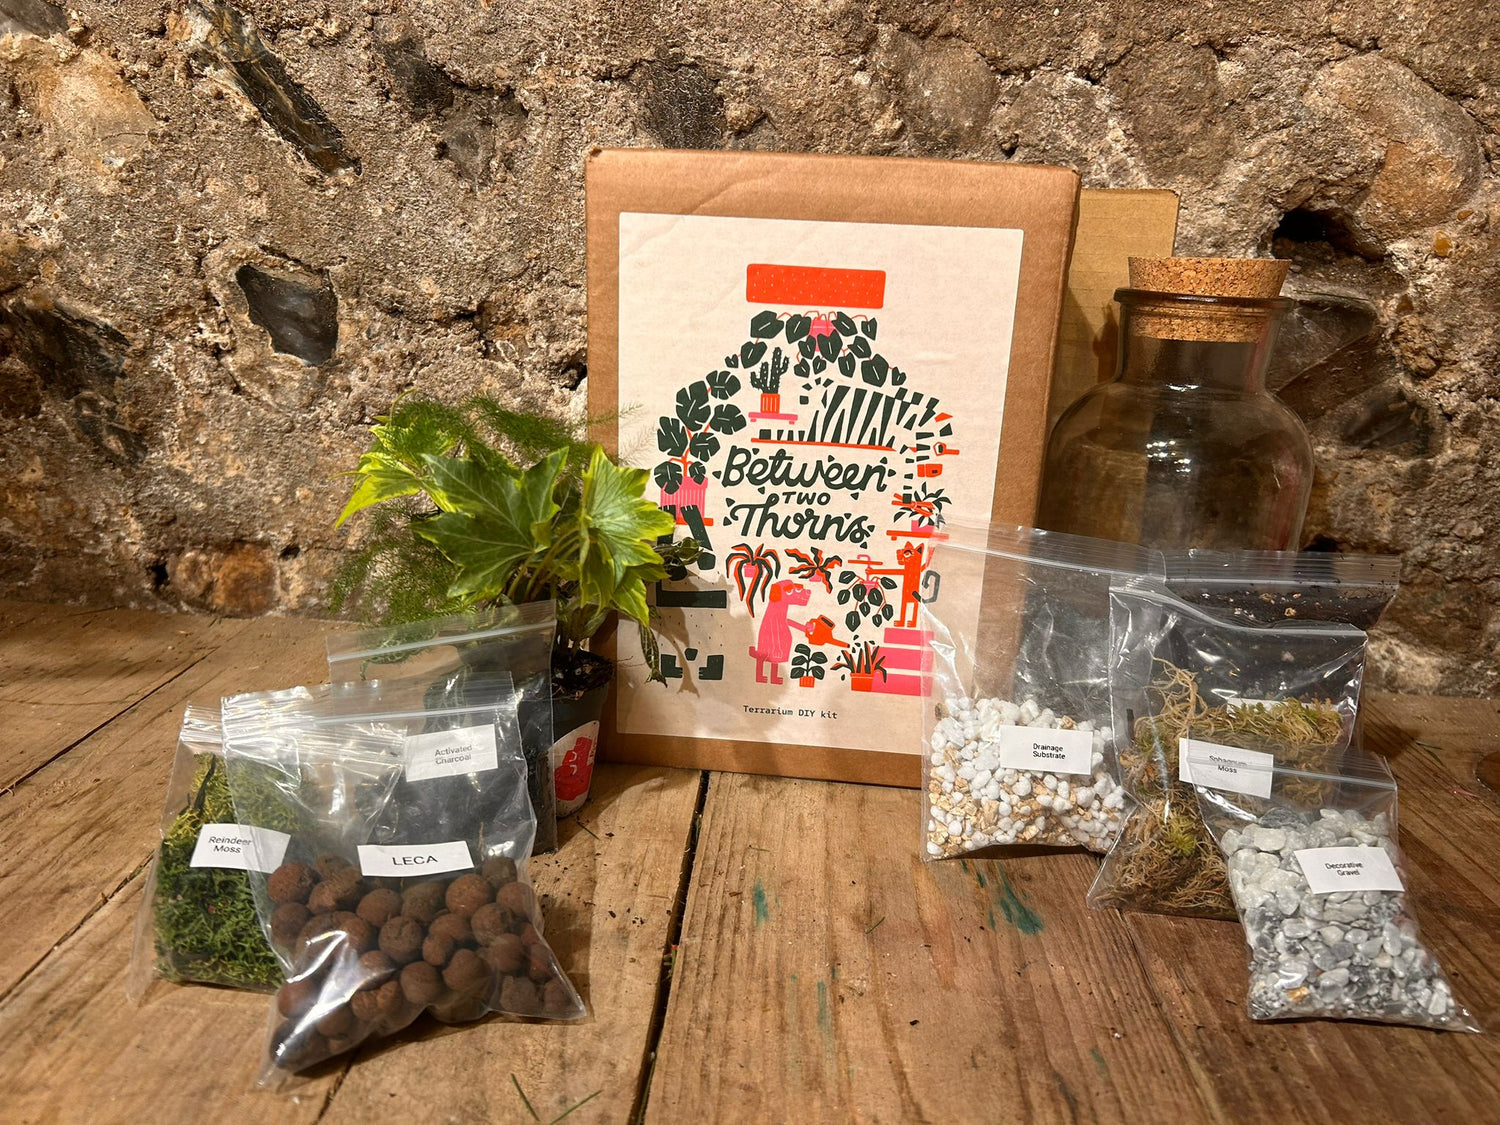
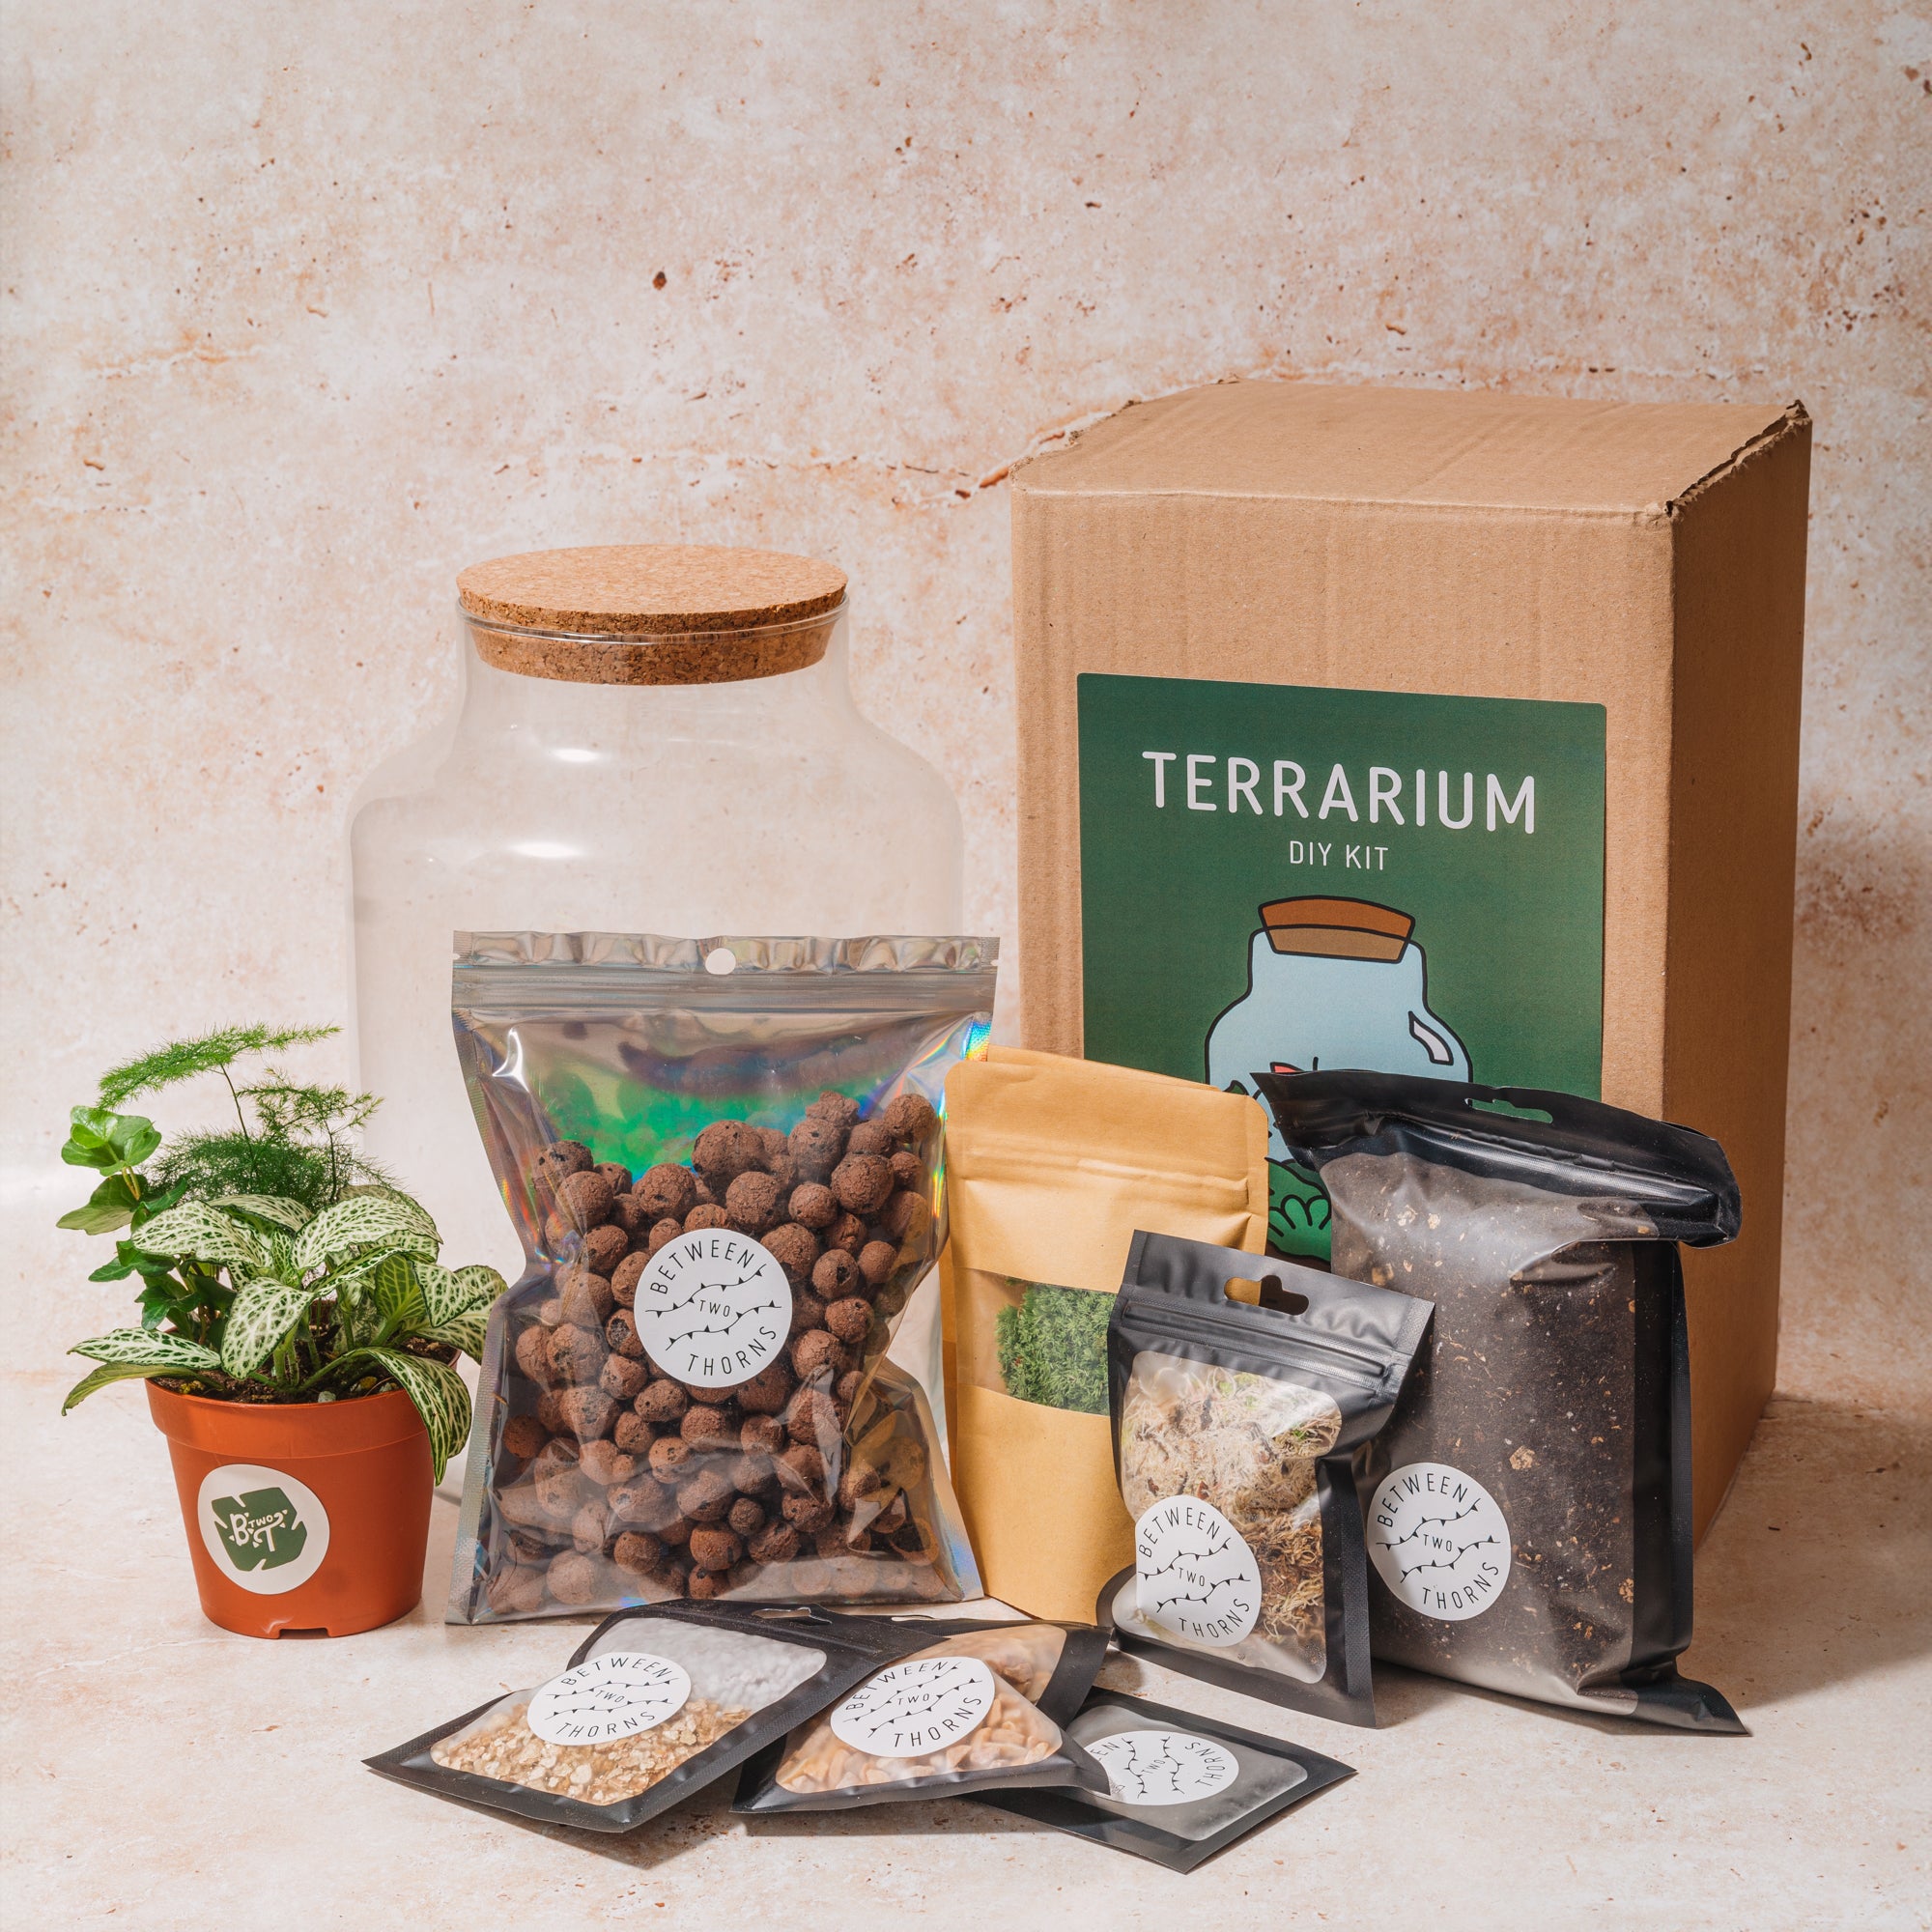
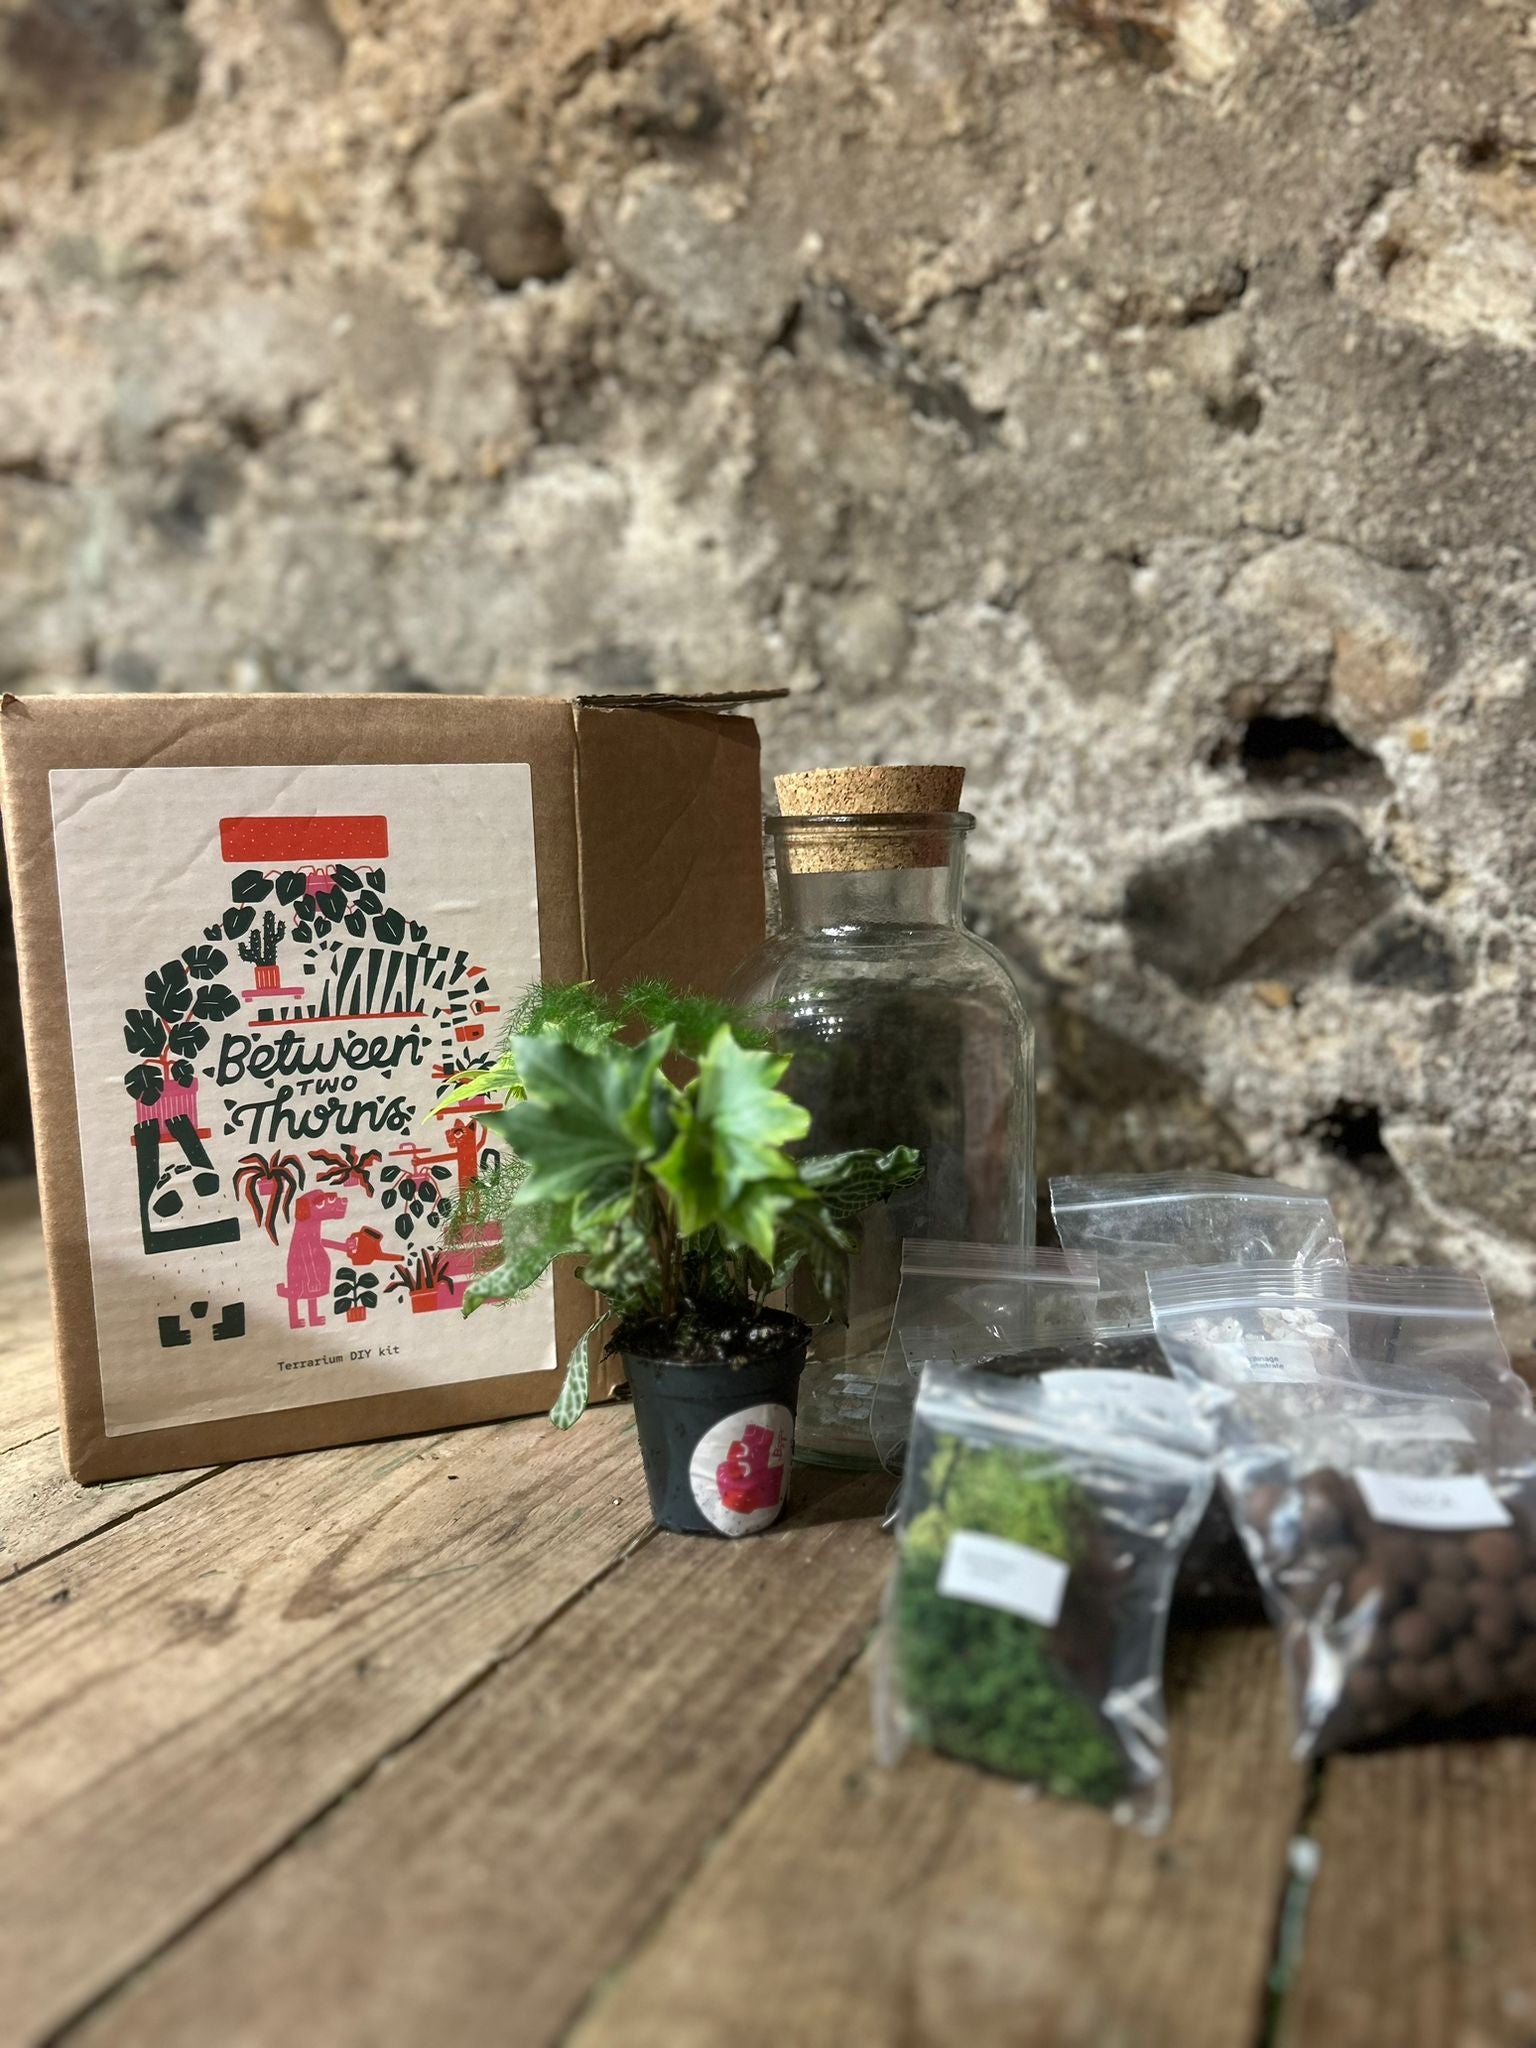
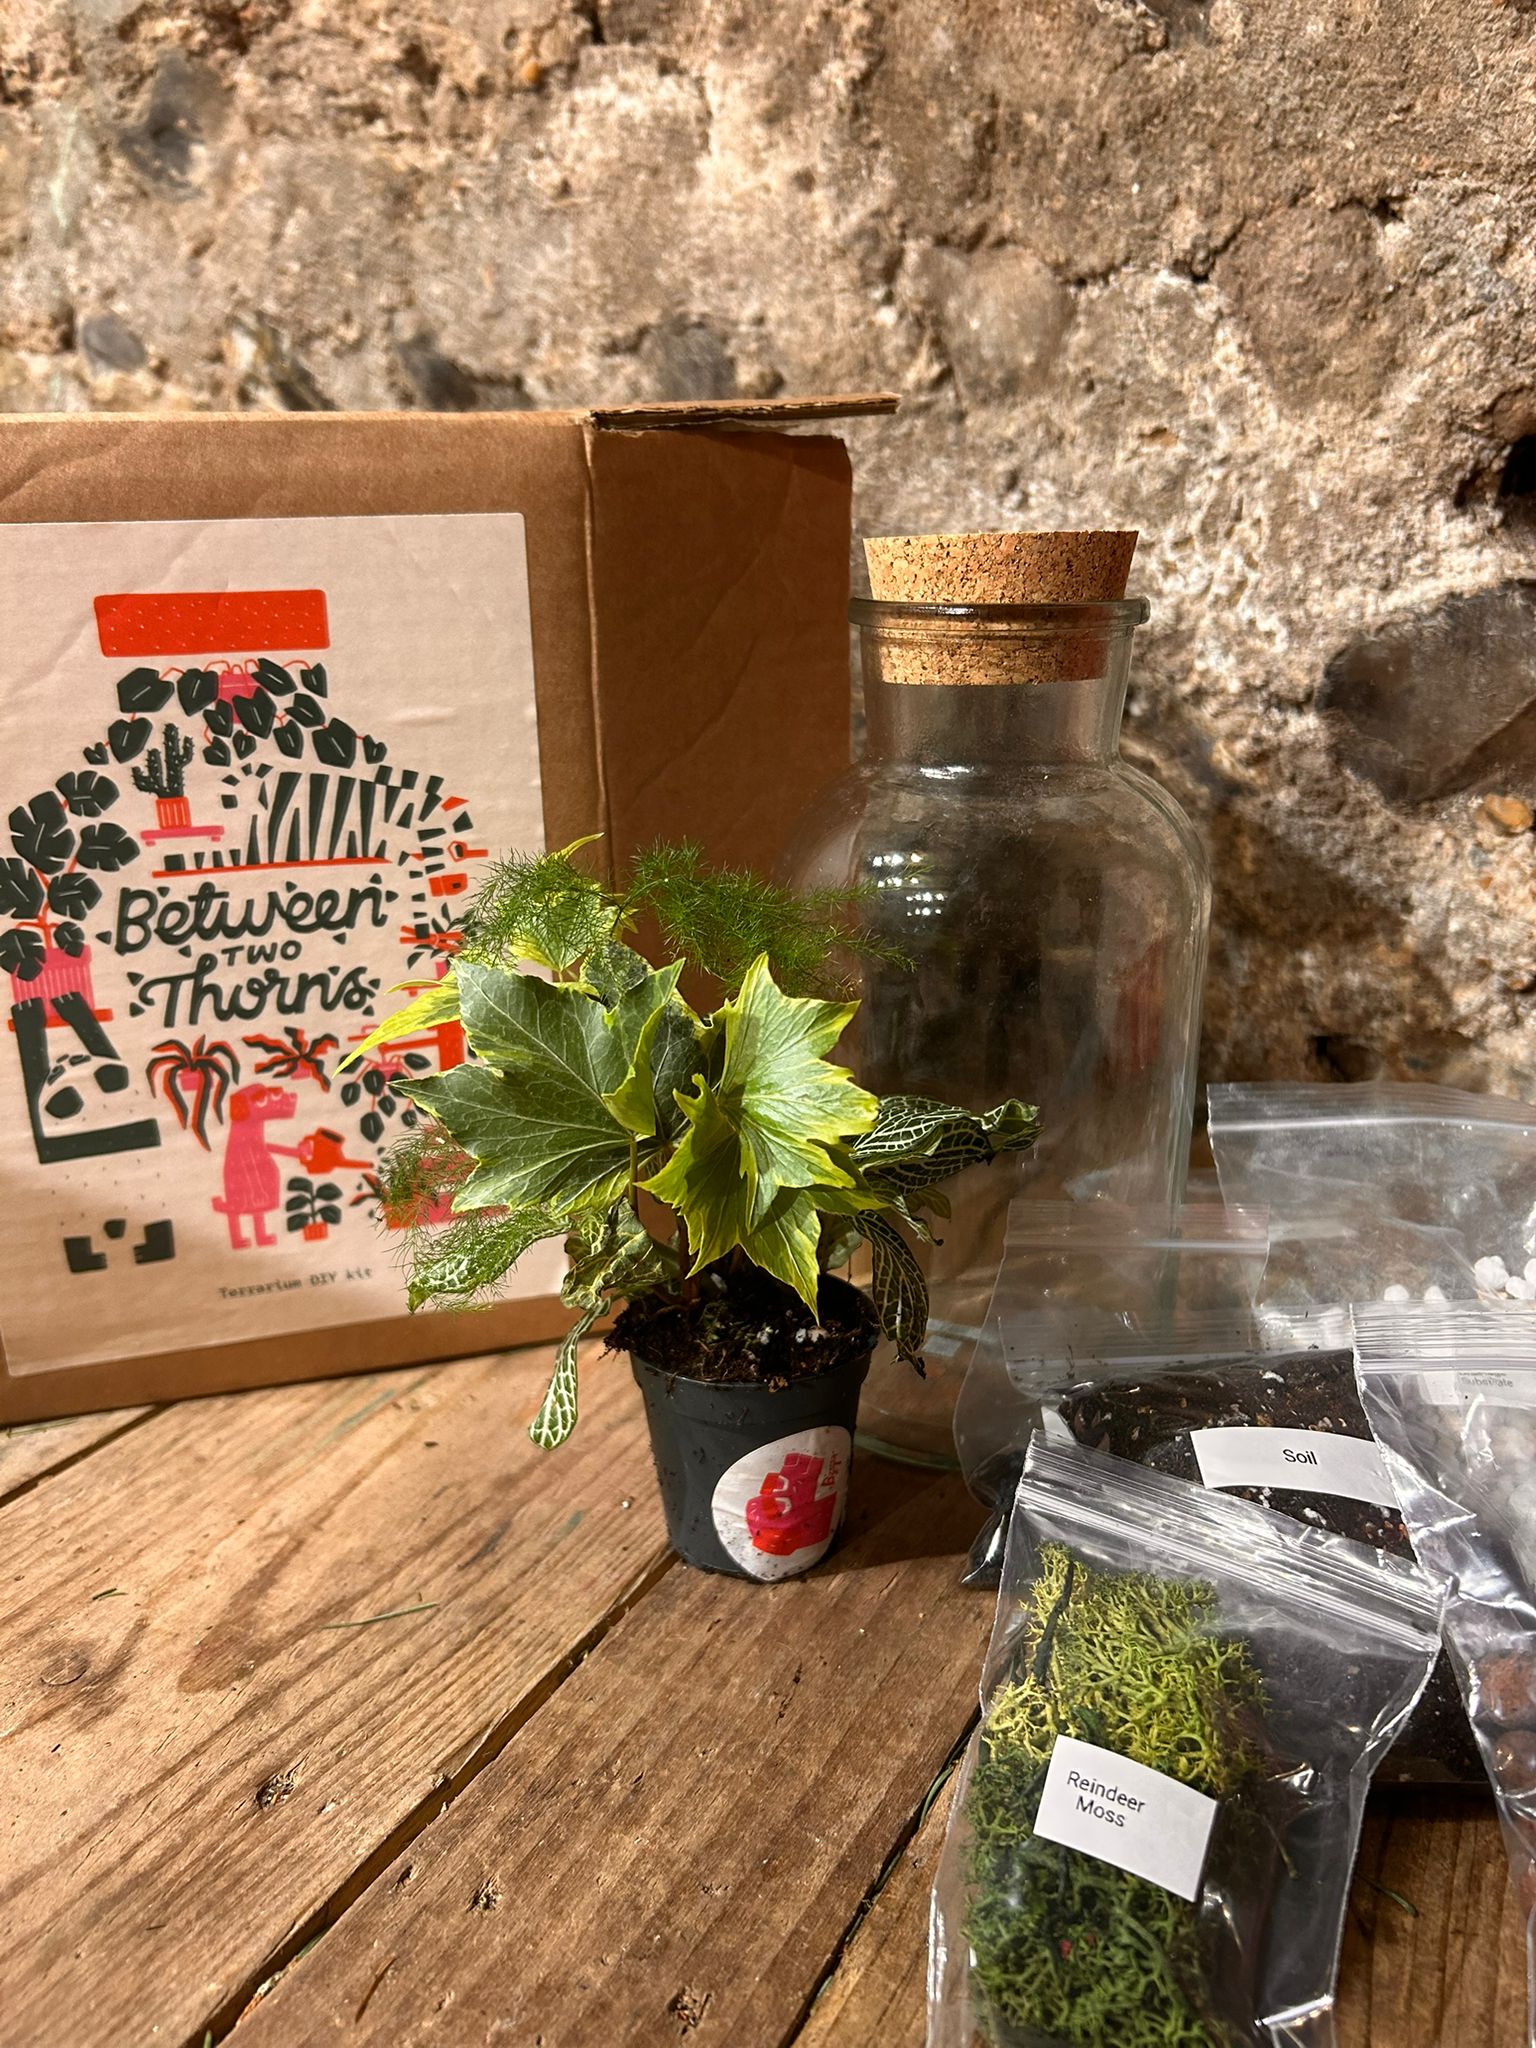
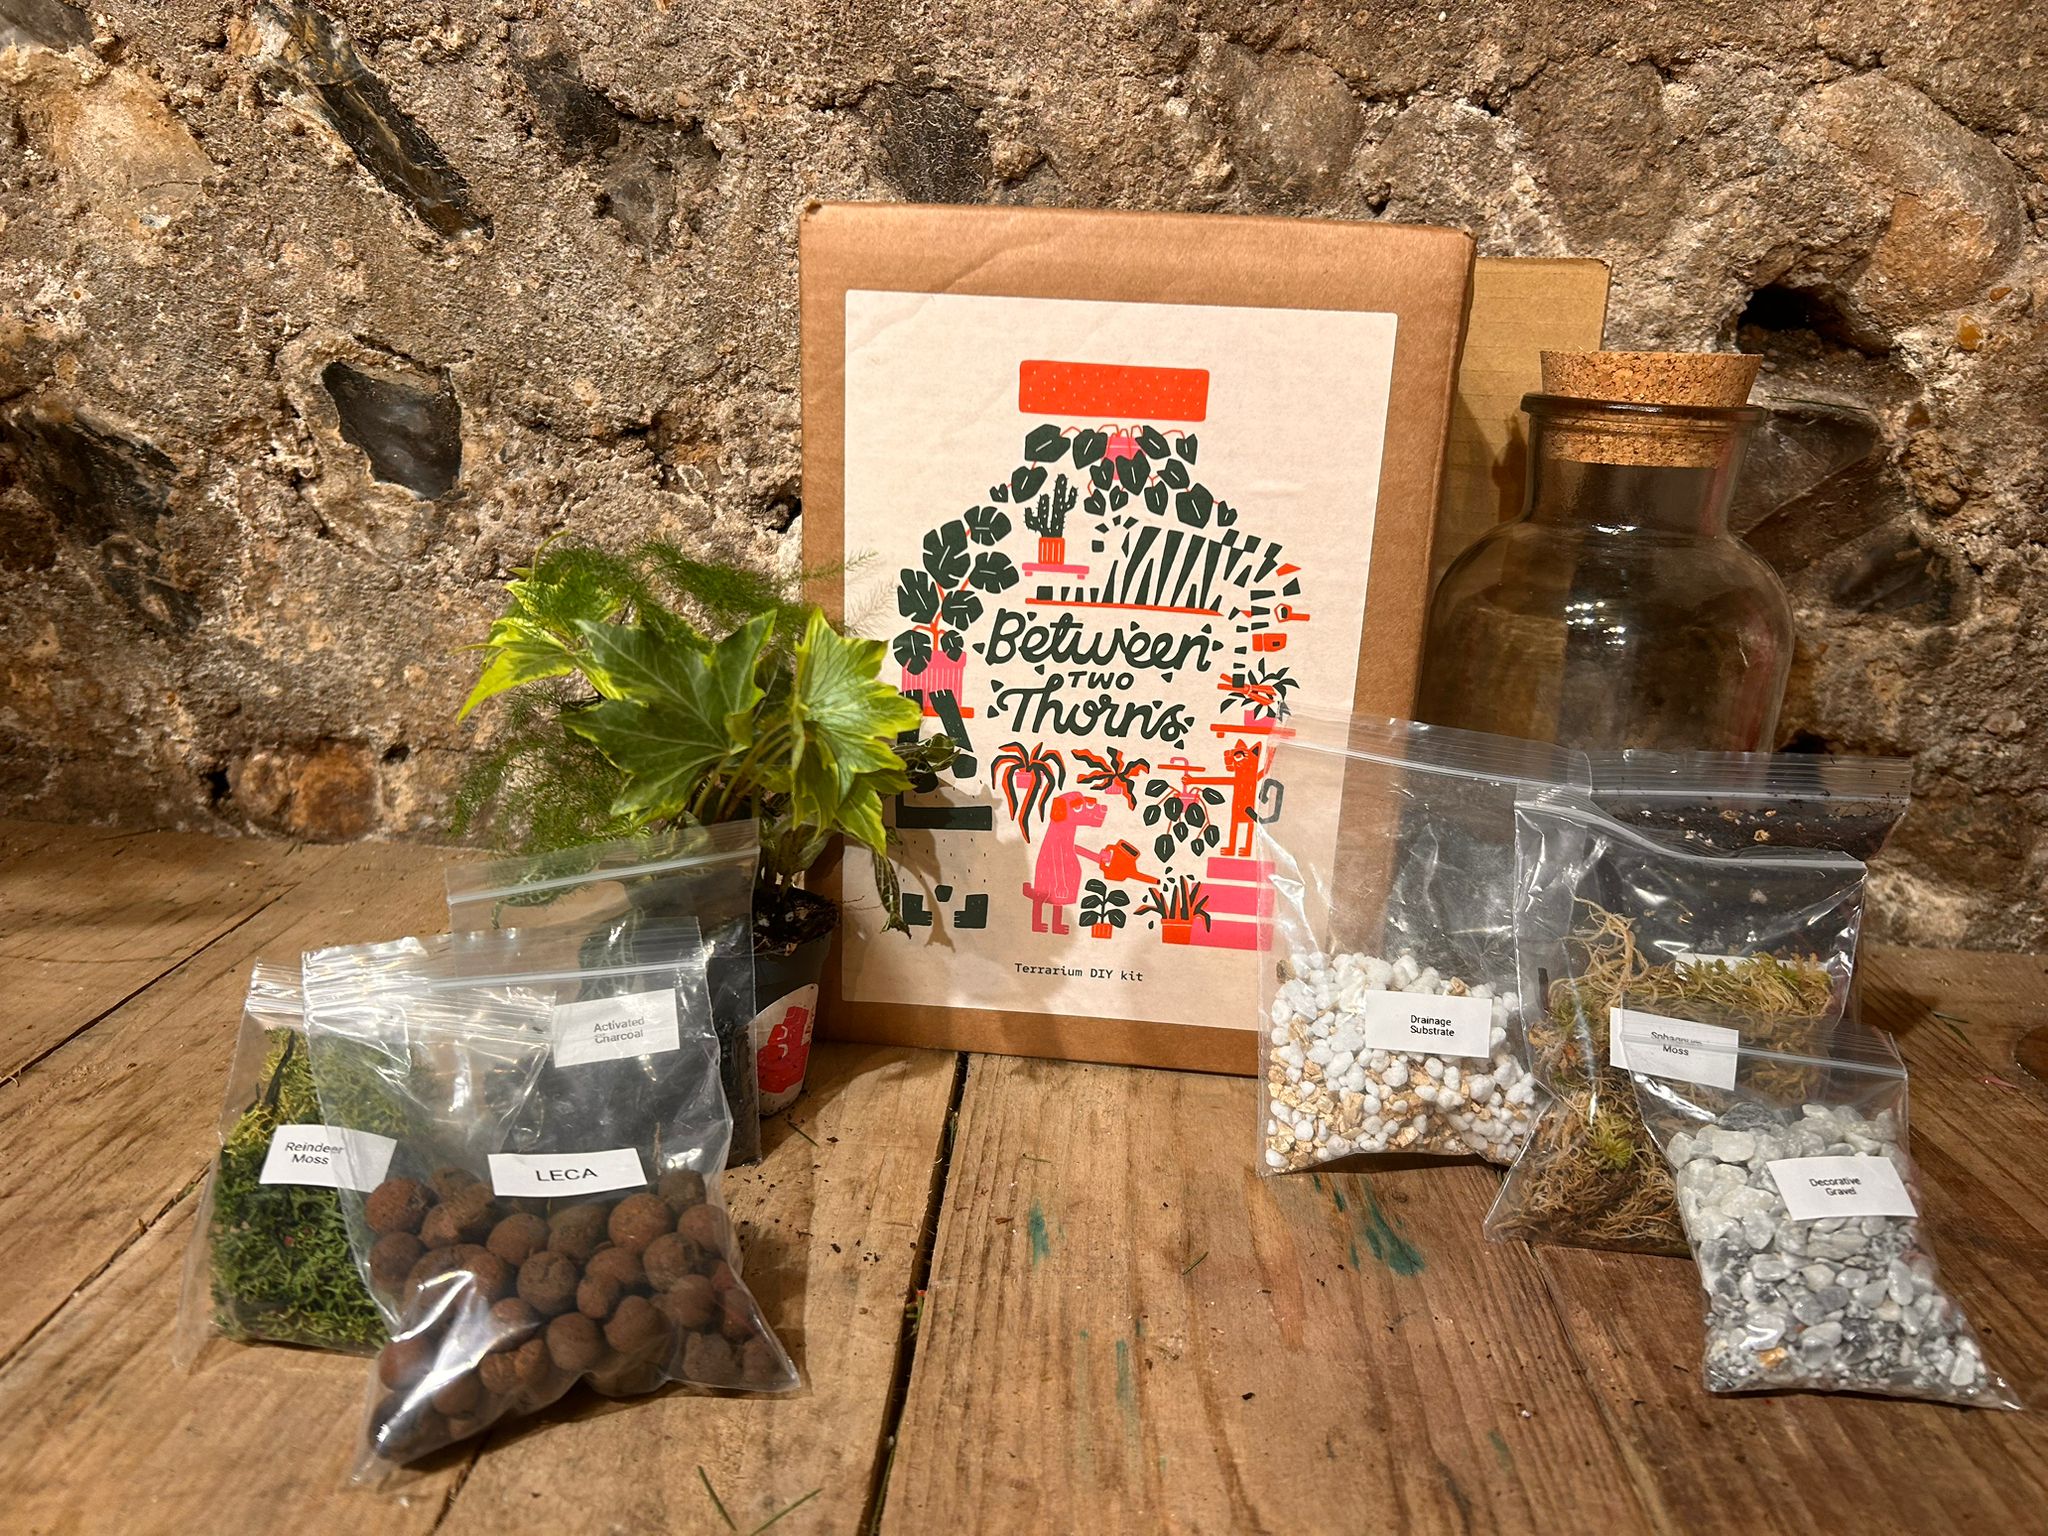
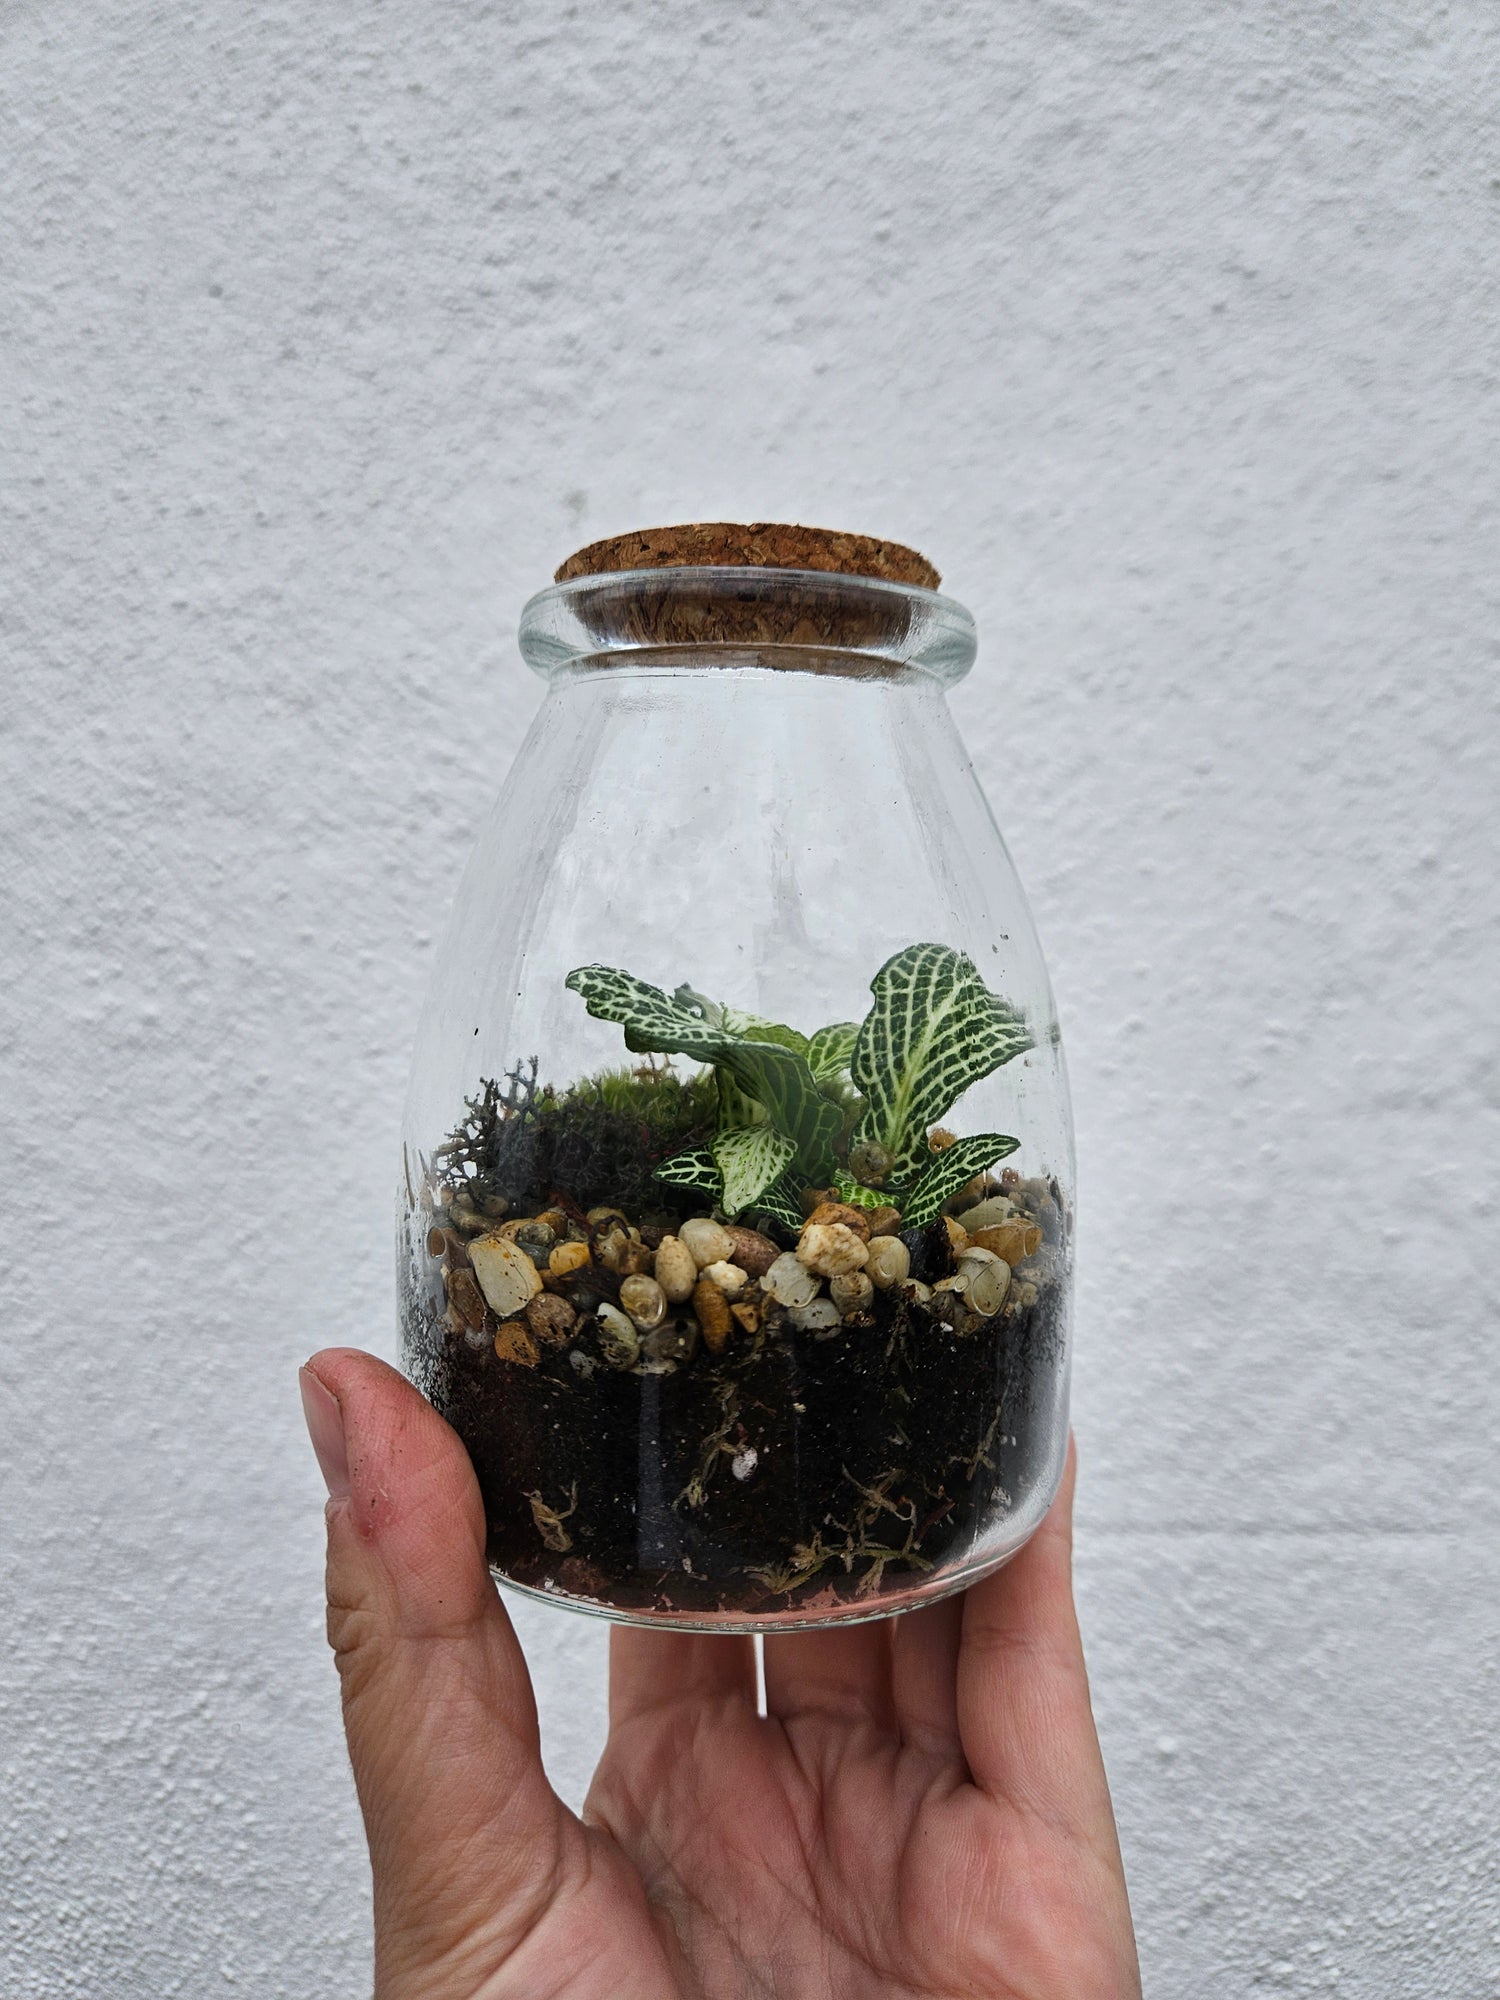
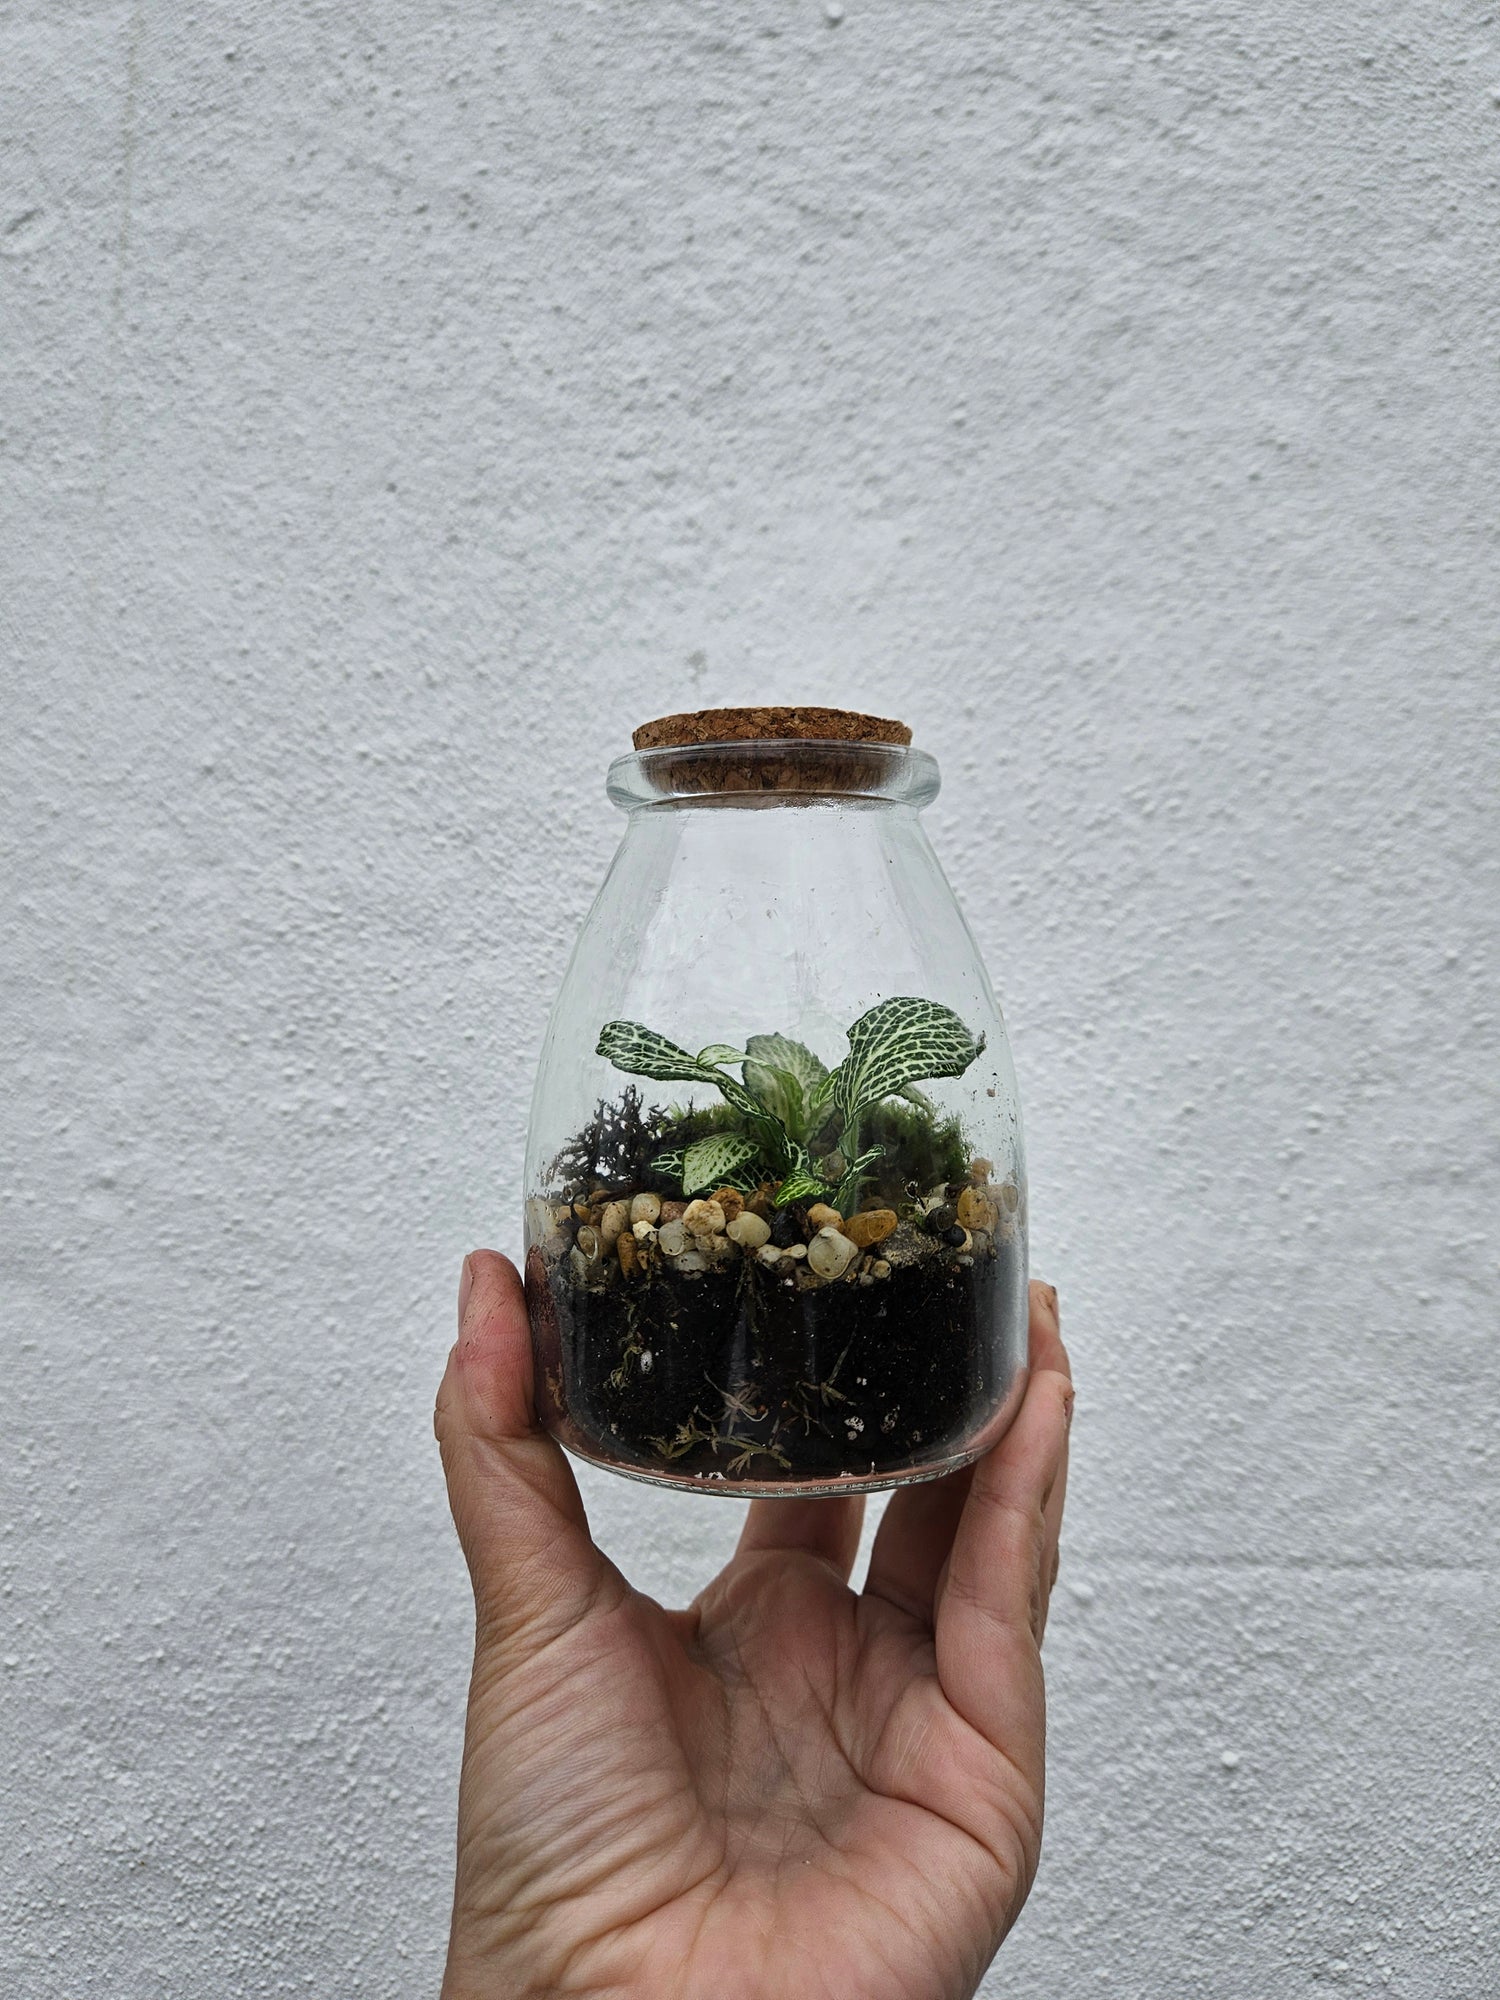
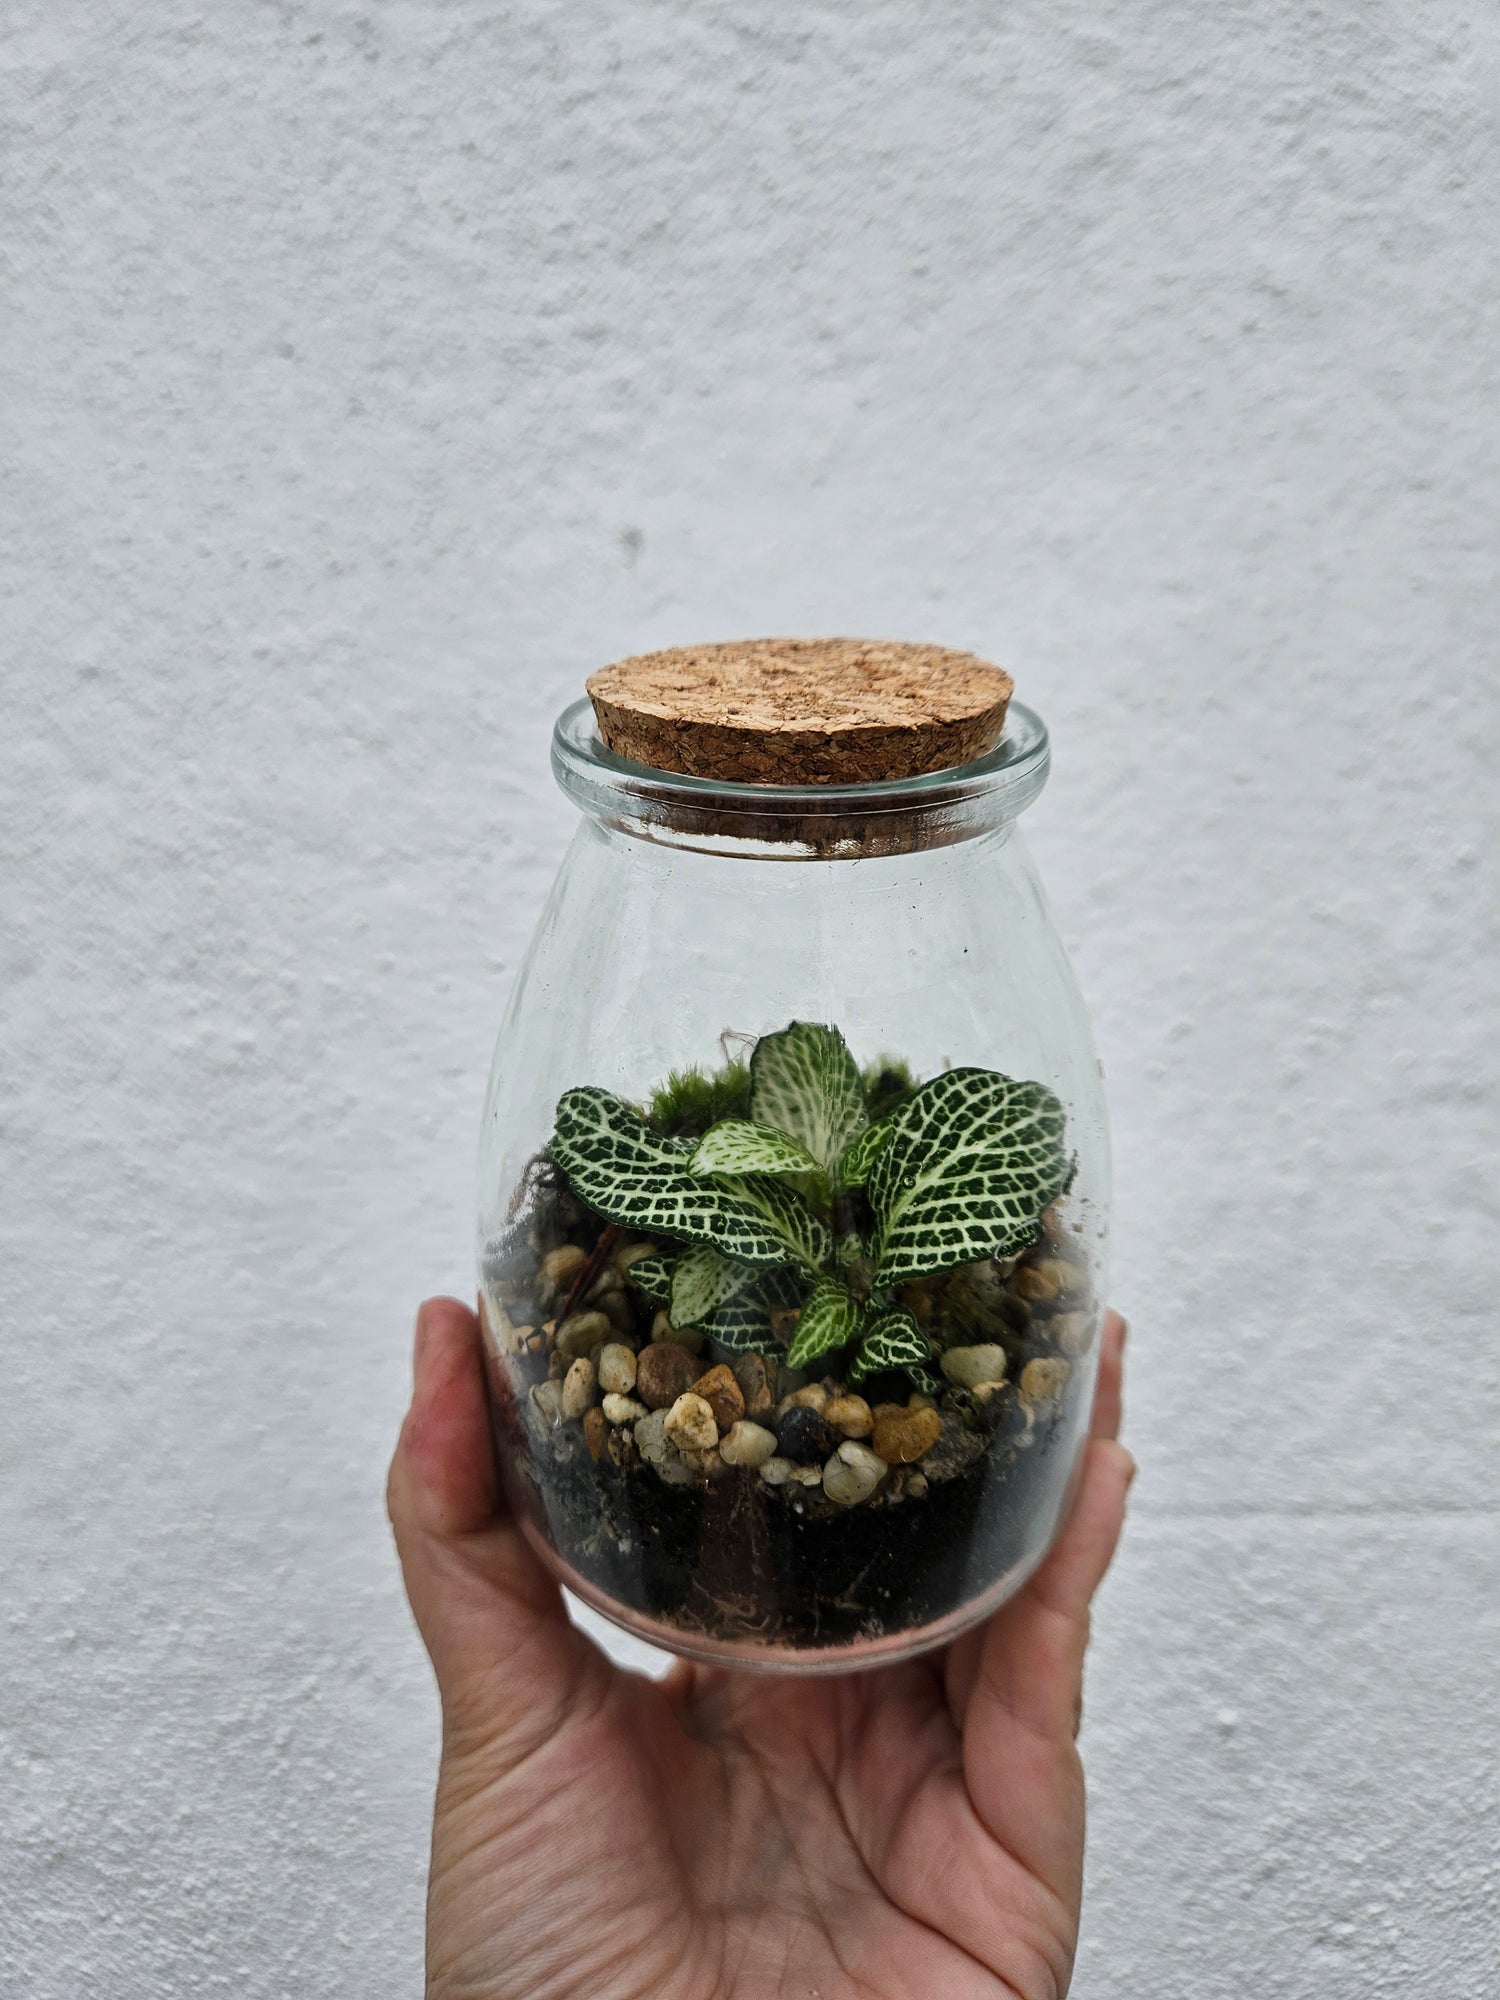
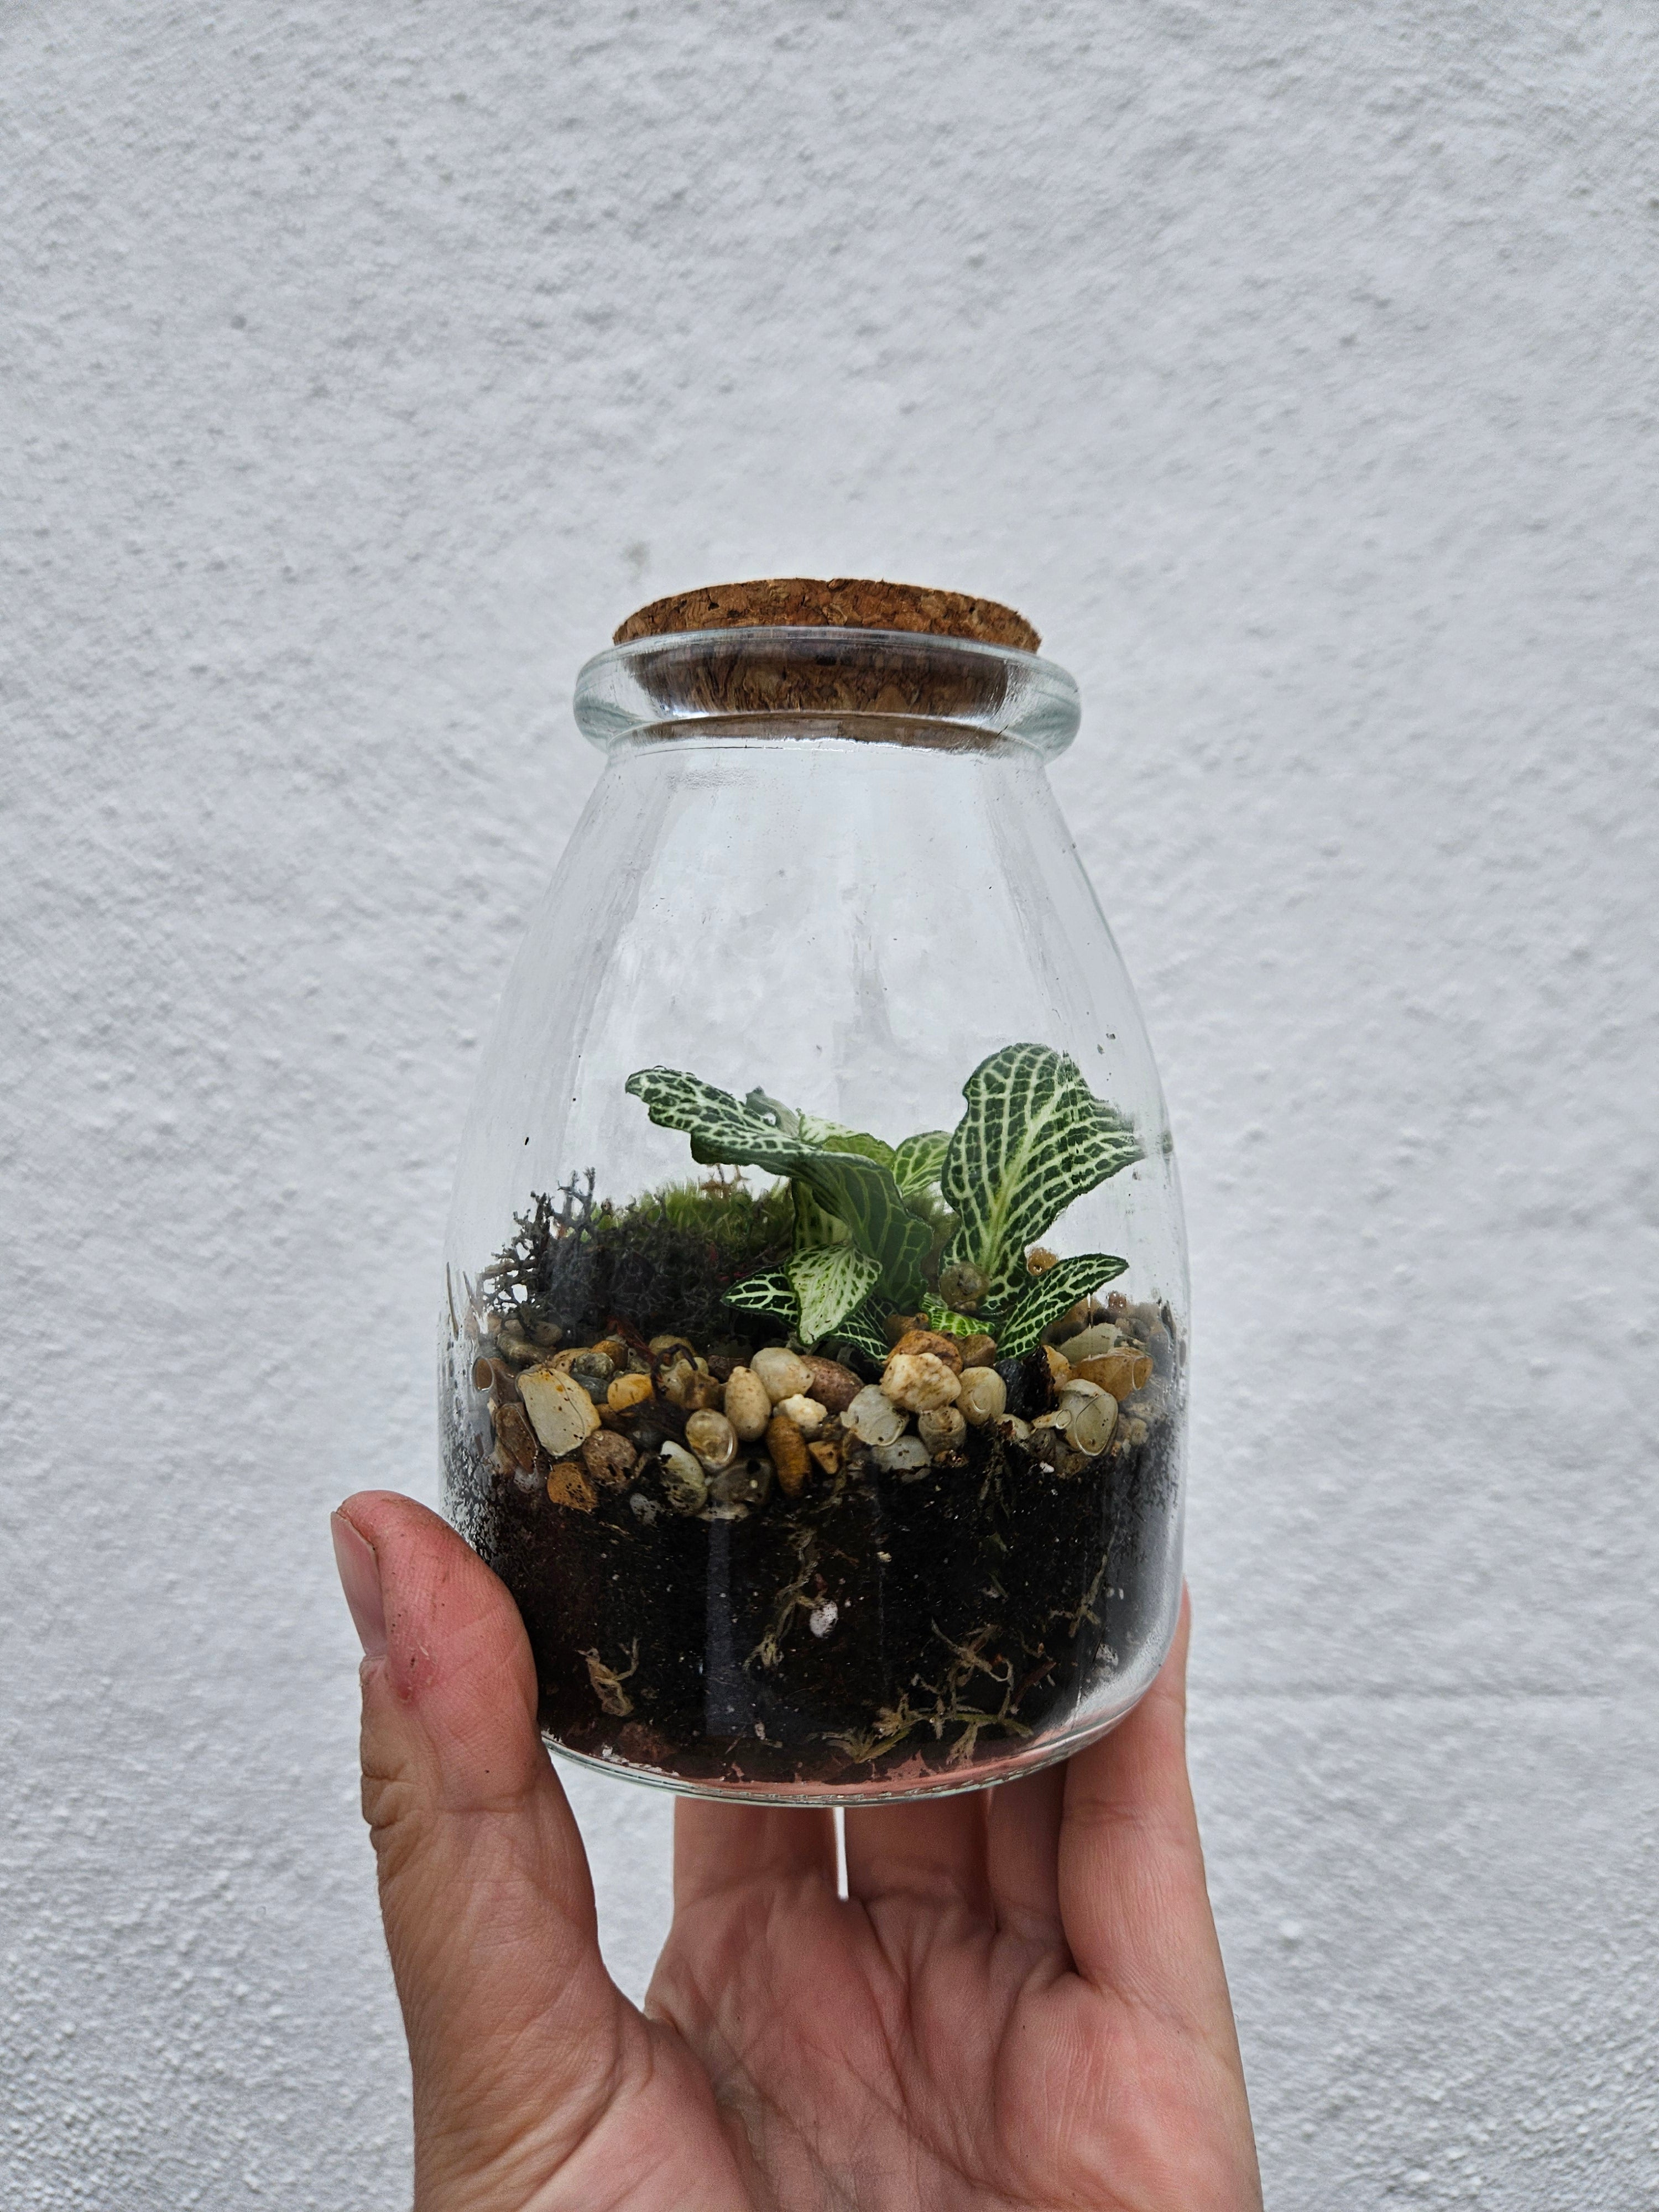
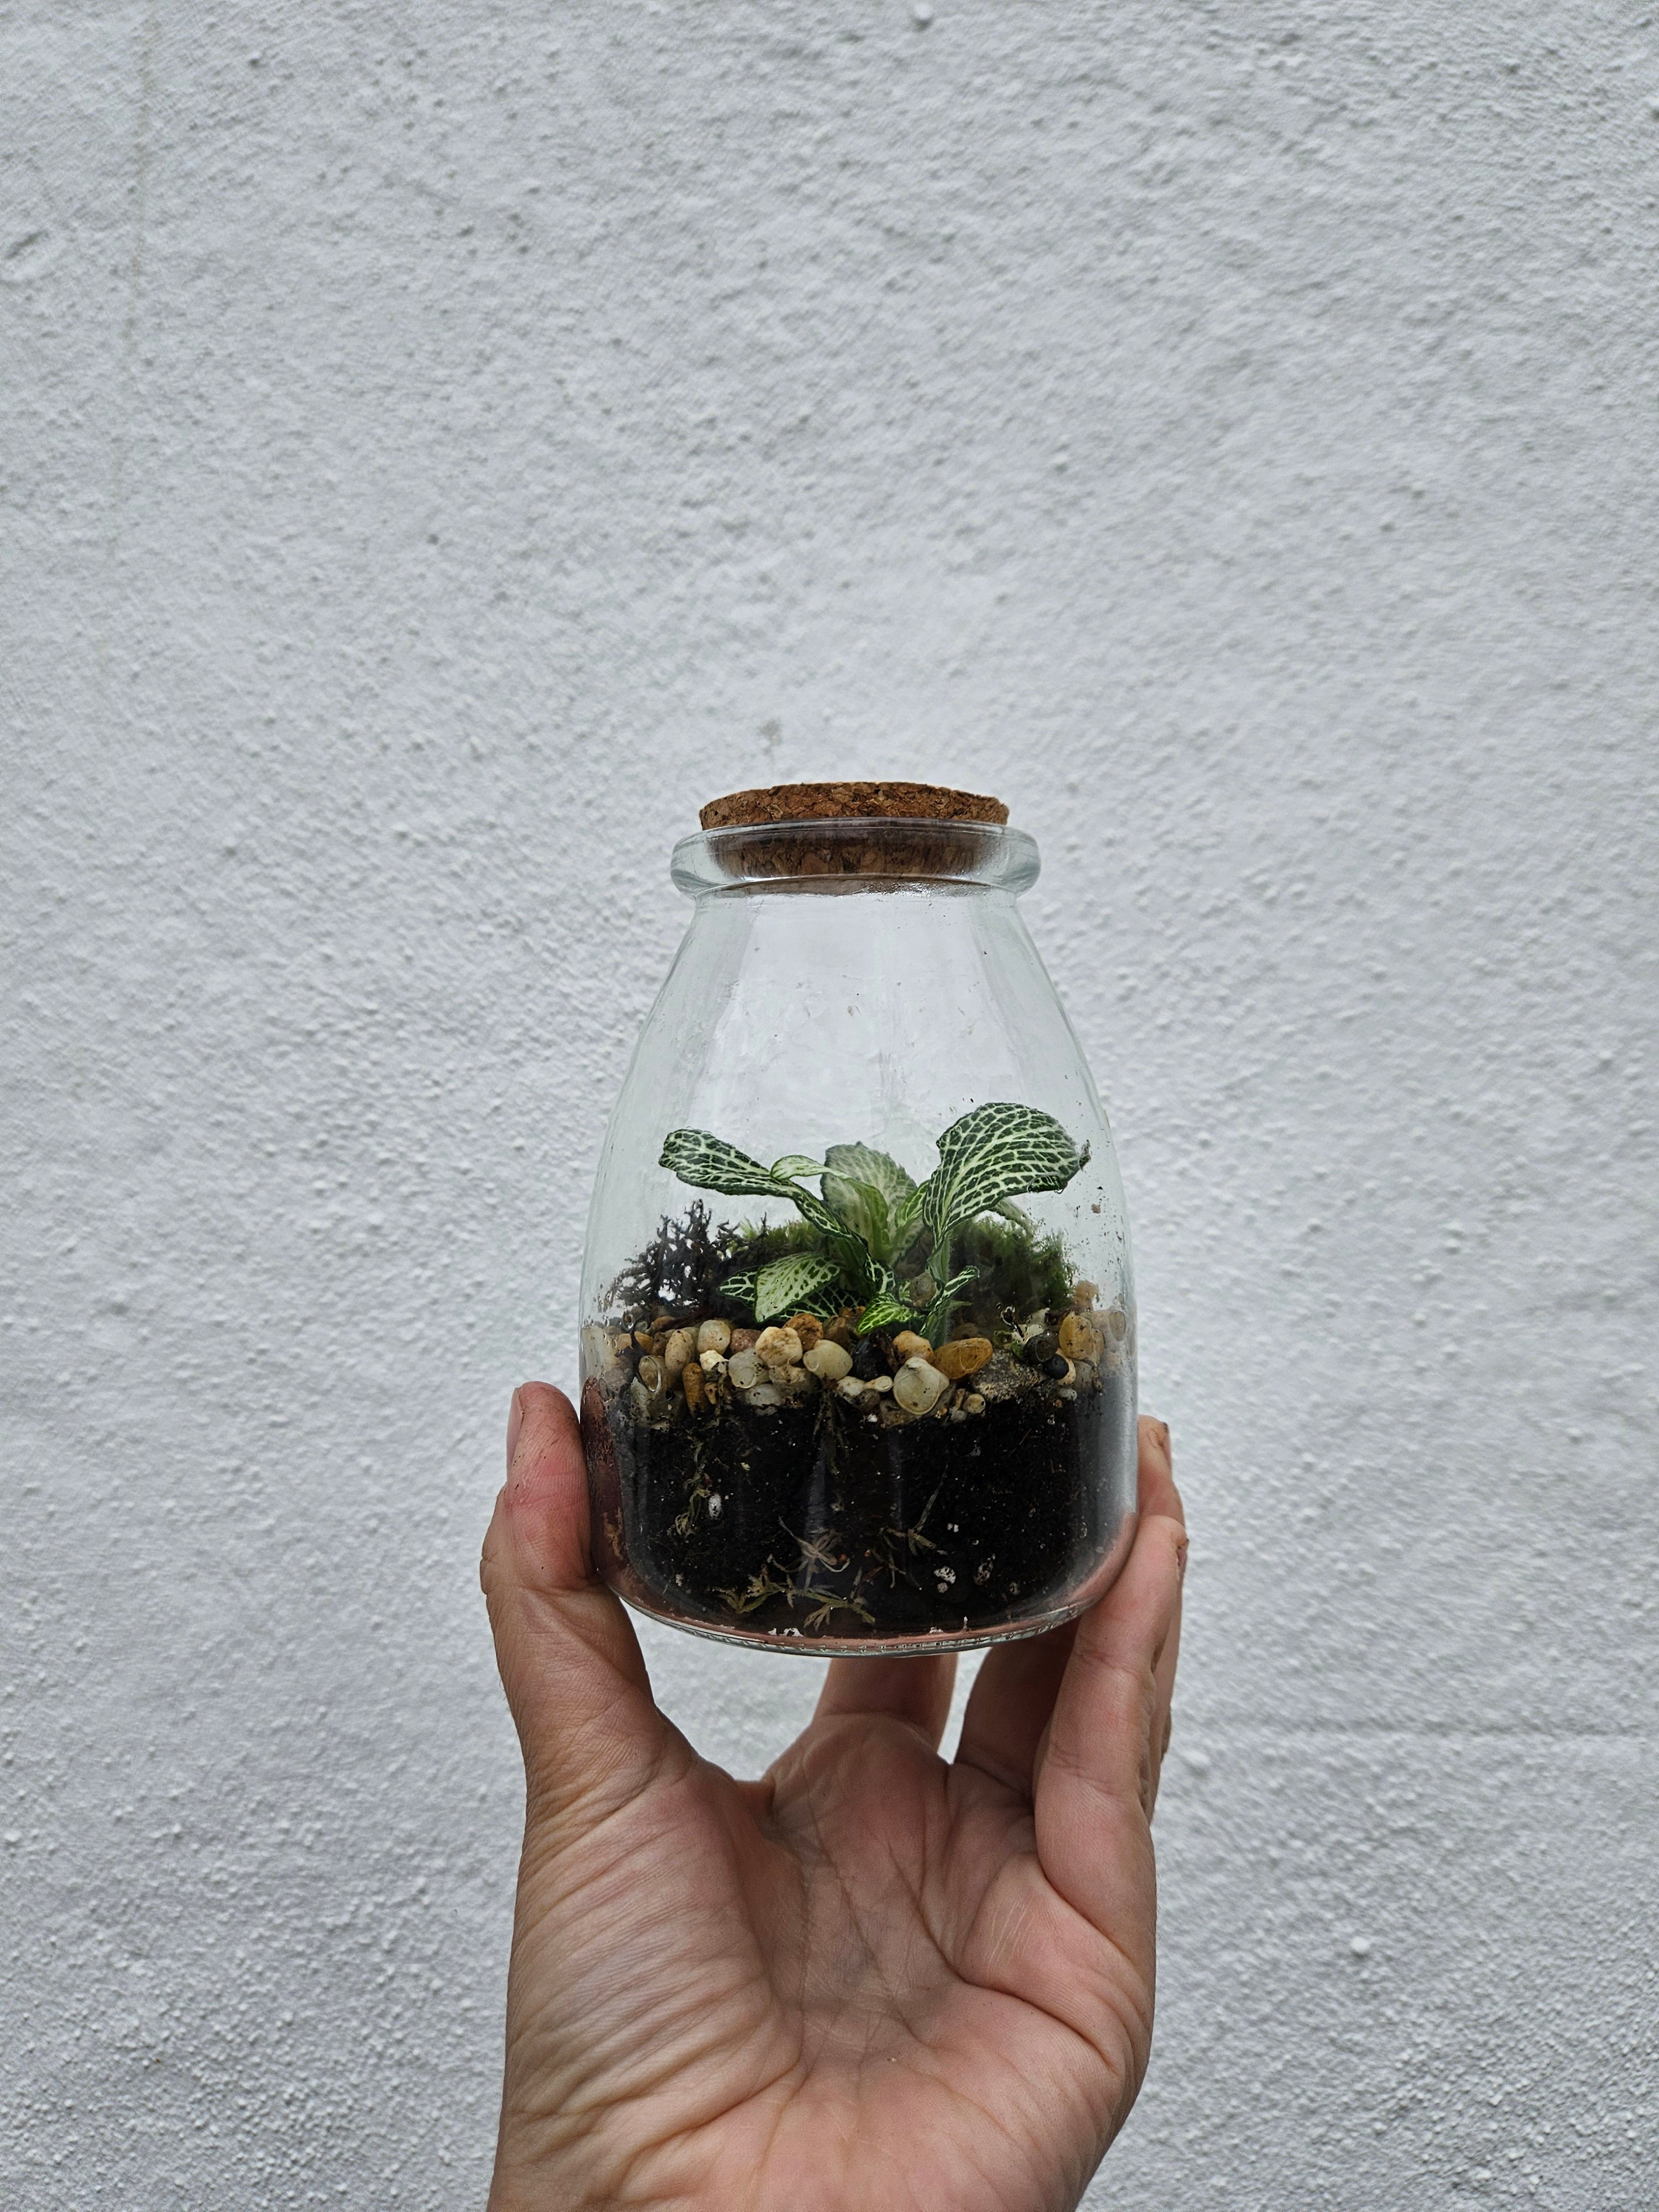
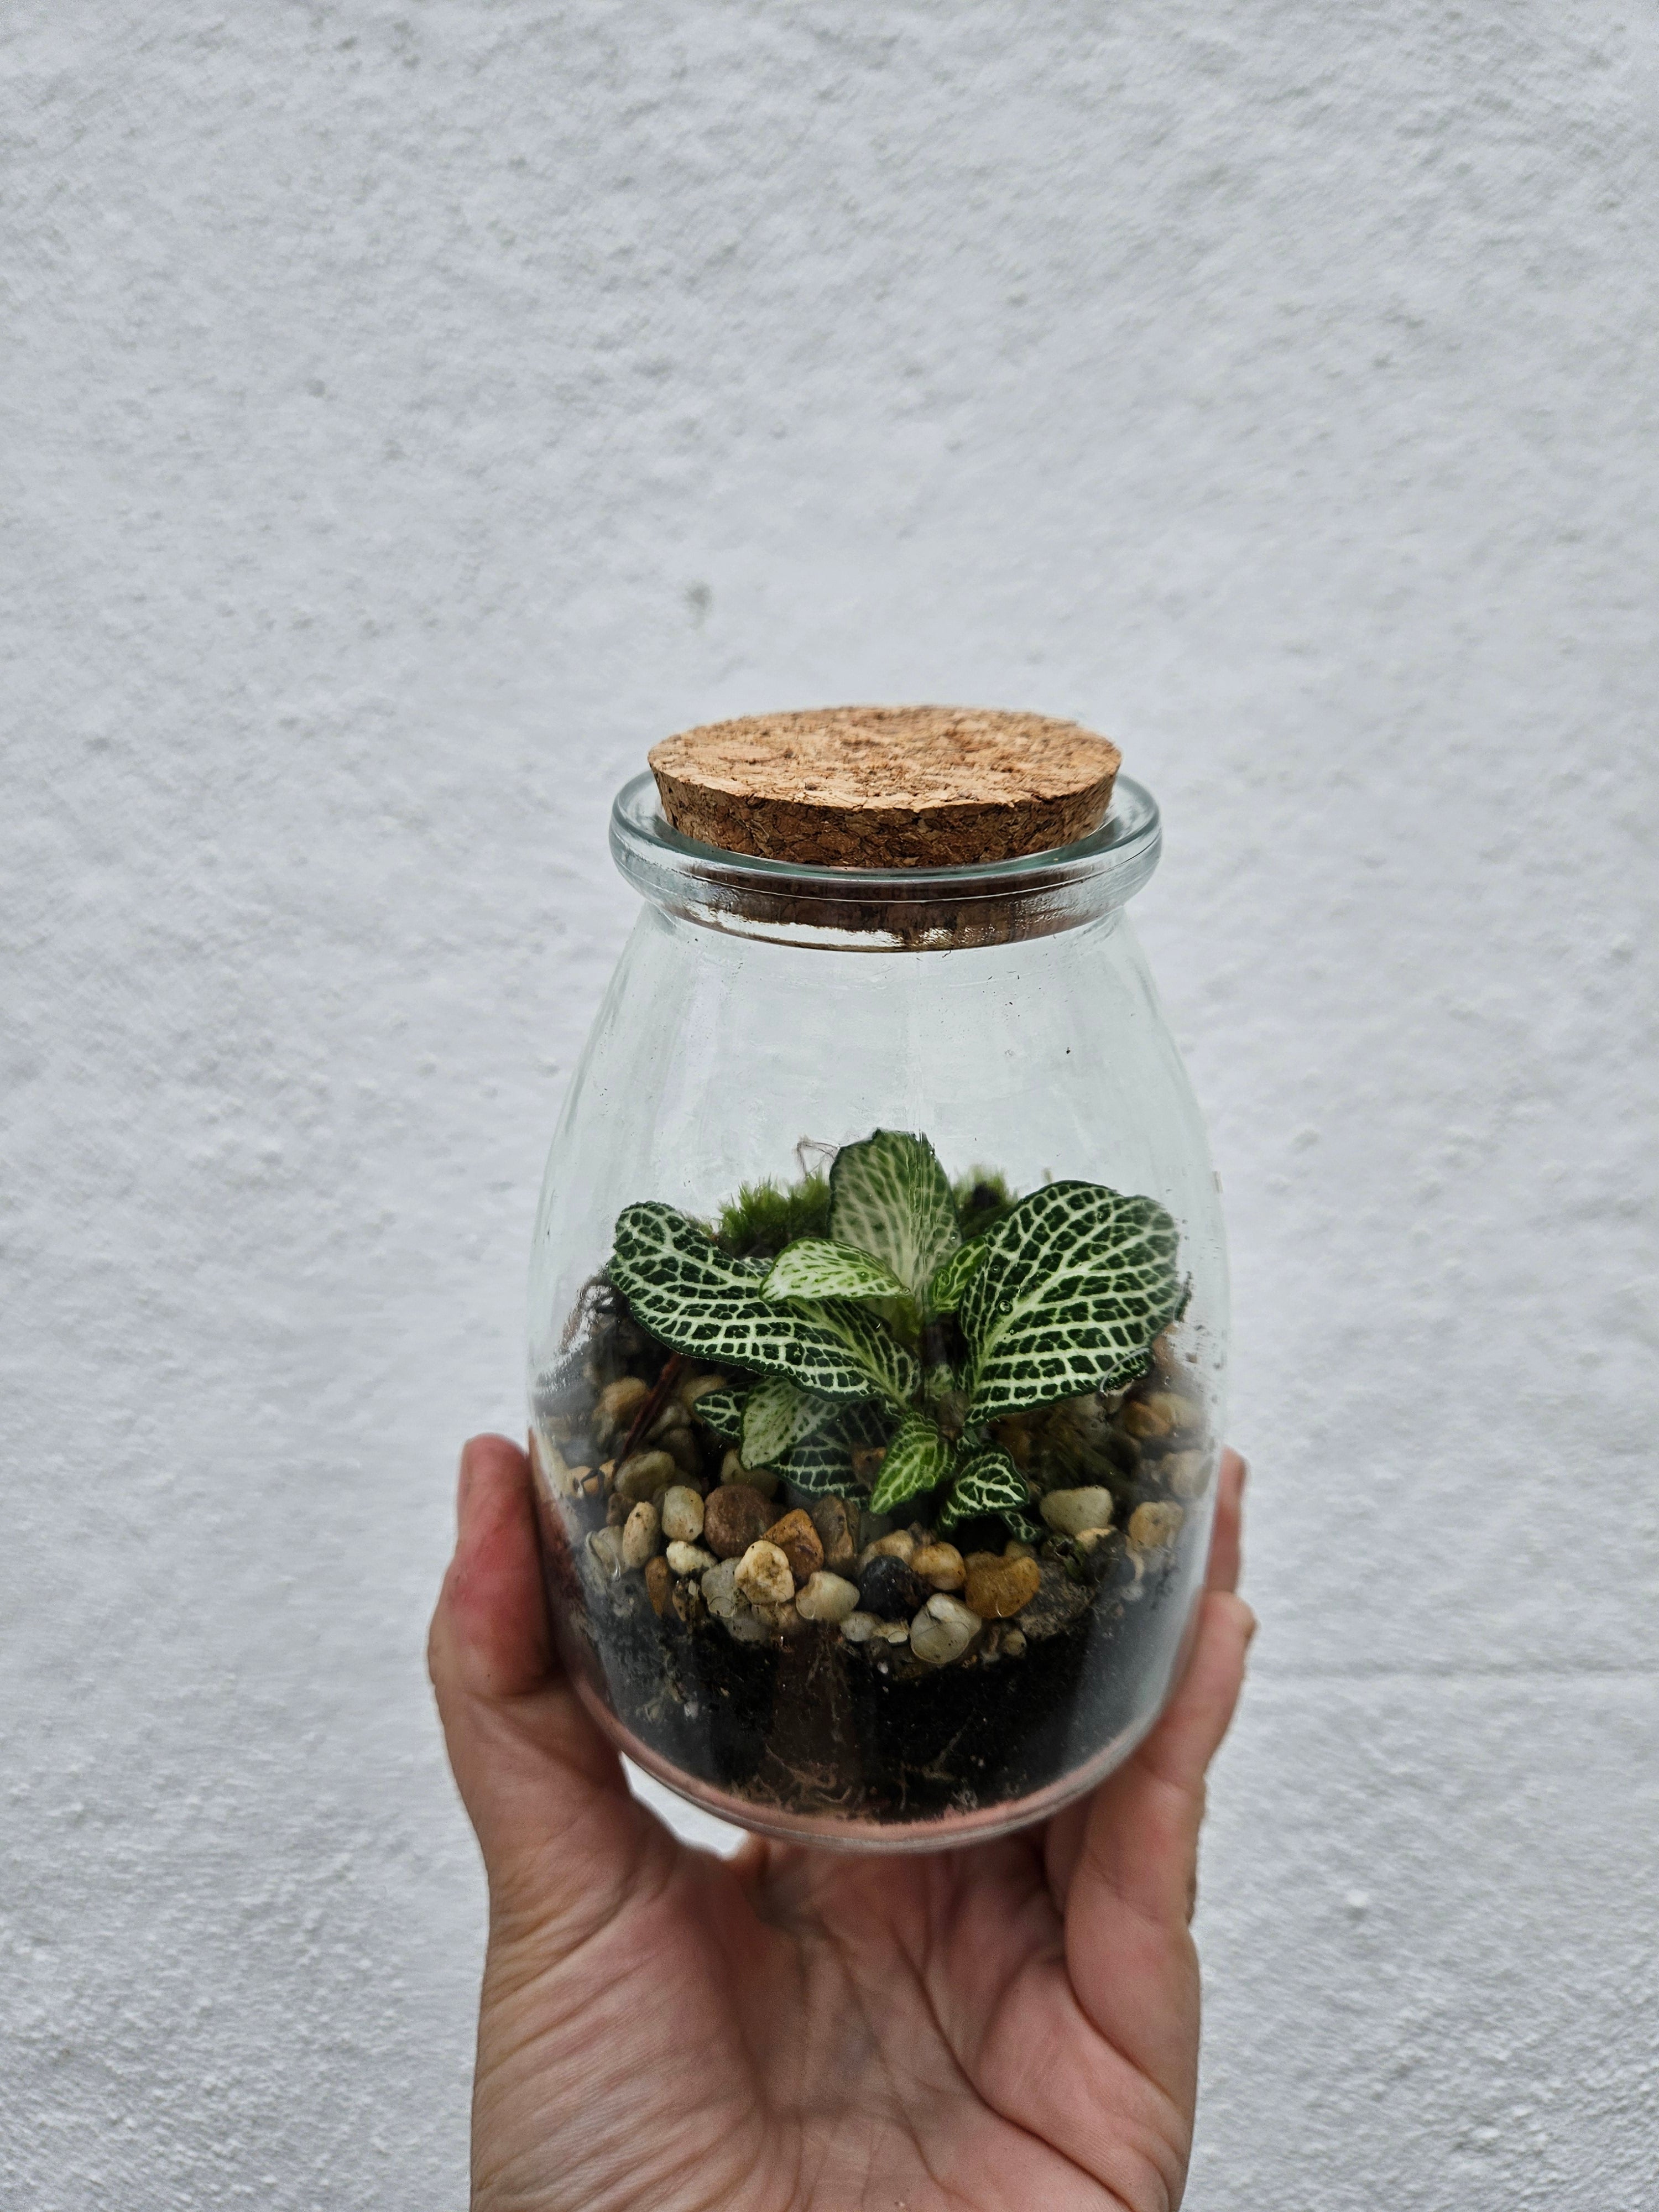
Welcome to the wonderful world of terrarium making! Creating your own terrarium is a delightful journey that brings the beauty of nature right into your home. Whether you're a seasoned gardener or a curious beginner, this step-by-step guide will walk you through the process of crafting your miniature ecosystem, perfect for those seeking a touch of greenery in limited spaces.
But what is a terrarium?
Terrariums are self-contained, low-maintenance gardens that thrive in their own little environment. From lush forests to desert landscapes, the possibilities are endless when it comes to designing your personalized terrarium. With a few simple materials and a bit of creativity, you'll soon be on your way to creating a stunning, self-sustaining mini-world.
In this guide, we'll explore everything you need to know to build your own terrarium. So, let's roll up our sleeves, gather our materials, and embark on this enchanting journey of terrarium creation together!
If you don’t fancy making your own you can always buy one of our beautiful large glass terrariums.

How to make a terrarium
Follow along with Alys in this easy step-by-step video guide:
Take out all your ingredients. You should have the following;
-
a glass jar
-
a cork lid
-
plants
-
a bag of soil
-
sphagnum moss
-
LECA
-
perlite
-
vermiculite and charcoal blend
-
decorative gravel & decorative moss
You will also need a large bowl (or to cut down and use the cardboard box to mix up the soil), a spoon and a mister.
Step 1: Getting organised
We recommend working on a flat surface with newspaper or a protective mat laid down to protect the surface as we might get messy! If you don’t have a bowl, simply cut the cardboard box in half so you have somewhere to mix up the soil and keep your plants whilst planting.
Empty the contents out of the glass jar. You will need the LECA, sphagnum moss, soil and bag marked ‘soil components’ bag first so put the plants, cork and other bags to one side for later.
Step 2: Drainage
Open up the bag marked LECA- this is an acronym for Lightweight Expanded Clay Aggregate. It allows roots to freely absorb water without suffocating them and also provides excellent drainage. Pour the LECA directly into the glass jar and give it a tap until it is evenly distributed on the bottom.
Next, take the bag marked Sphagnum moss, take it all out and tease it gently in your hands-pulling it apart to increase the volume, place it on top of your LECA layer making sure it covers it well. This is a live moss which has the amazing property of holding 25x its weight in water, helps increase the humidity within your terrarium and contains beneficial microfauna!
Step 3: Creating the perfect soil
Open up your soil bag and tip in the entire contents of your soil components bag. Mix thoroughly with your hands or the handle of a spoon, really break up the soil between your fingers and ensure an even mix.
The components are as follows- the white material is Perlite, the brown-gold material is Vermiculite and the black pellets are Activated Charcoal. Each plays an important part in aerating the soil, attracting nutrients and allowing them to be released slowly over time and also improving drainage.
Tip your soil into your glass jar and pat gently to create a flat surface for planting.
Step 4: Planting
Take your nursery pot of plants and tip it gently upside down, squeezing the pot to loosen the soil.
Carefully pull the roots away from each other until you are left with 7 individual mini plants or ‘Plantlets’ Using the spoon or your finger- make a hole in the soil deeper and wider than you think you’ll need (Aim for roughly 1cm away from the glass) Drop the plantlets roots into the hole and gently push the soil around until it is fully covered and stands up without support.
Continue planting each plantlet until you are happy with your terrarium (It’s a good idea to leave about 2cm between each plant to allow each one to have the best start!) Take your spoon or fingers and push lightly around each plant on the soil, making sure to check the roots are well planted and to create a flat surface for decorations.
Step 5: Decorating
Open up the remaining bags of decorative gravel and moss and decorate as you wish.
You can add additional things into your terrarium to really personalise it further- for example, collected rocks, shells, crystals, fossils, small logs and lichen, Lego figures, dinosaurs etc. Just make sure you give them a wash before adding them to avoid contamination!
Step 6: Watering
Finally, it is time to give your terrarium its first and only drink!
To do so fill your mister with fresh tap water. Aim the nozzle at the glass and squirt 30 times whilst turning the jar. Give the plants a gentle shake to remove any excess water and add your cork- pushing down carefully and gently to get a good seal.
Discover the magic of terrariums at our workshop! Reserve your spot now and let's create miniature worlds together!

Terrarium after-care
The essential point of a terrarium is that the plants are surrounded by the container & access to the outside air is minimal. It is a contained self-sufficient eco-system. It requires very little from you to keep happy but follow the following points to ensure it thrives.
How to care for your terrarium
-
The most important factor in keeping a closed terrarium alive is the environment you keep it. It needs semi-shade. This means no direct sunlight and no darkness but somewhere in-between. The middle of a bright room is a good place. It is also temperature sensitive so avoid heat sources or very cold/draughty spots.
-
Once watered for the first time you will NOT need to water again! However, if you accidentally leave it in too bright a spot and it looks dried out you can add a few sprays of water from a mister to kick start the water cycle again.
-
Turn your terrarium about once a week to ensure even growth of plants.
-
If the terrarium glass mists up so much that you can’t see the plants inside then move to a cooler and less bright location until it clears- try to avoid removing the cork.
-
You can clean the inside of your terrarium, if necessary, with a bristle bottle brush cleaner or a soft cloth.
How to keep your terrarium alive and thriving
-
Waterlogging is fatal - DO NOT WATER.
-
Keep out of direct sunlight
What to do if a plant in your terrarium dies:
-
Remove the plant carefully
-
Either leave the space free for the other plants to thrive or replace using the following terrarium suitable plants;
-
Begonia
-
Hedera helix
-
Calathea
-
Maranta
-
Mosses
-
Ferns
-
Tradescantia
-
Fittonia
-
Ficus
-
Selaginella
-
