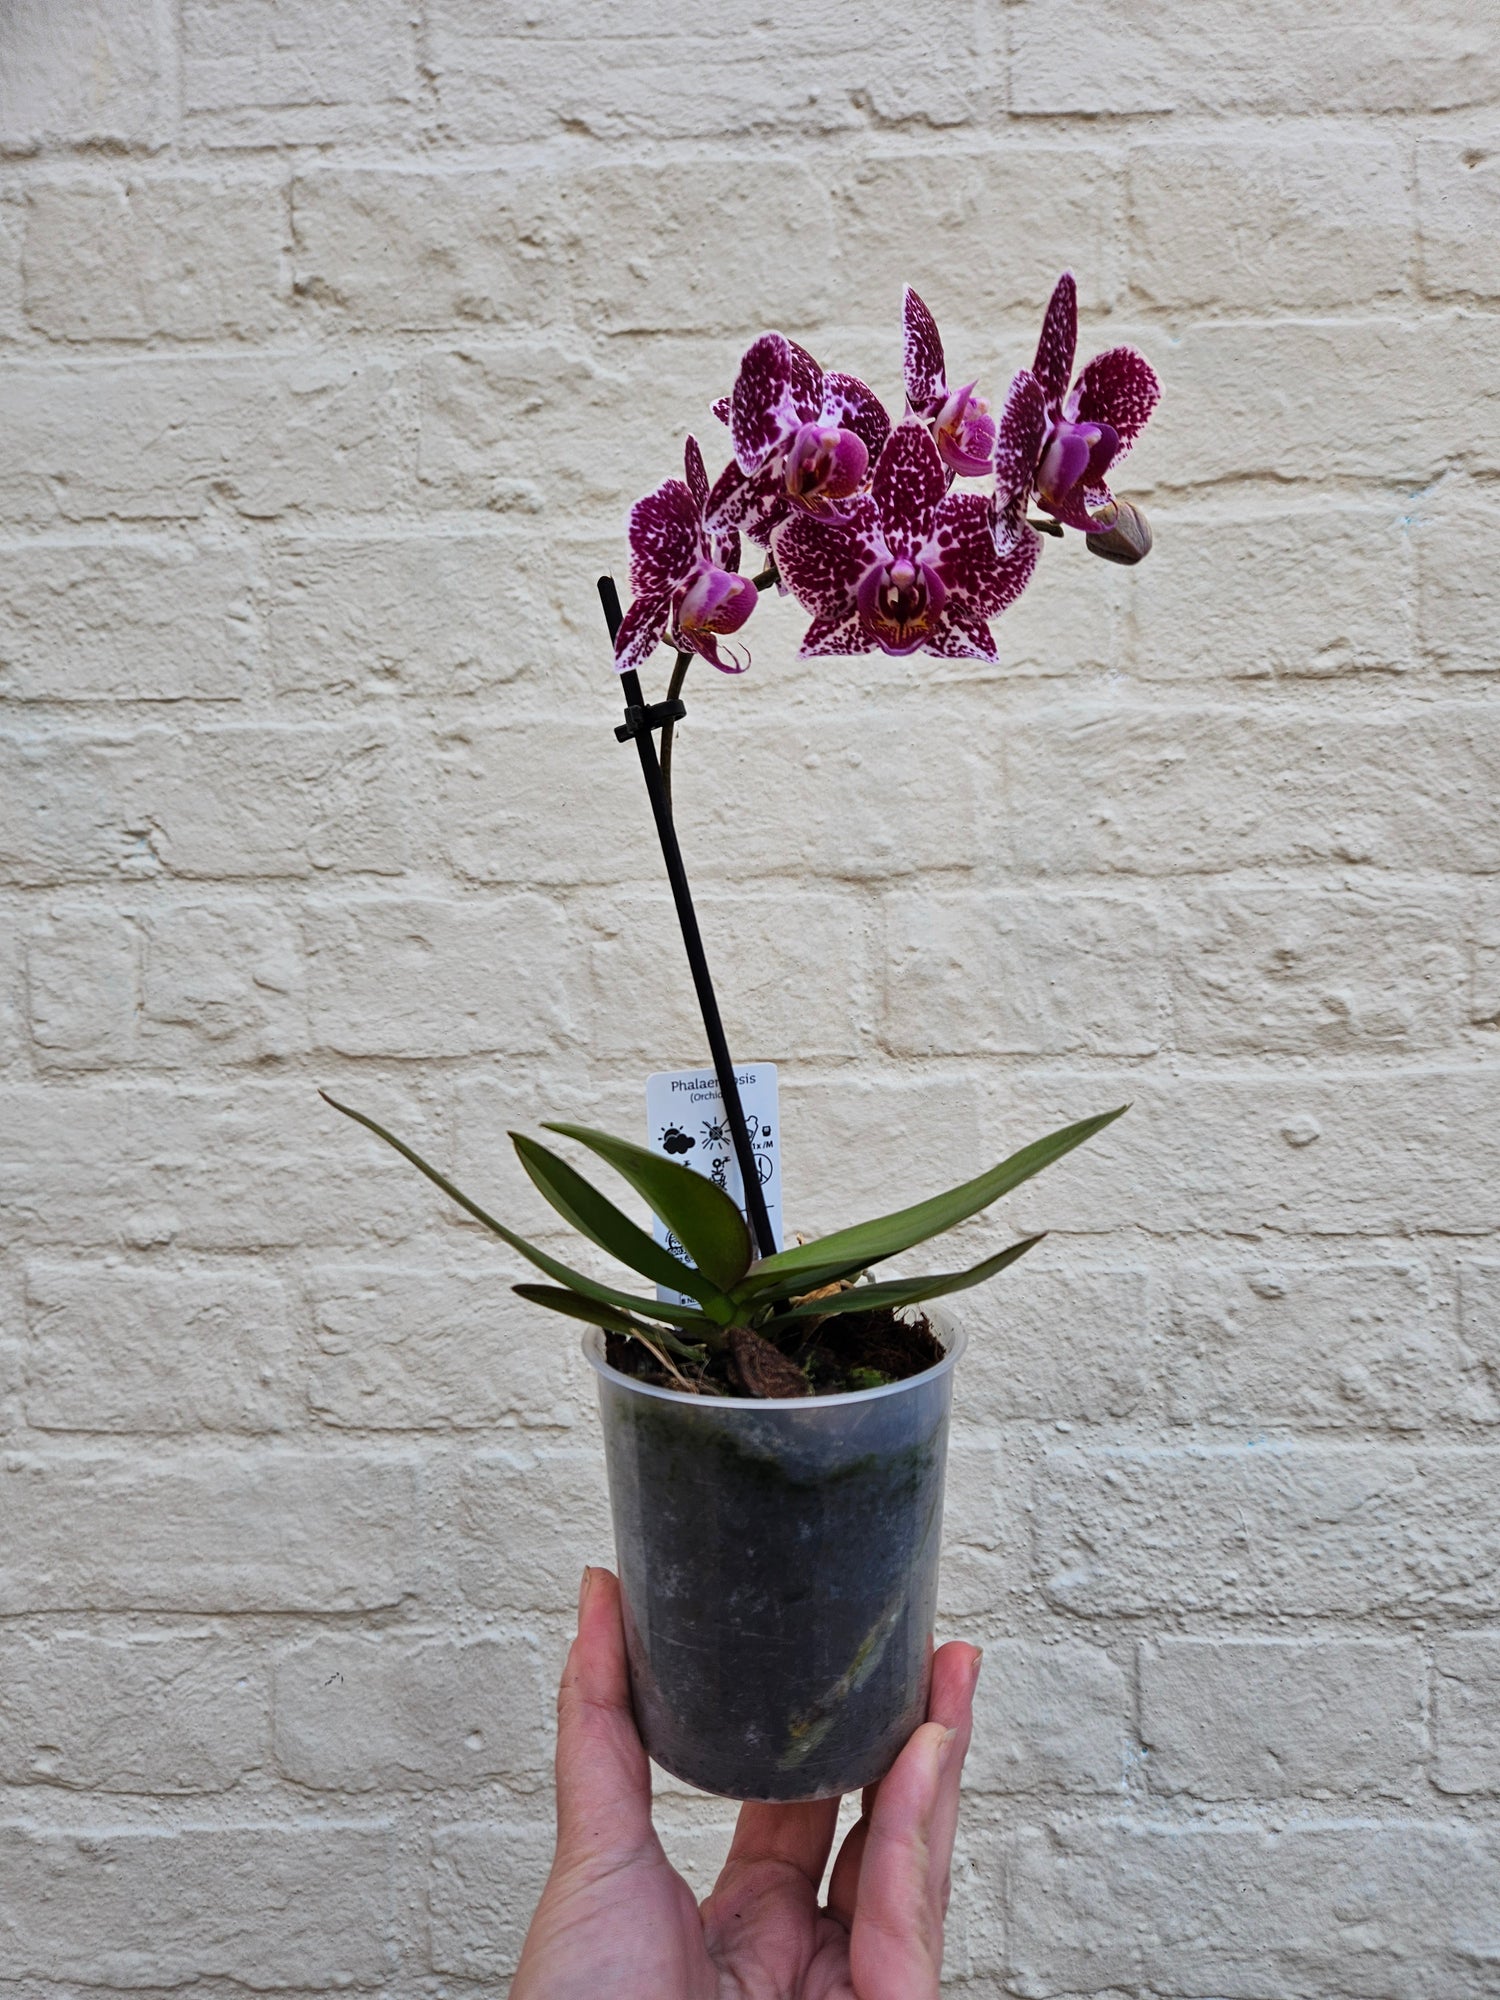


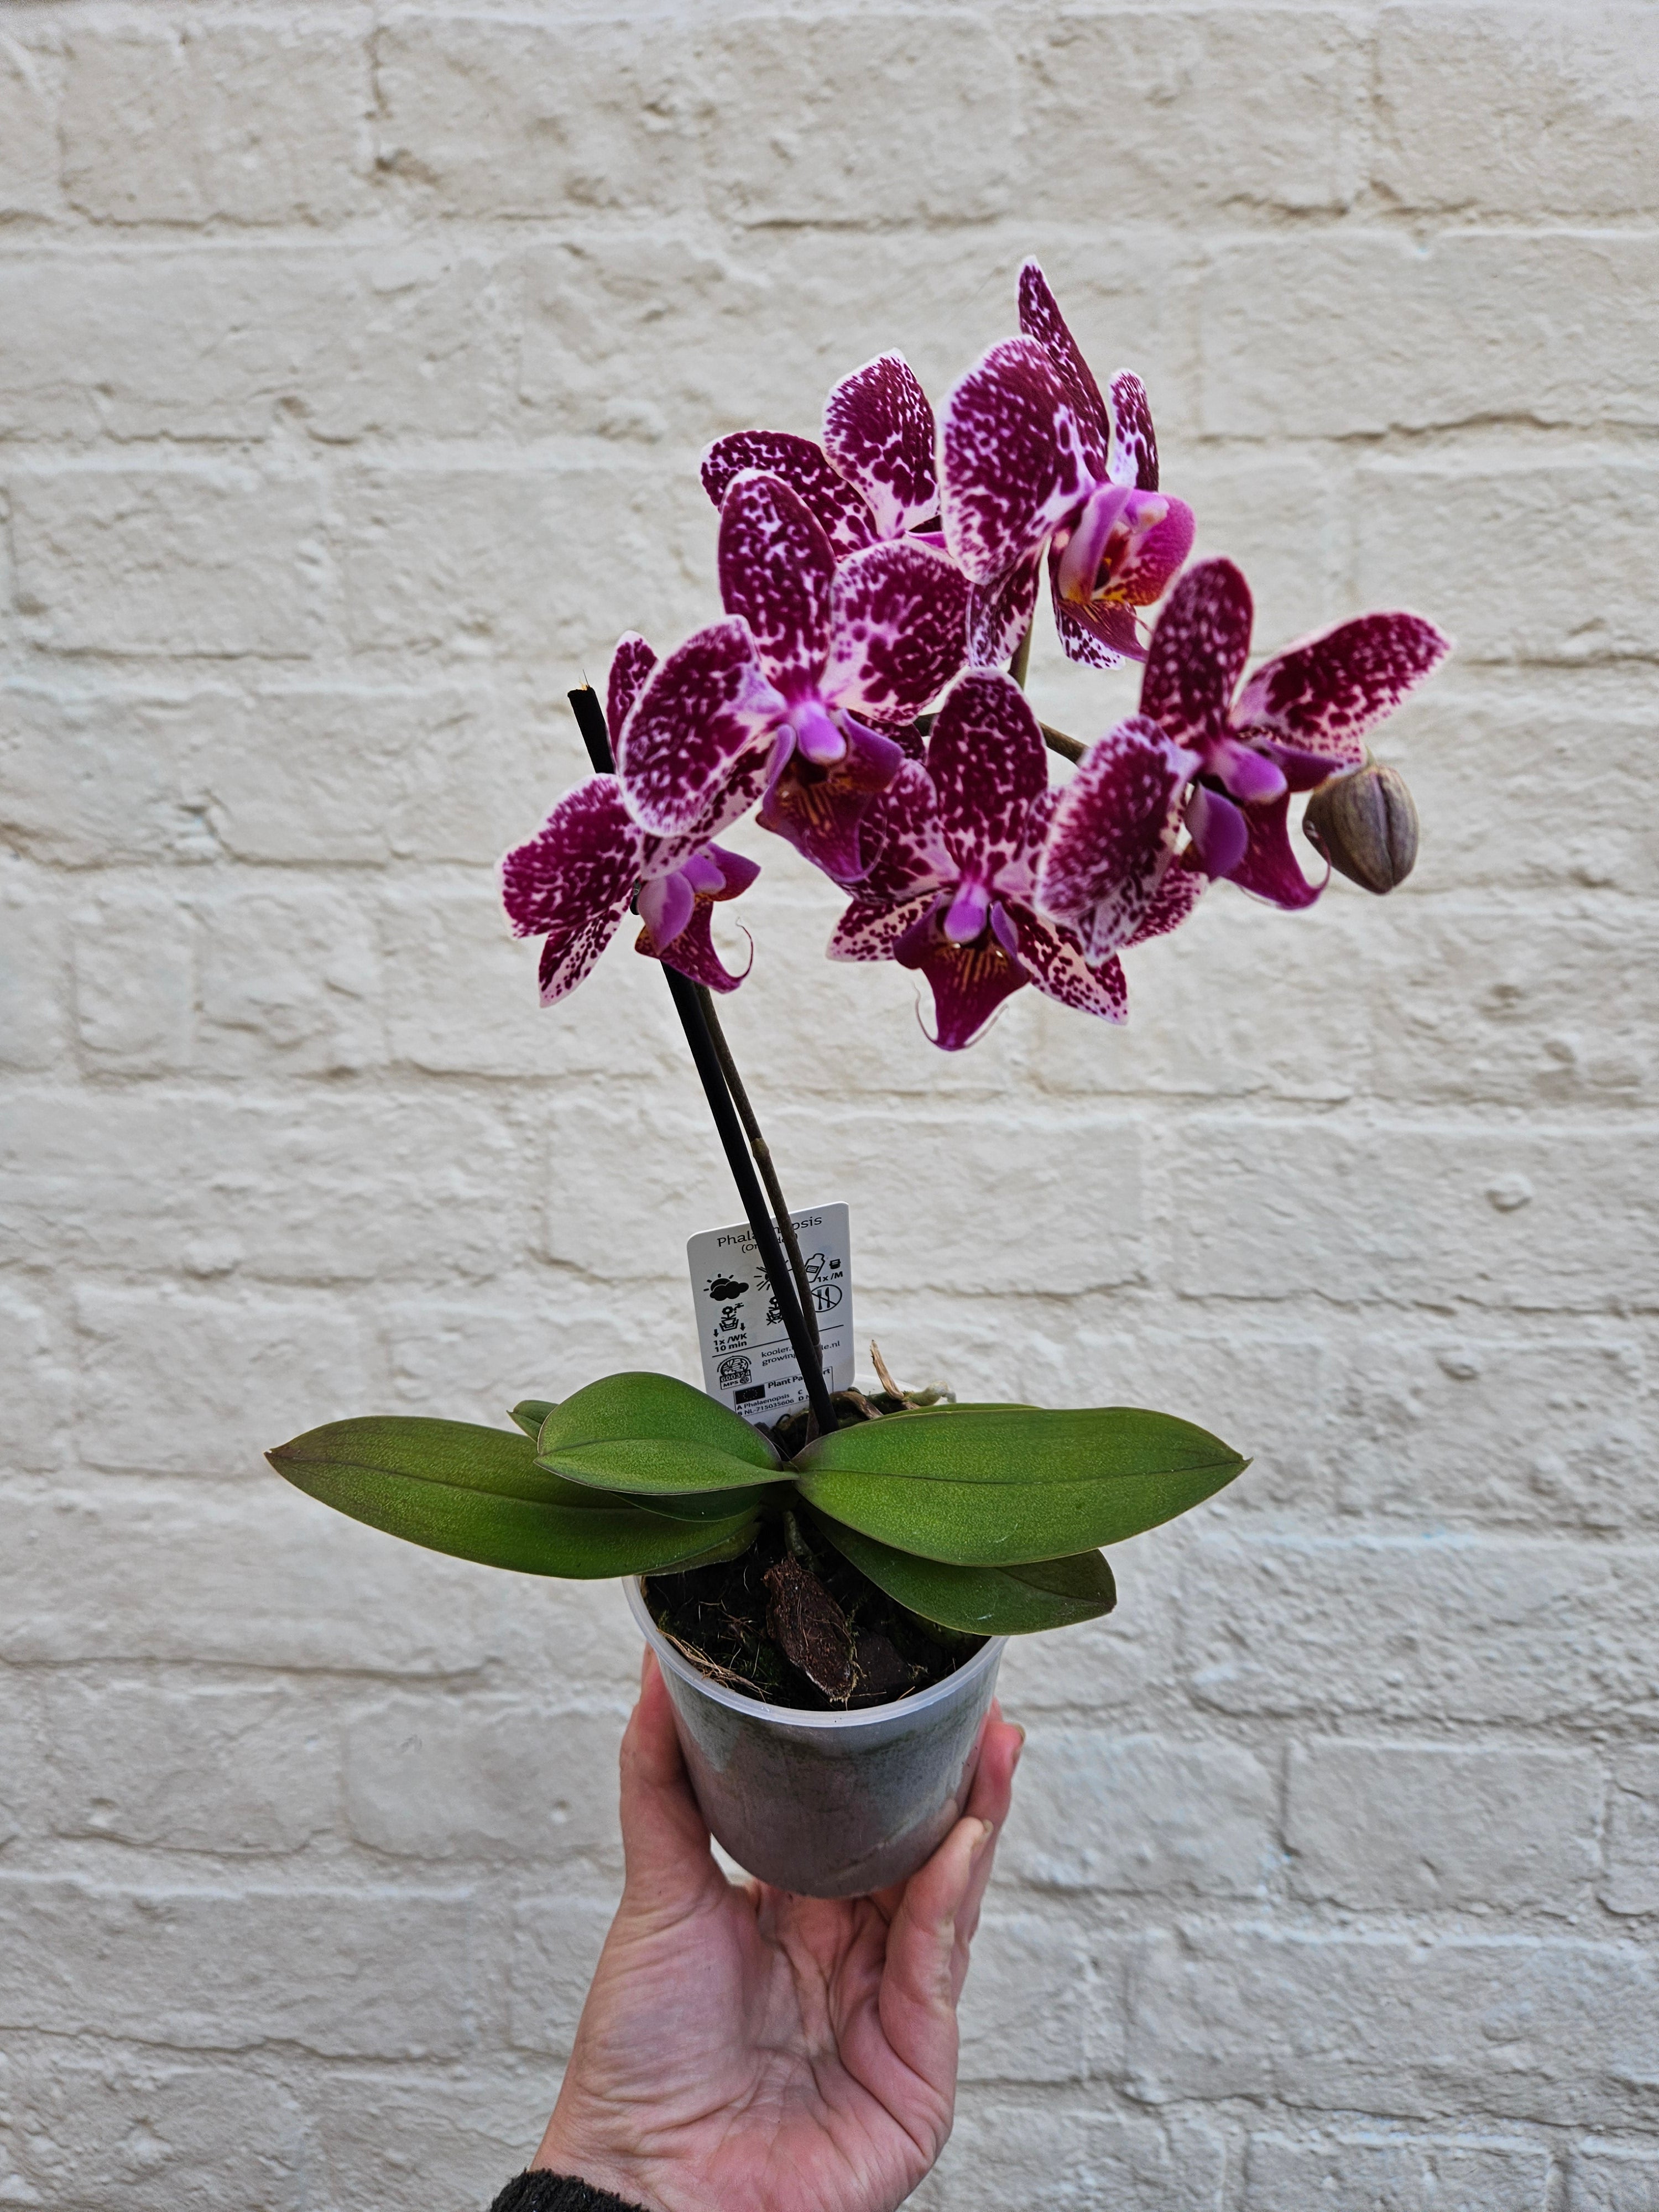

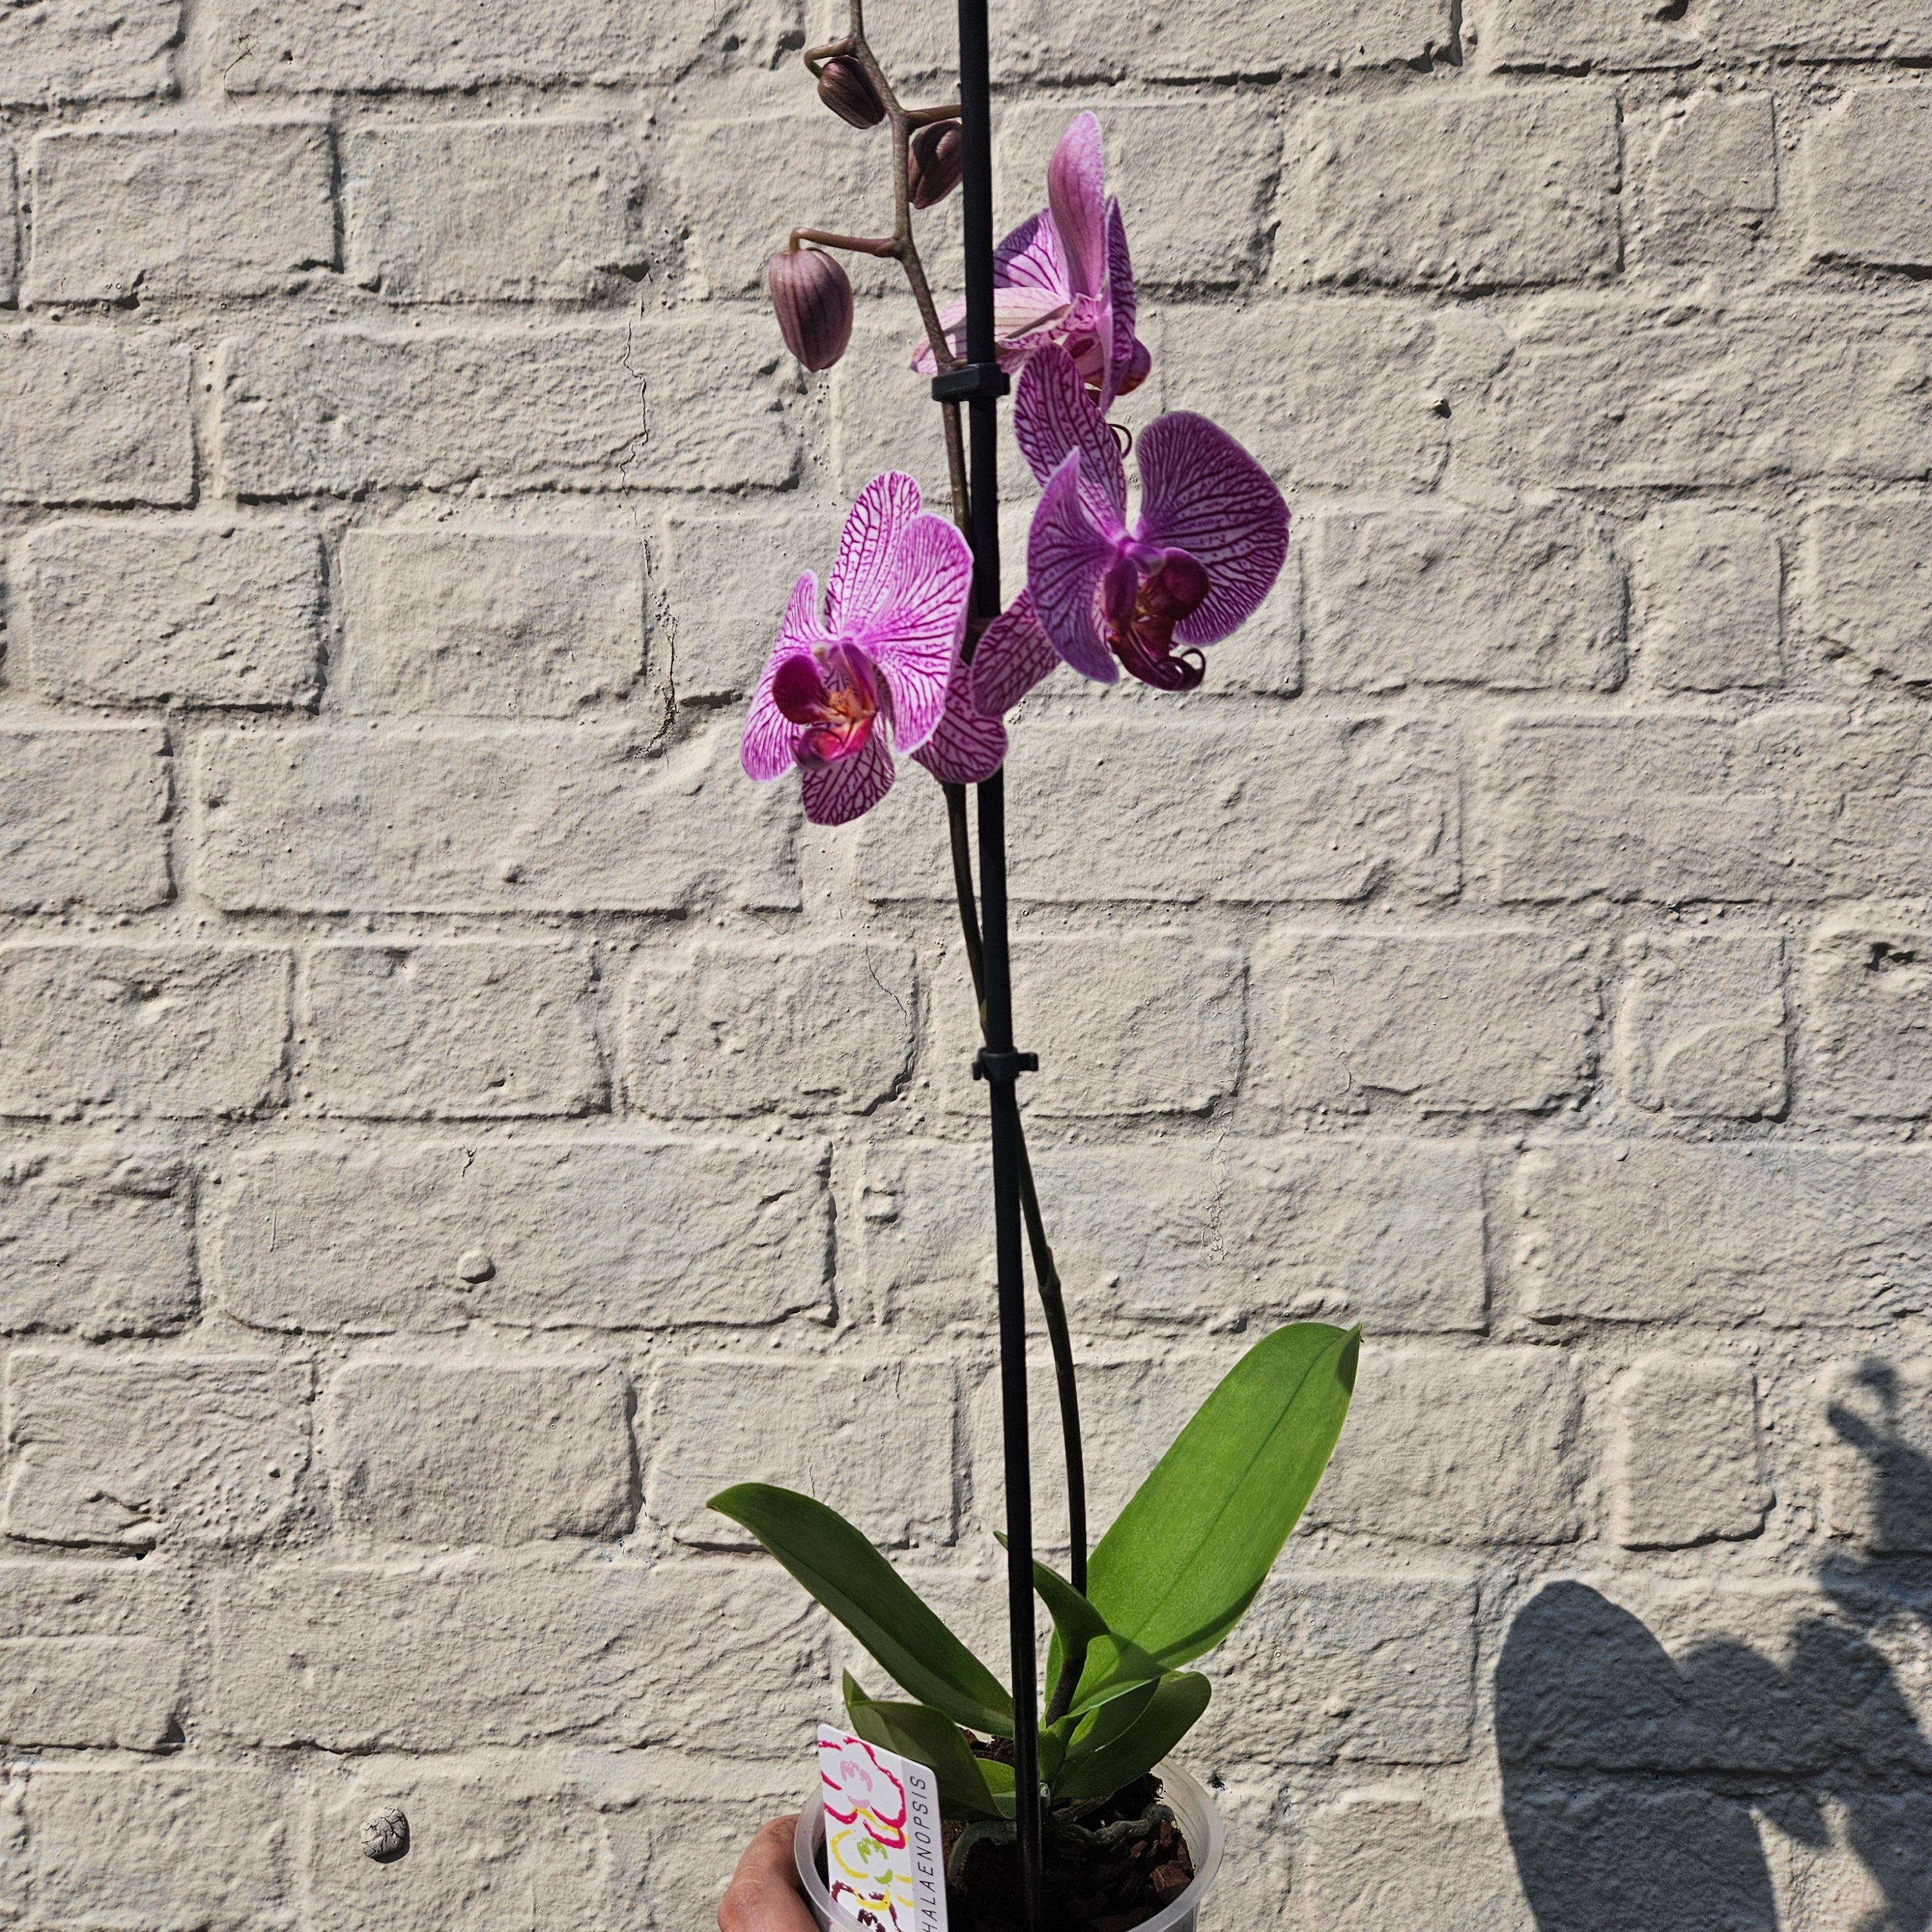
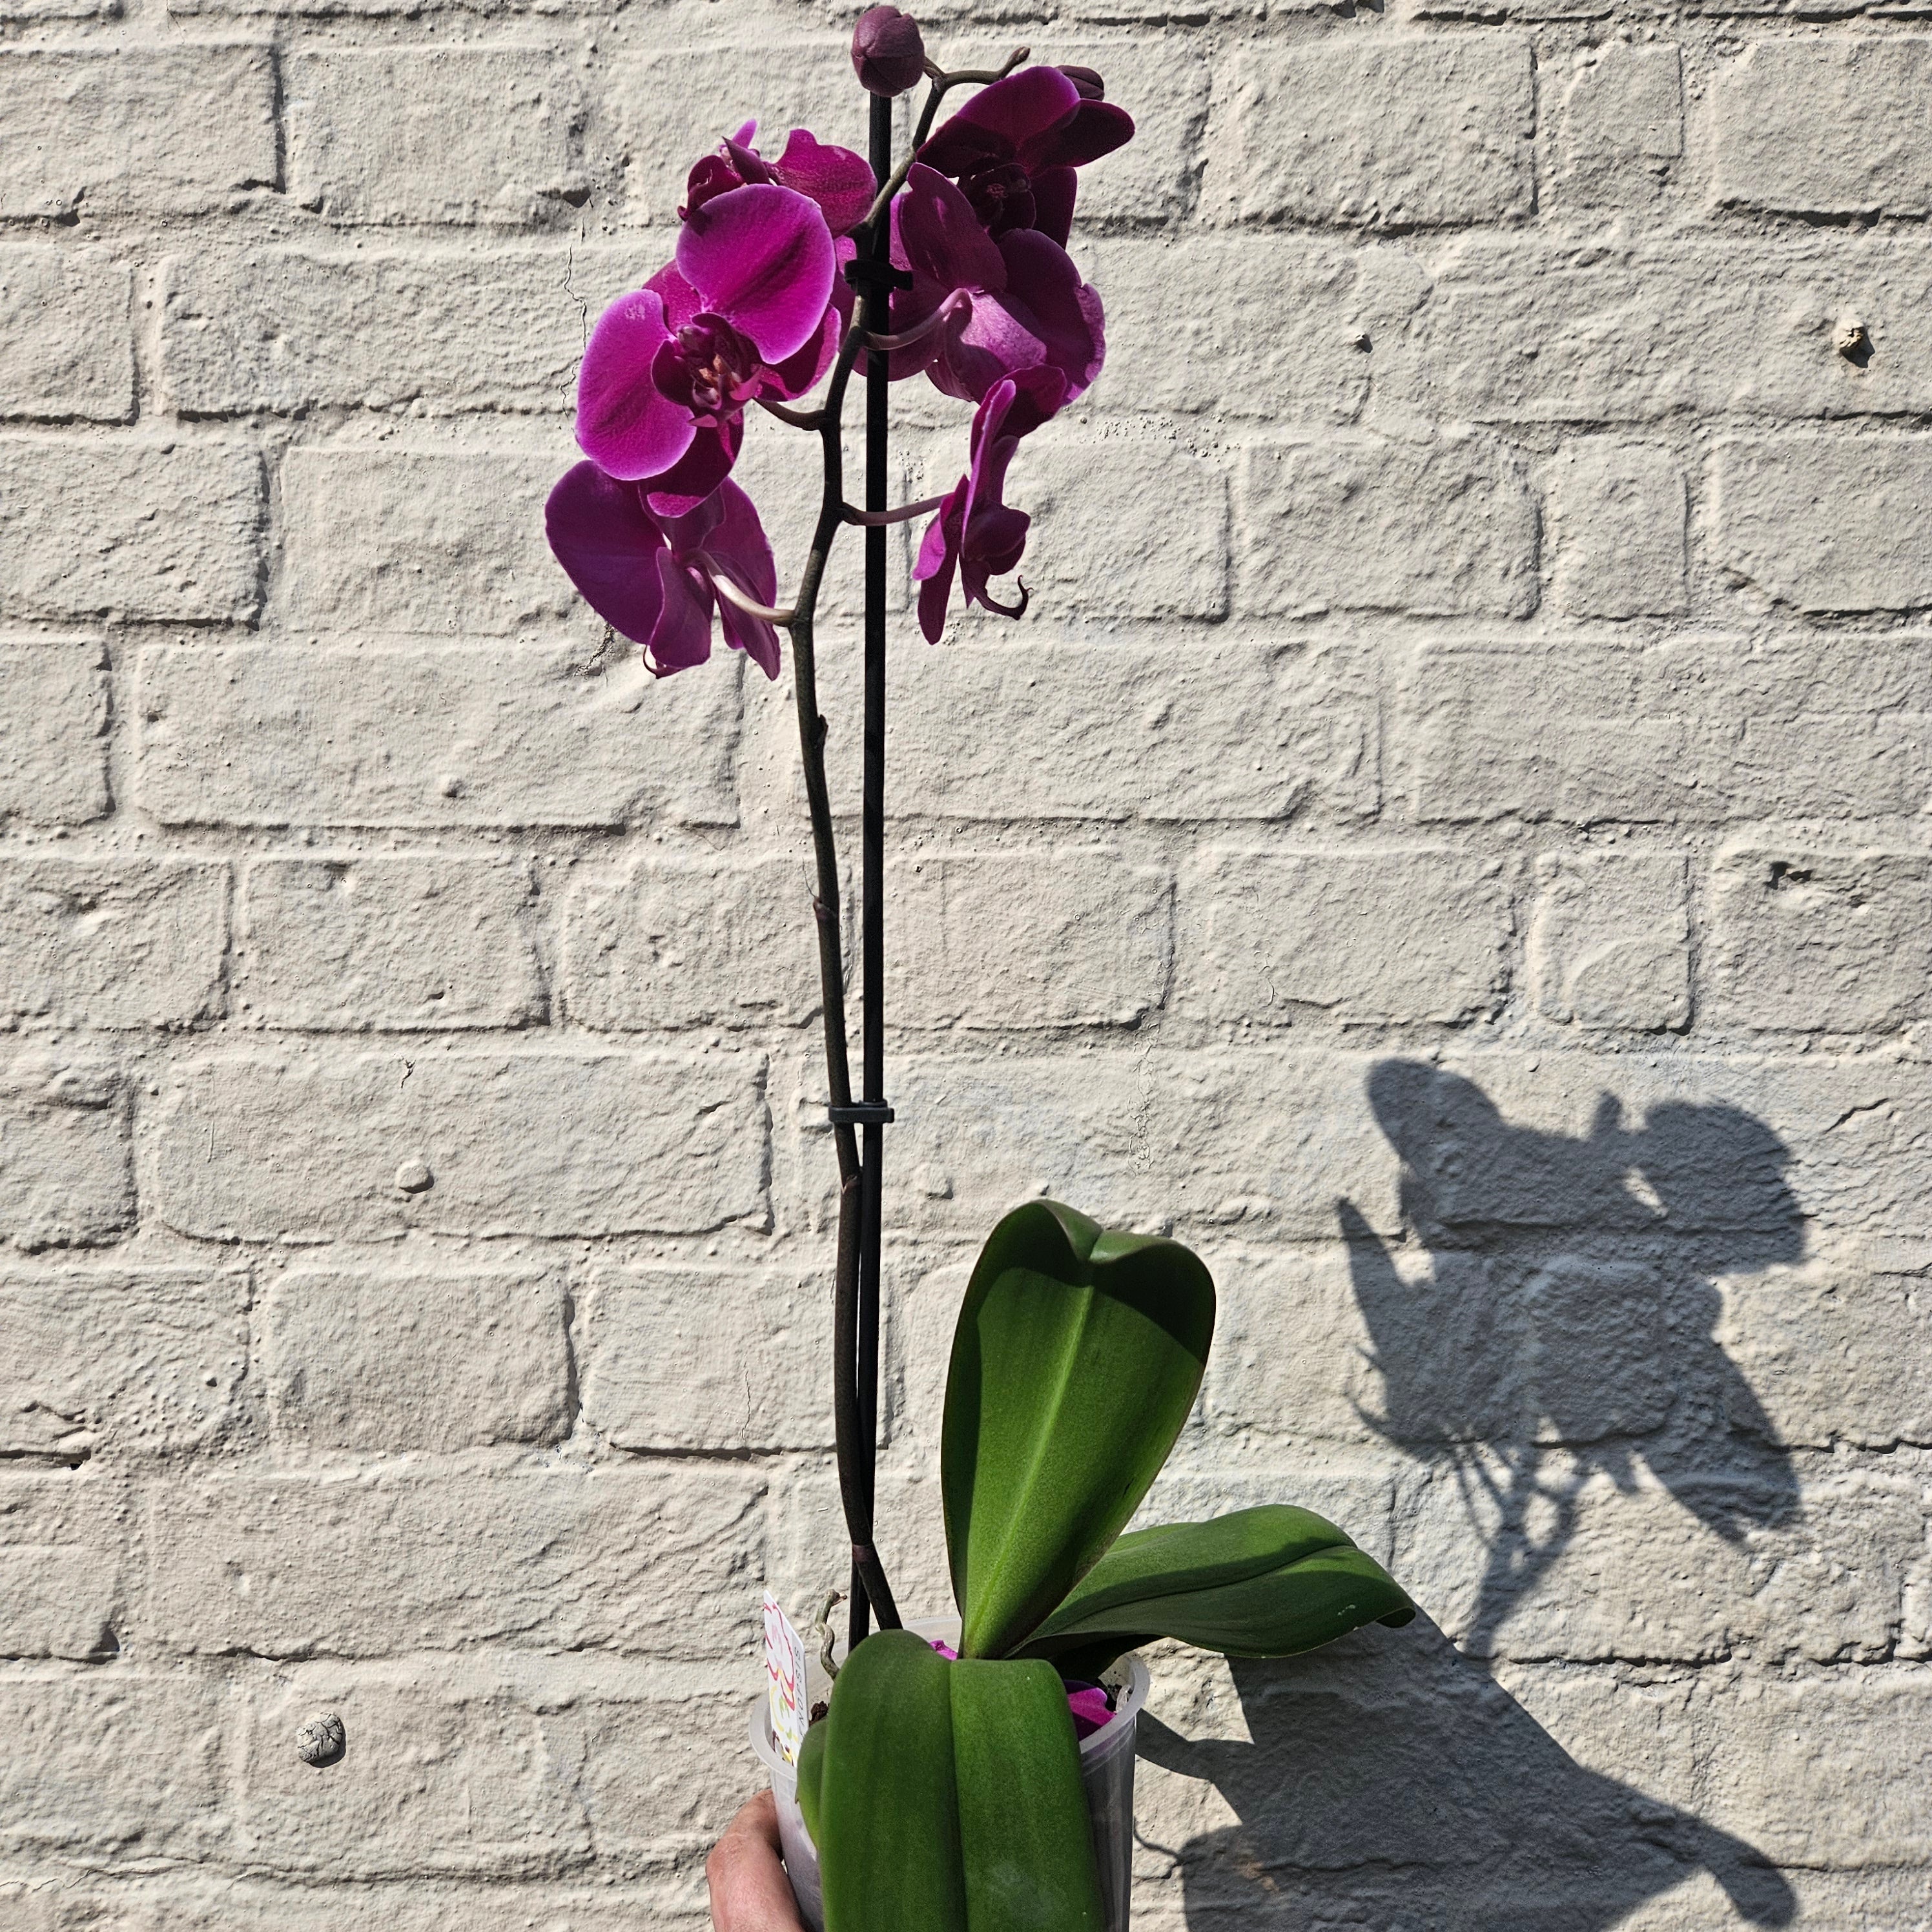

Welcome to the wonderful world of Phalaenopsis Orchid care! Commonly known as Moth Orchids, Phalaenopsis Orchids are among the most popular and beginner-friendly orchids available. With their exotic, long-lasting blooms and stunning variety of colours, patterns, and sizes, they make a striking addition to any home.
These fascinating plants don’t require soil to grow, making them a unique and exciting choice for indoor plant lovers. Whether you're a first-time plant parent or a seasoned grower, Phalaenopsis orchids offer beauty, resilience, and a touch of the tropics.
In this comprehensive guide, we’ll walk you through everything you need to know to keep your Phalaenopsis Orchids happy and thriving.
Phalaenopsis Orchids Overview
Phalaenopsis Orchids, commonly known as Moth Orchids, are native to the tropical and subtropical regions of Southeast Asia, including countries such as the Philippines, Indonesia, and even parts of northern Australia. They belong to the Orchidaceae family, one of the largest plant families in the world, and include over 70 recognized species.
Phalaenopsis Orchids are epiphytes—plants that grow on other plants or trees rather than in soil. Using their strong, exposed roots, they anchor themselves to tree bark or branches in humid forest environments. Rather than taking nutrients from the host plant (like a parasite would), they absorb moisture and nutrients from the air, rain, and surrounding debris. The word epiphyte literally means “on top of a plant,” and rest assured, these orchids don’t harm their hosts.
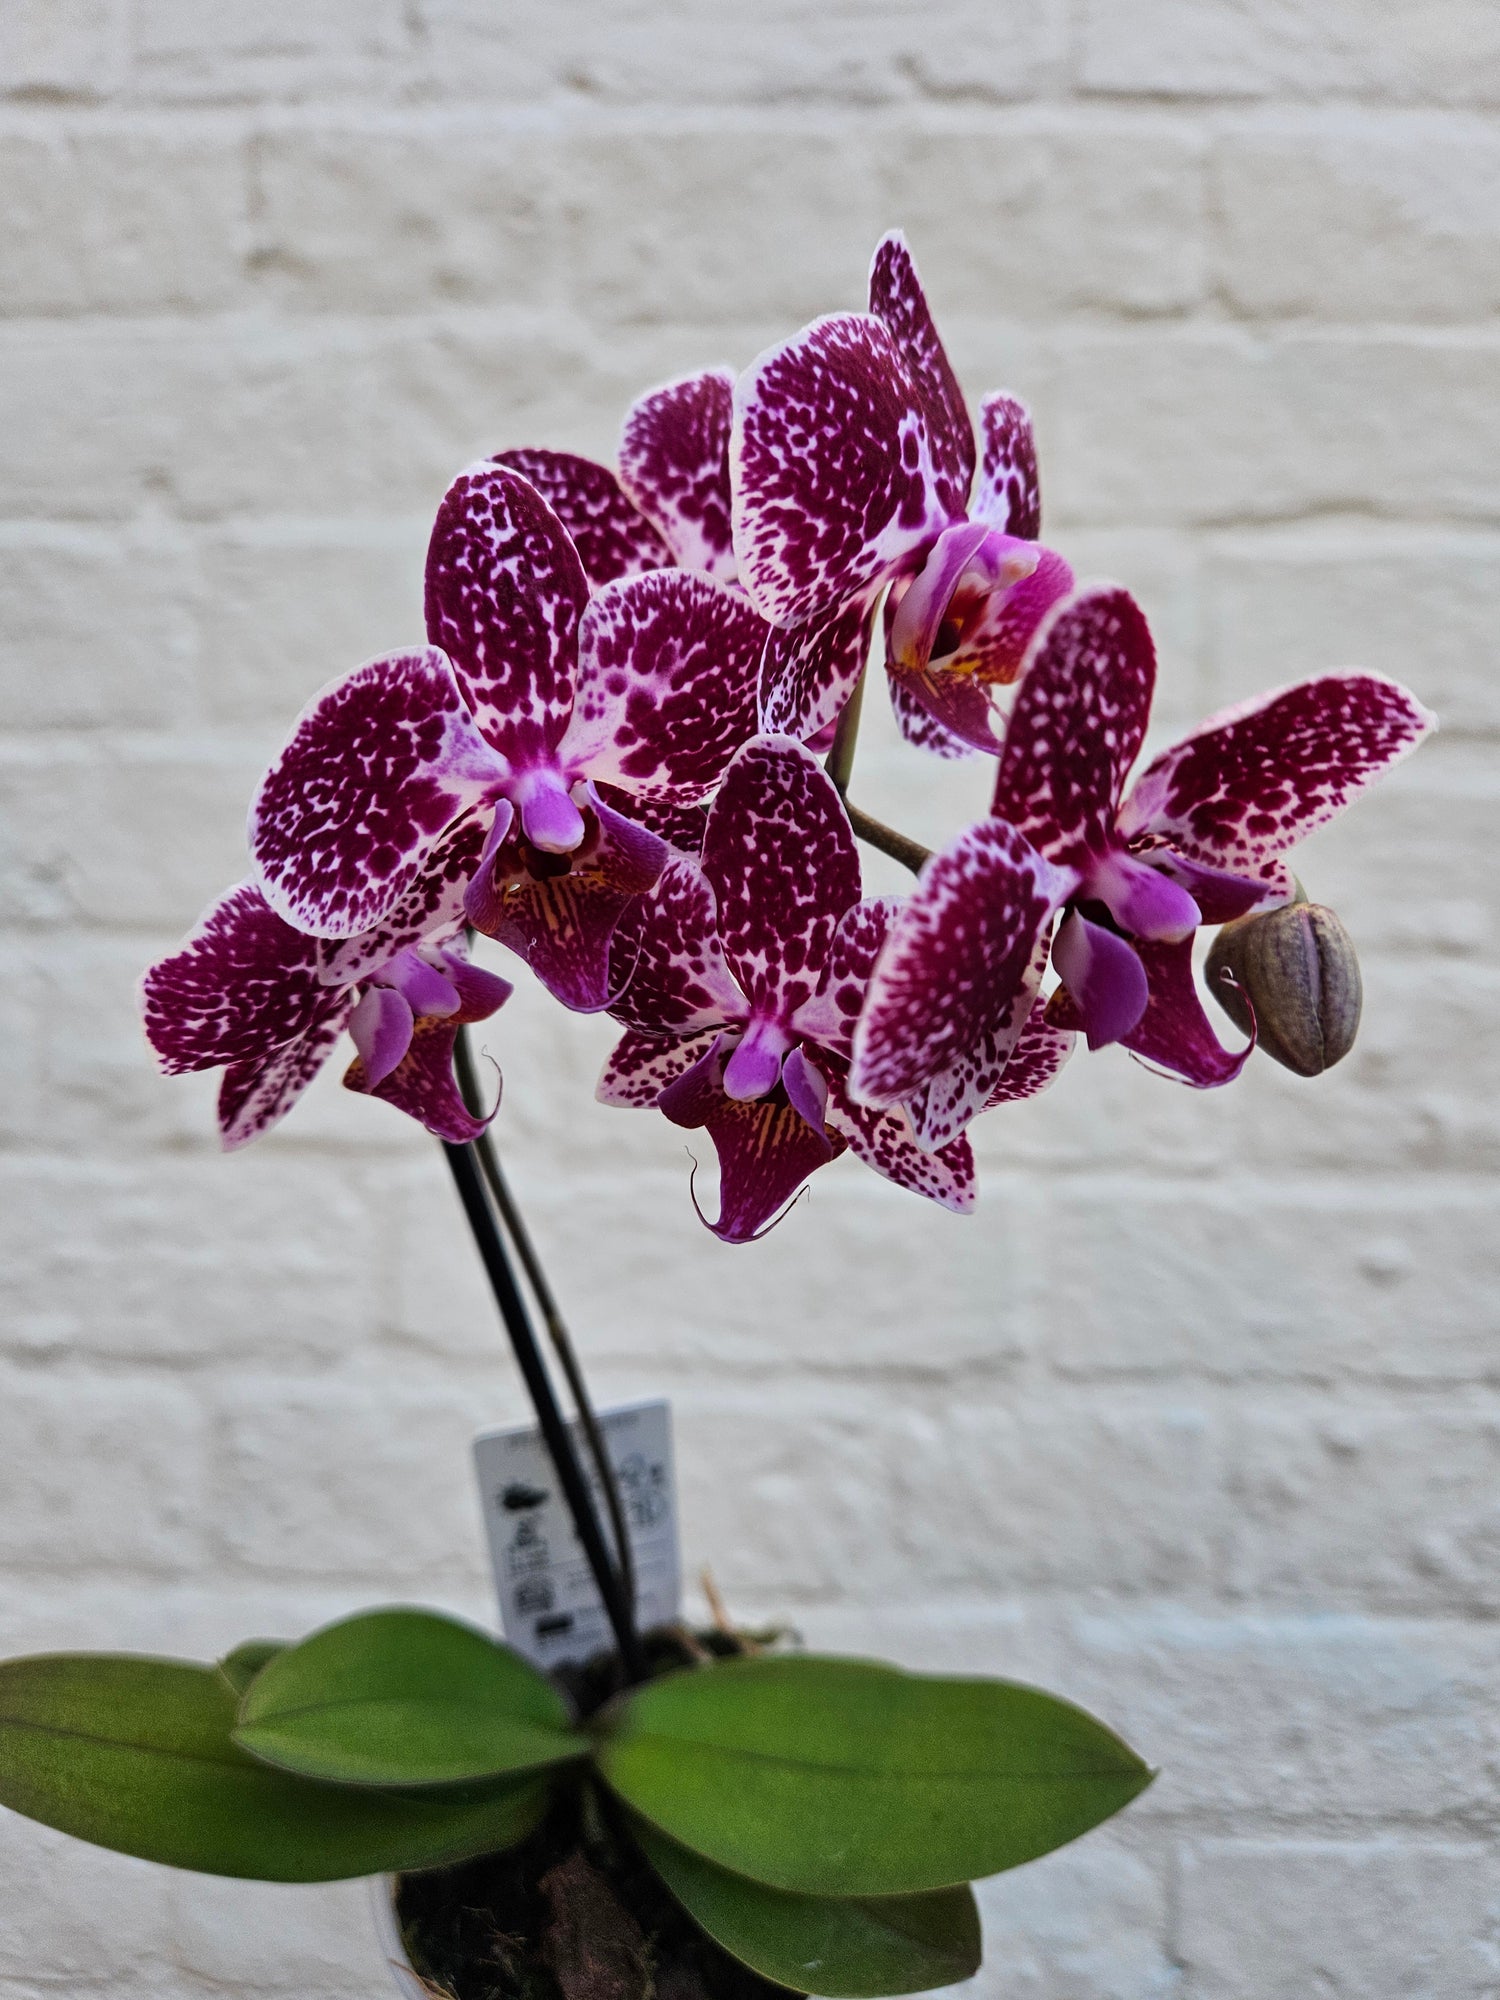
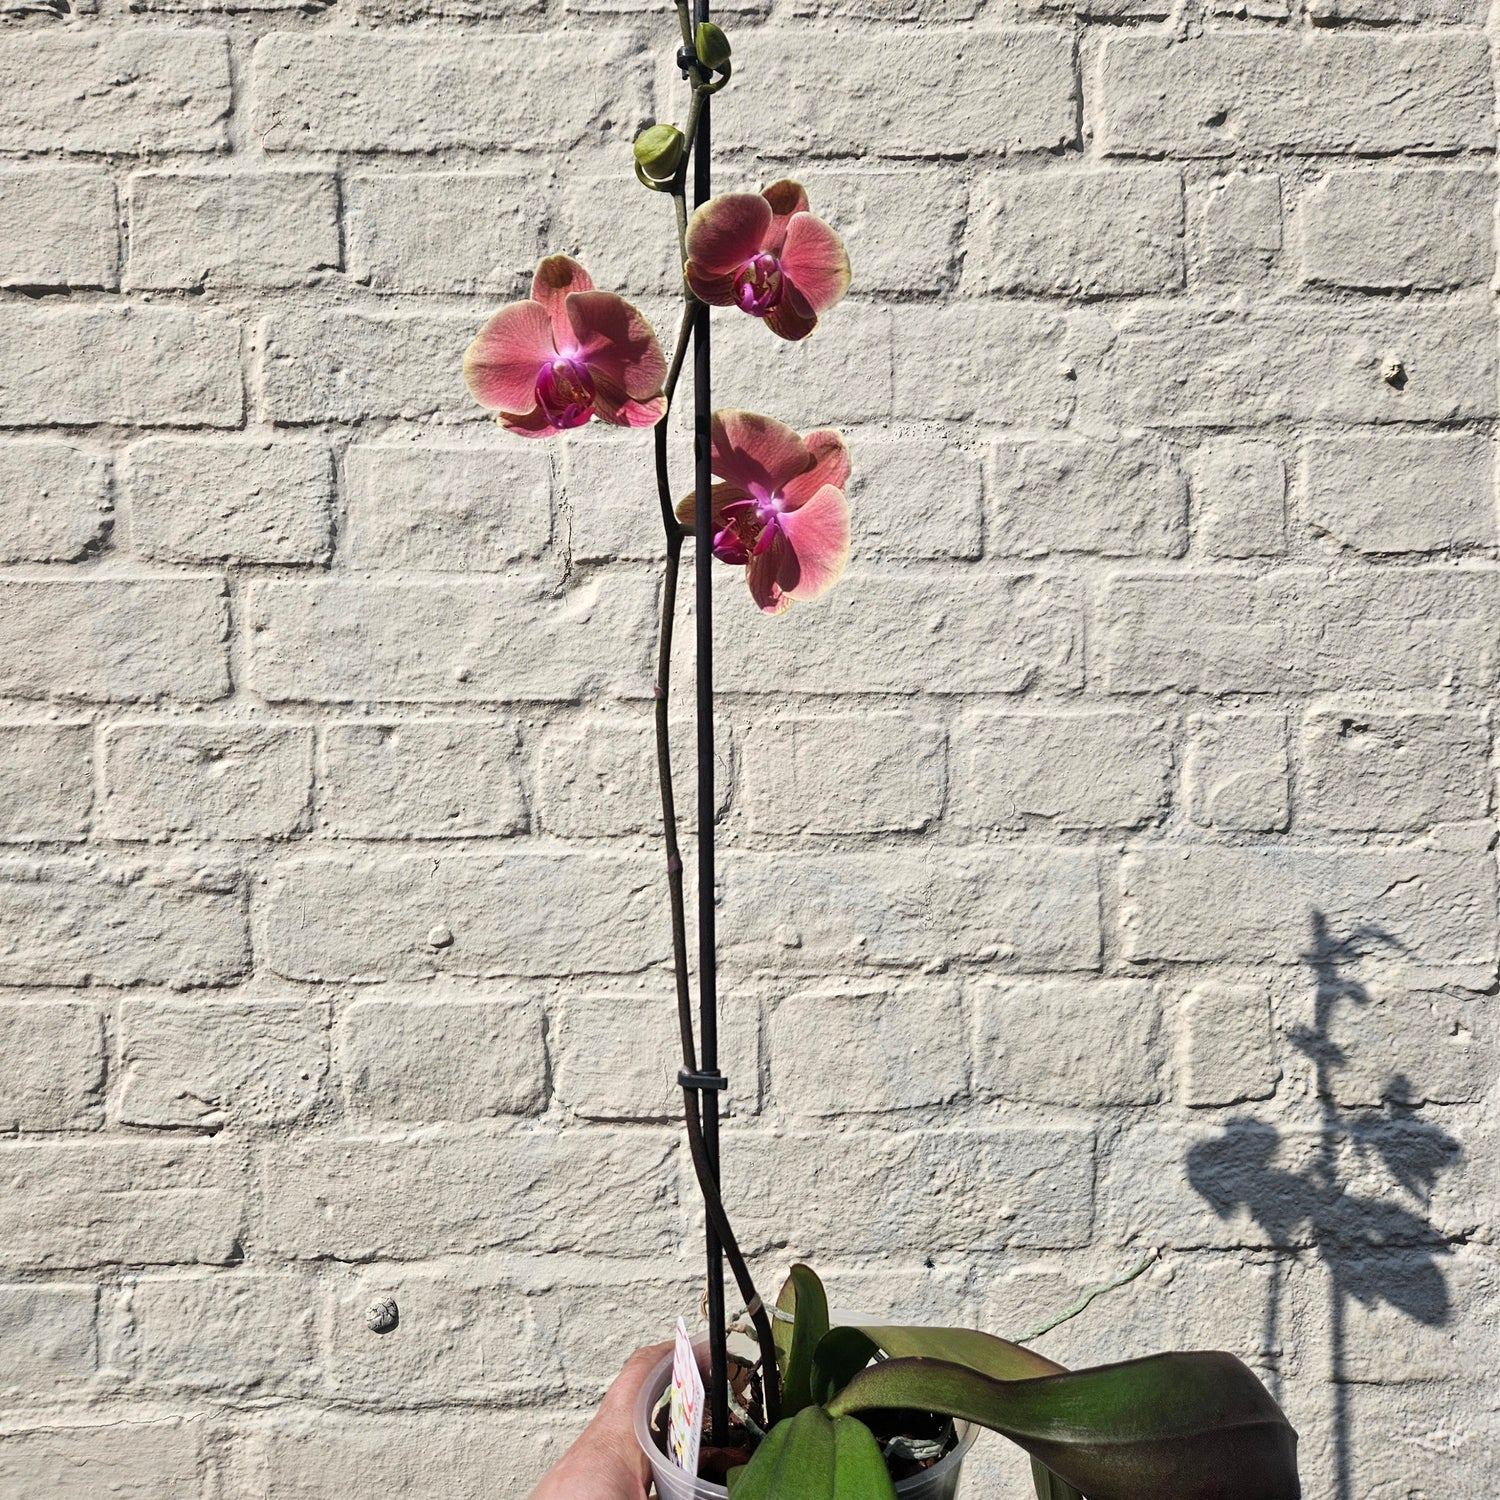
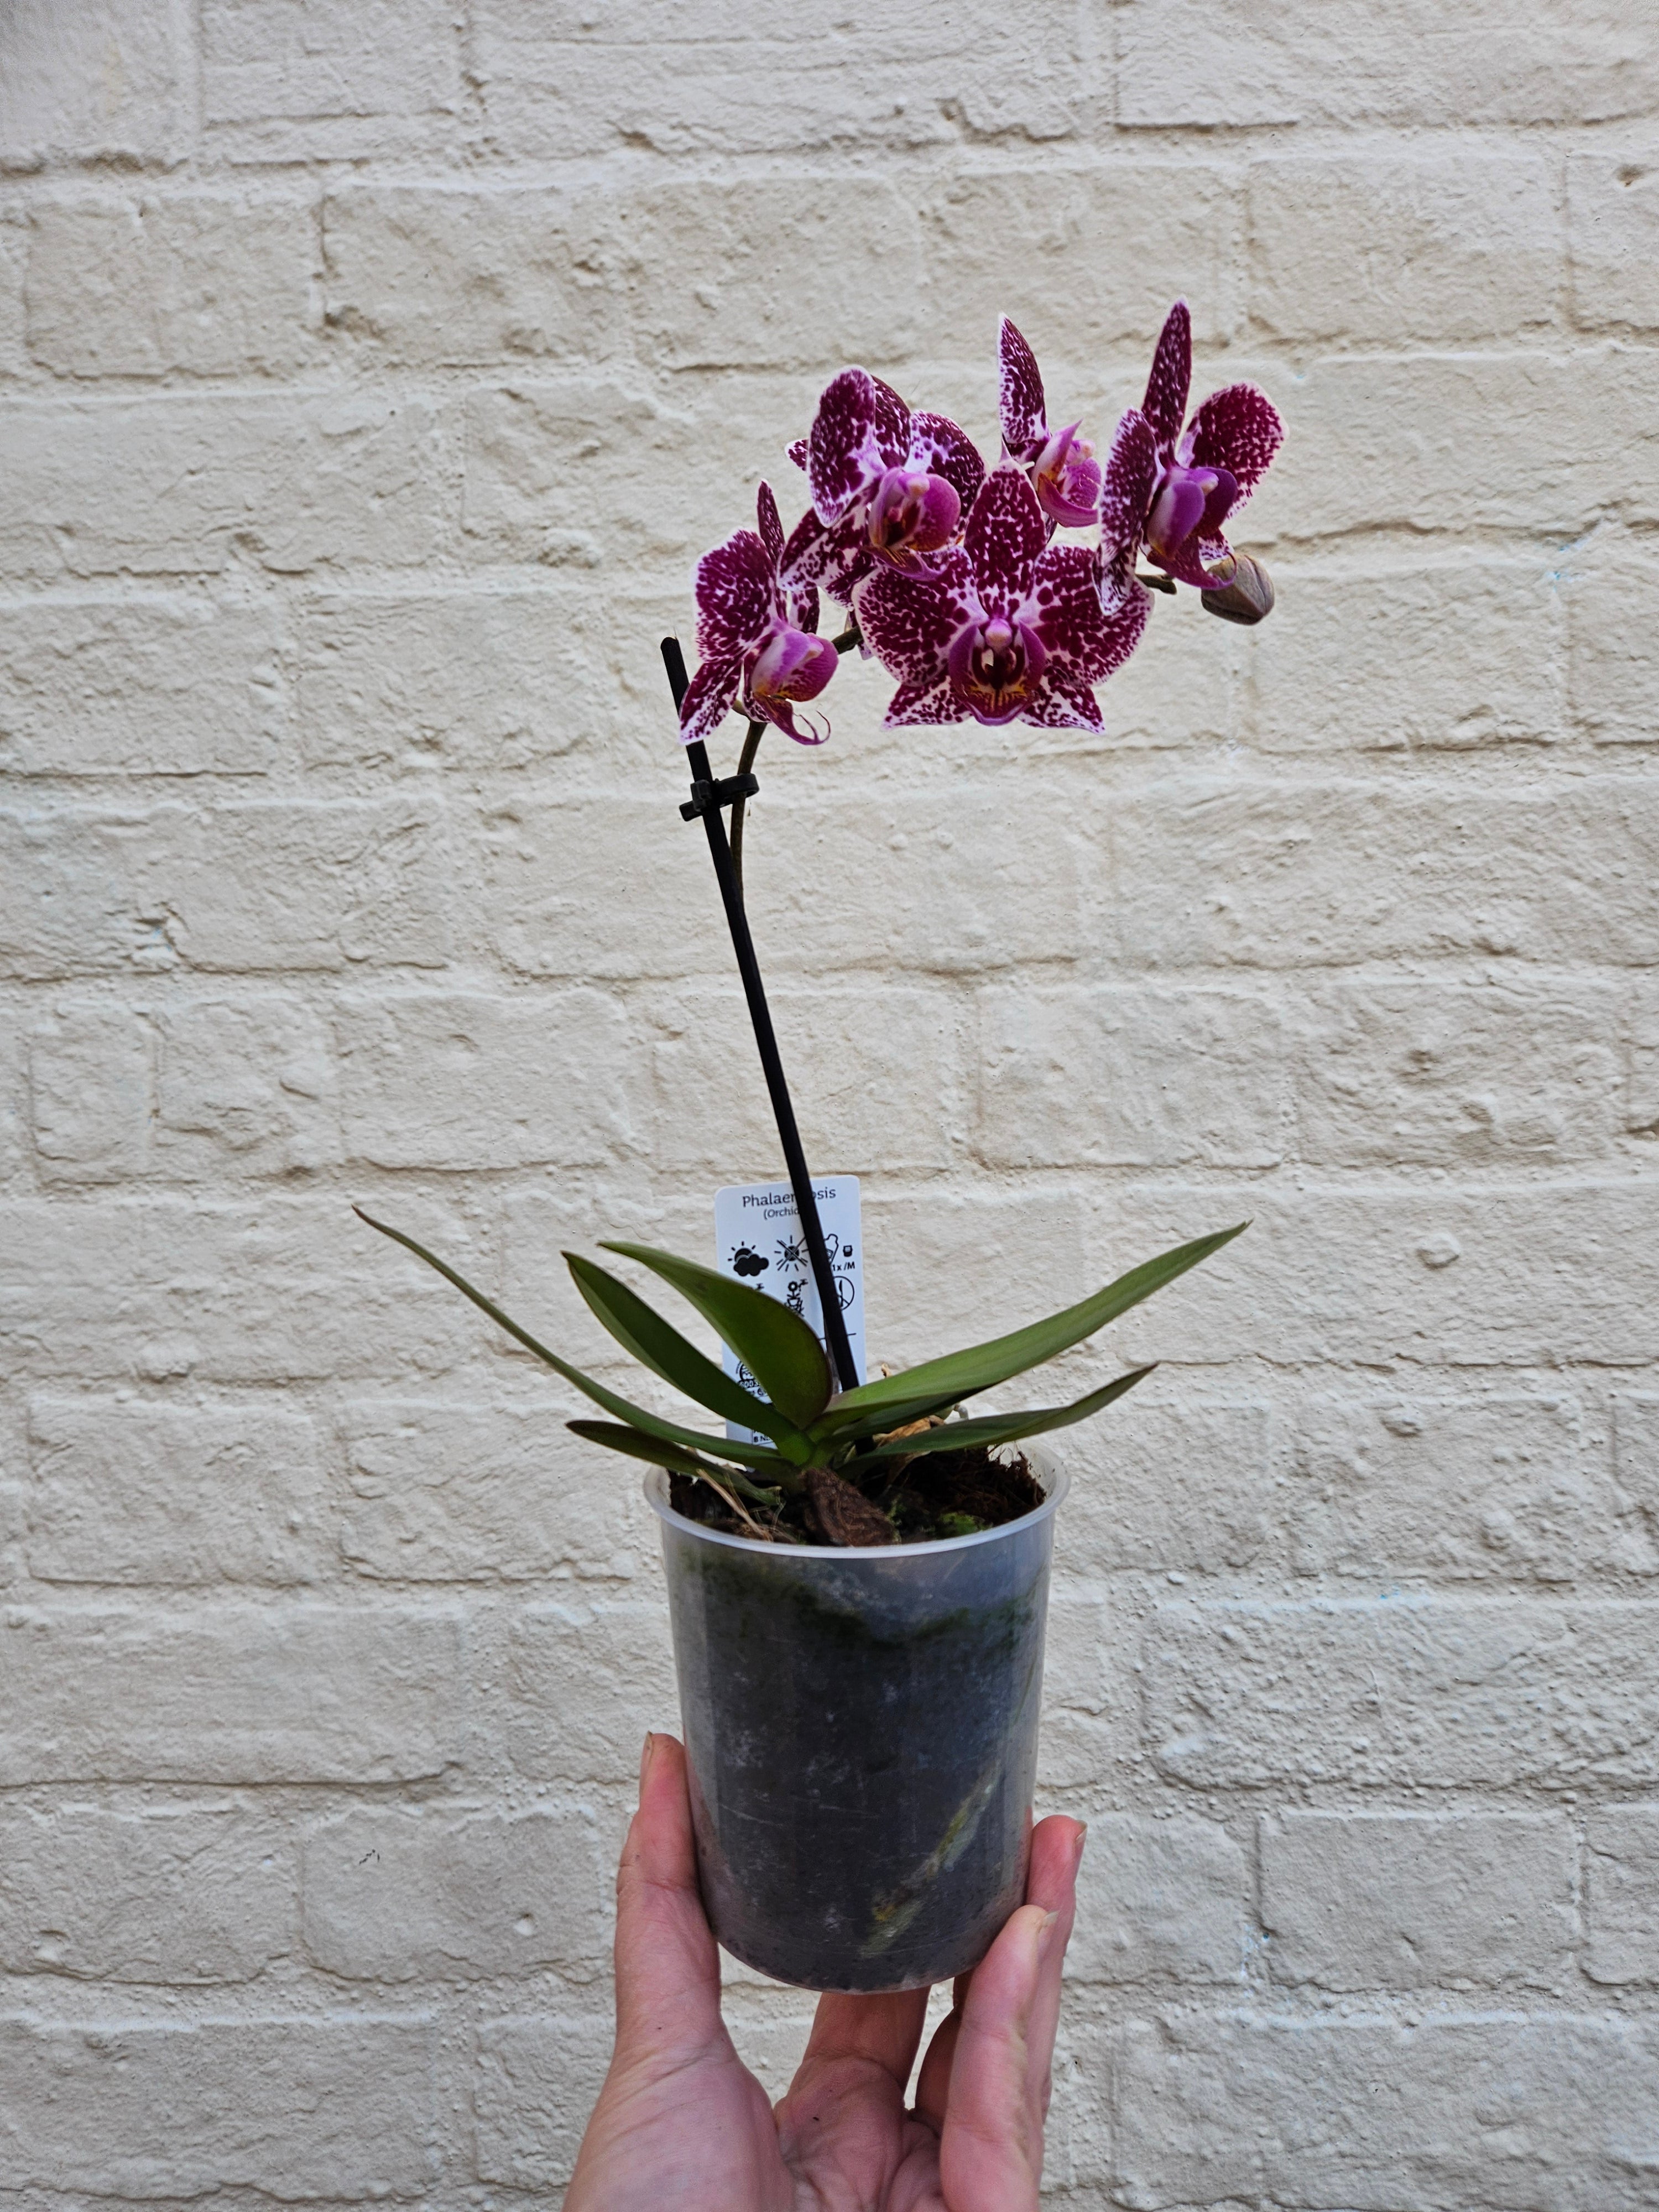
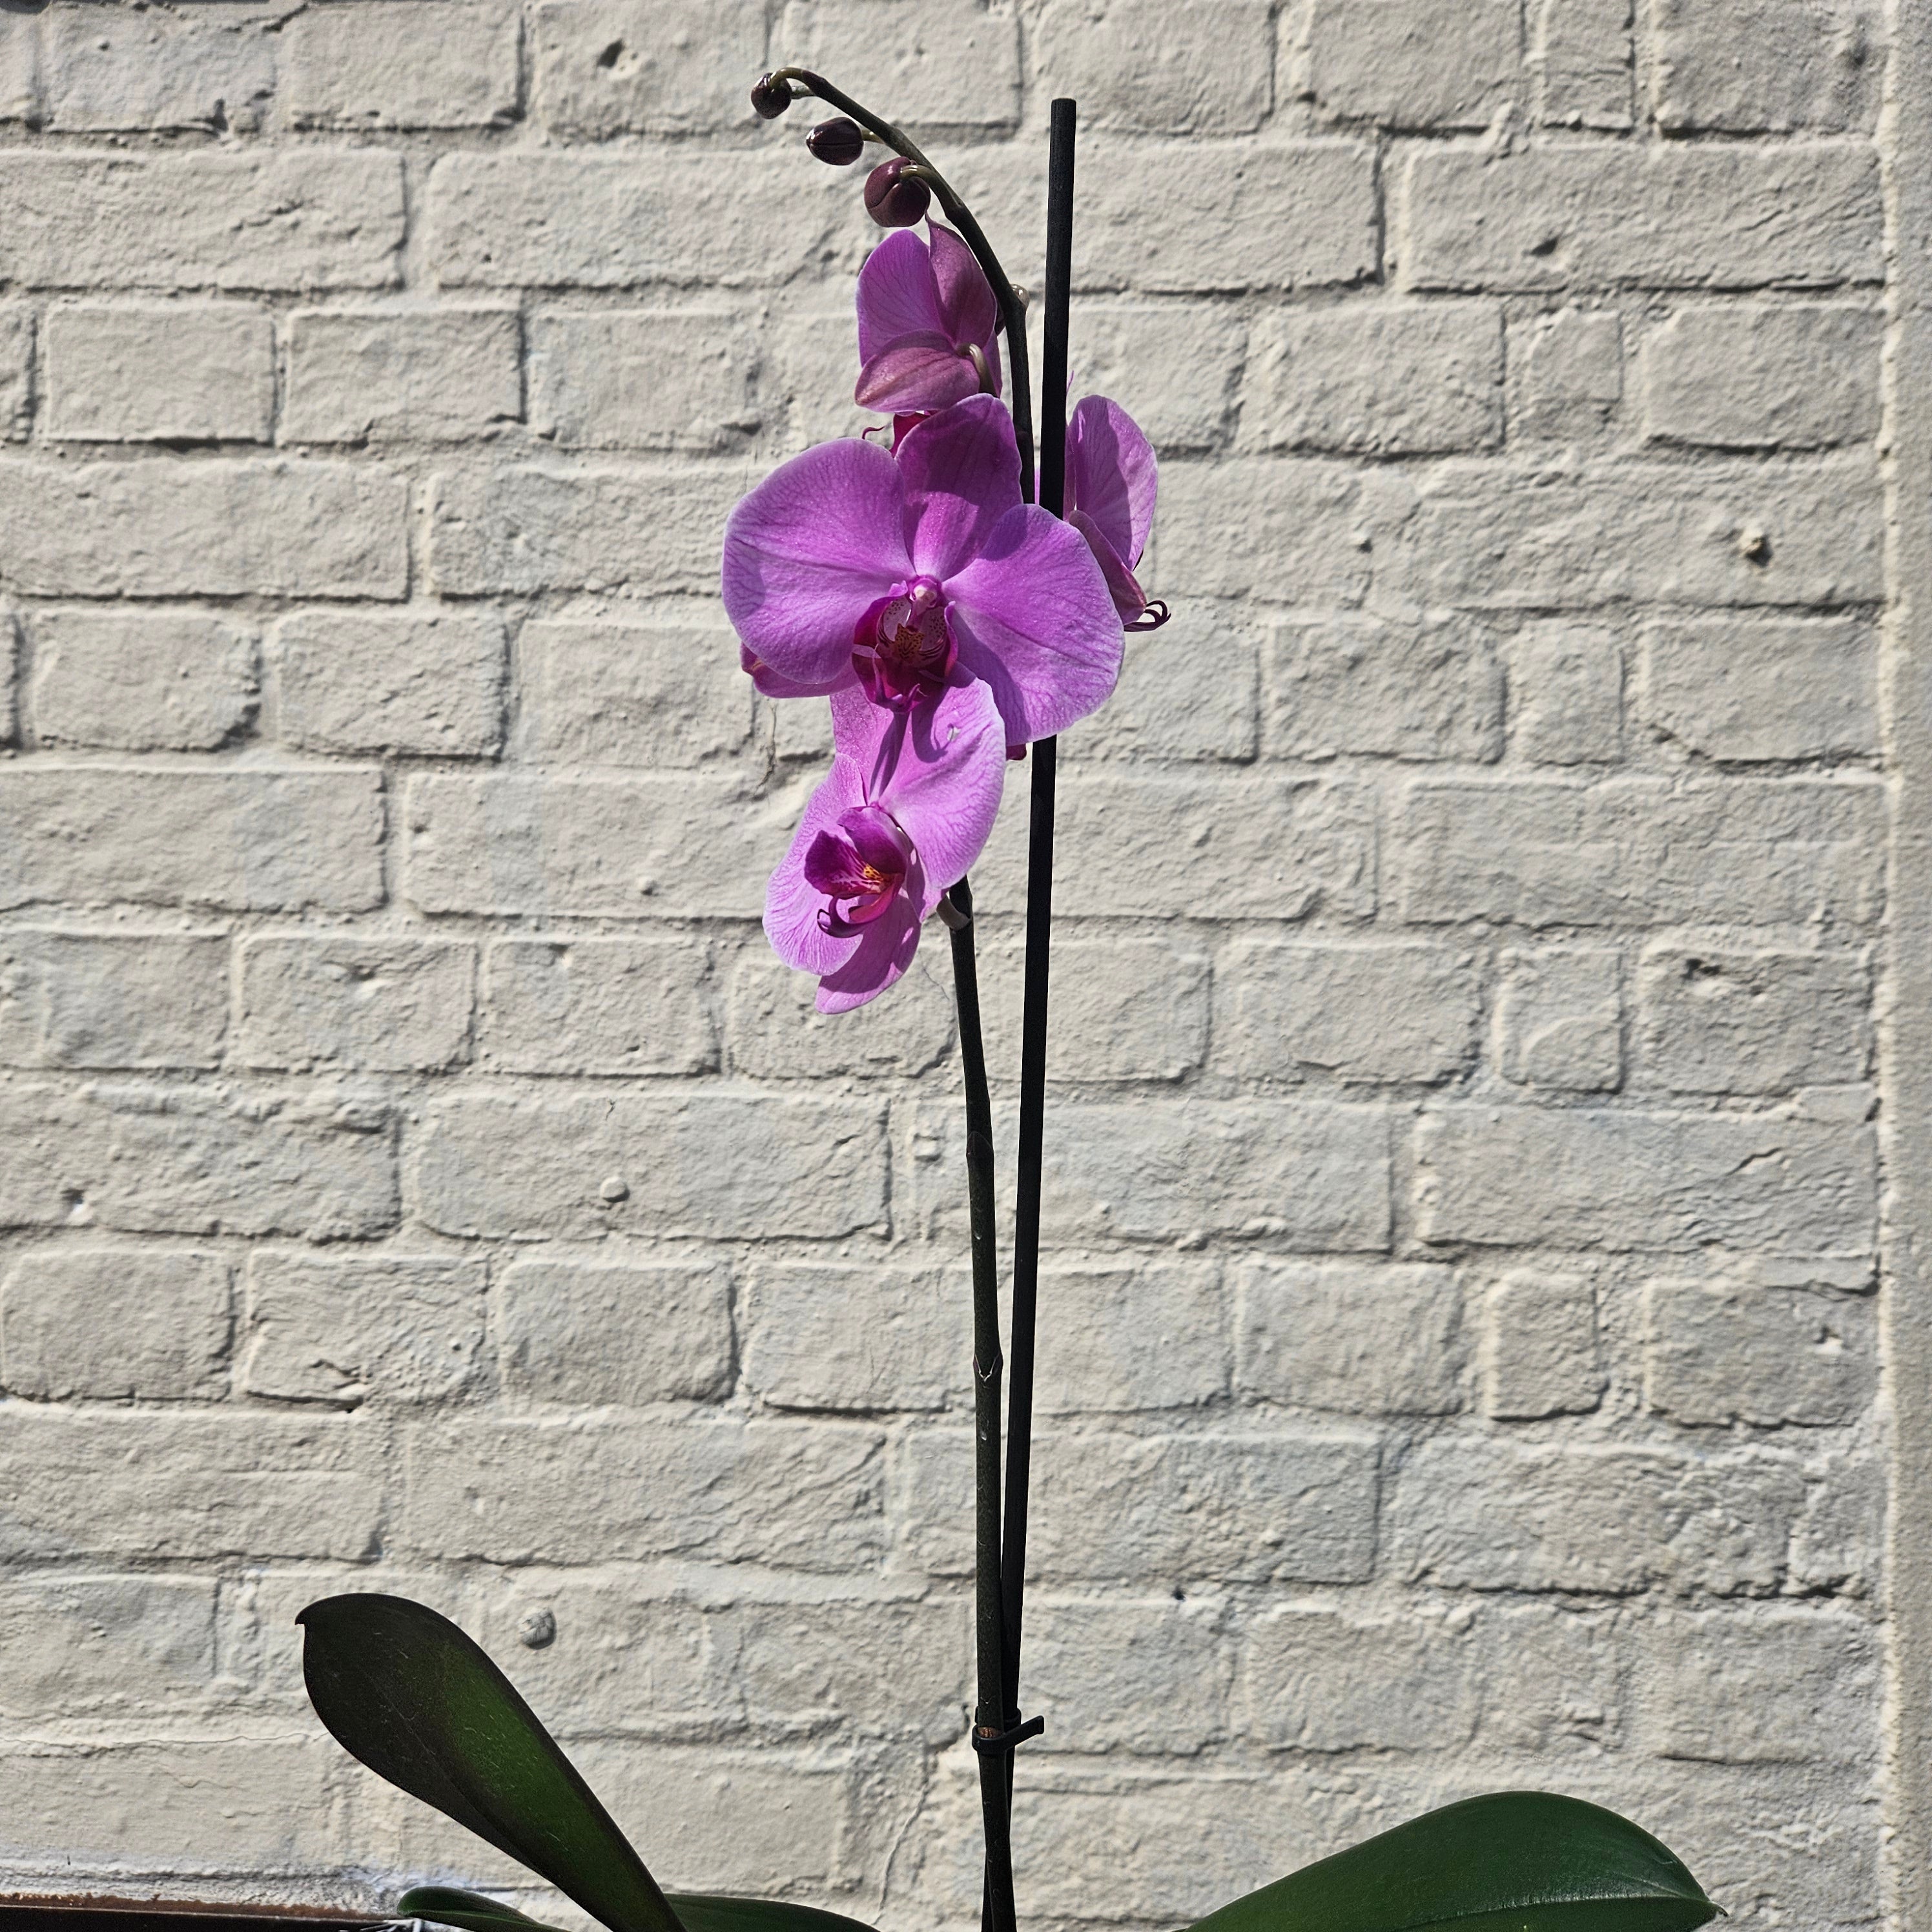
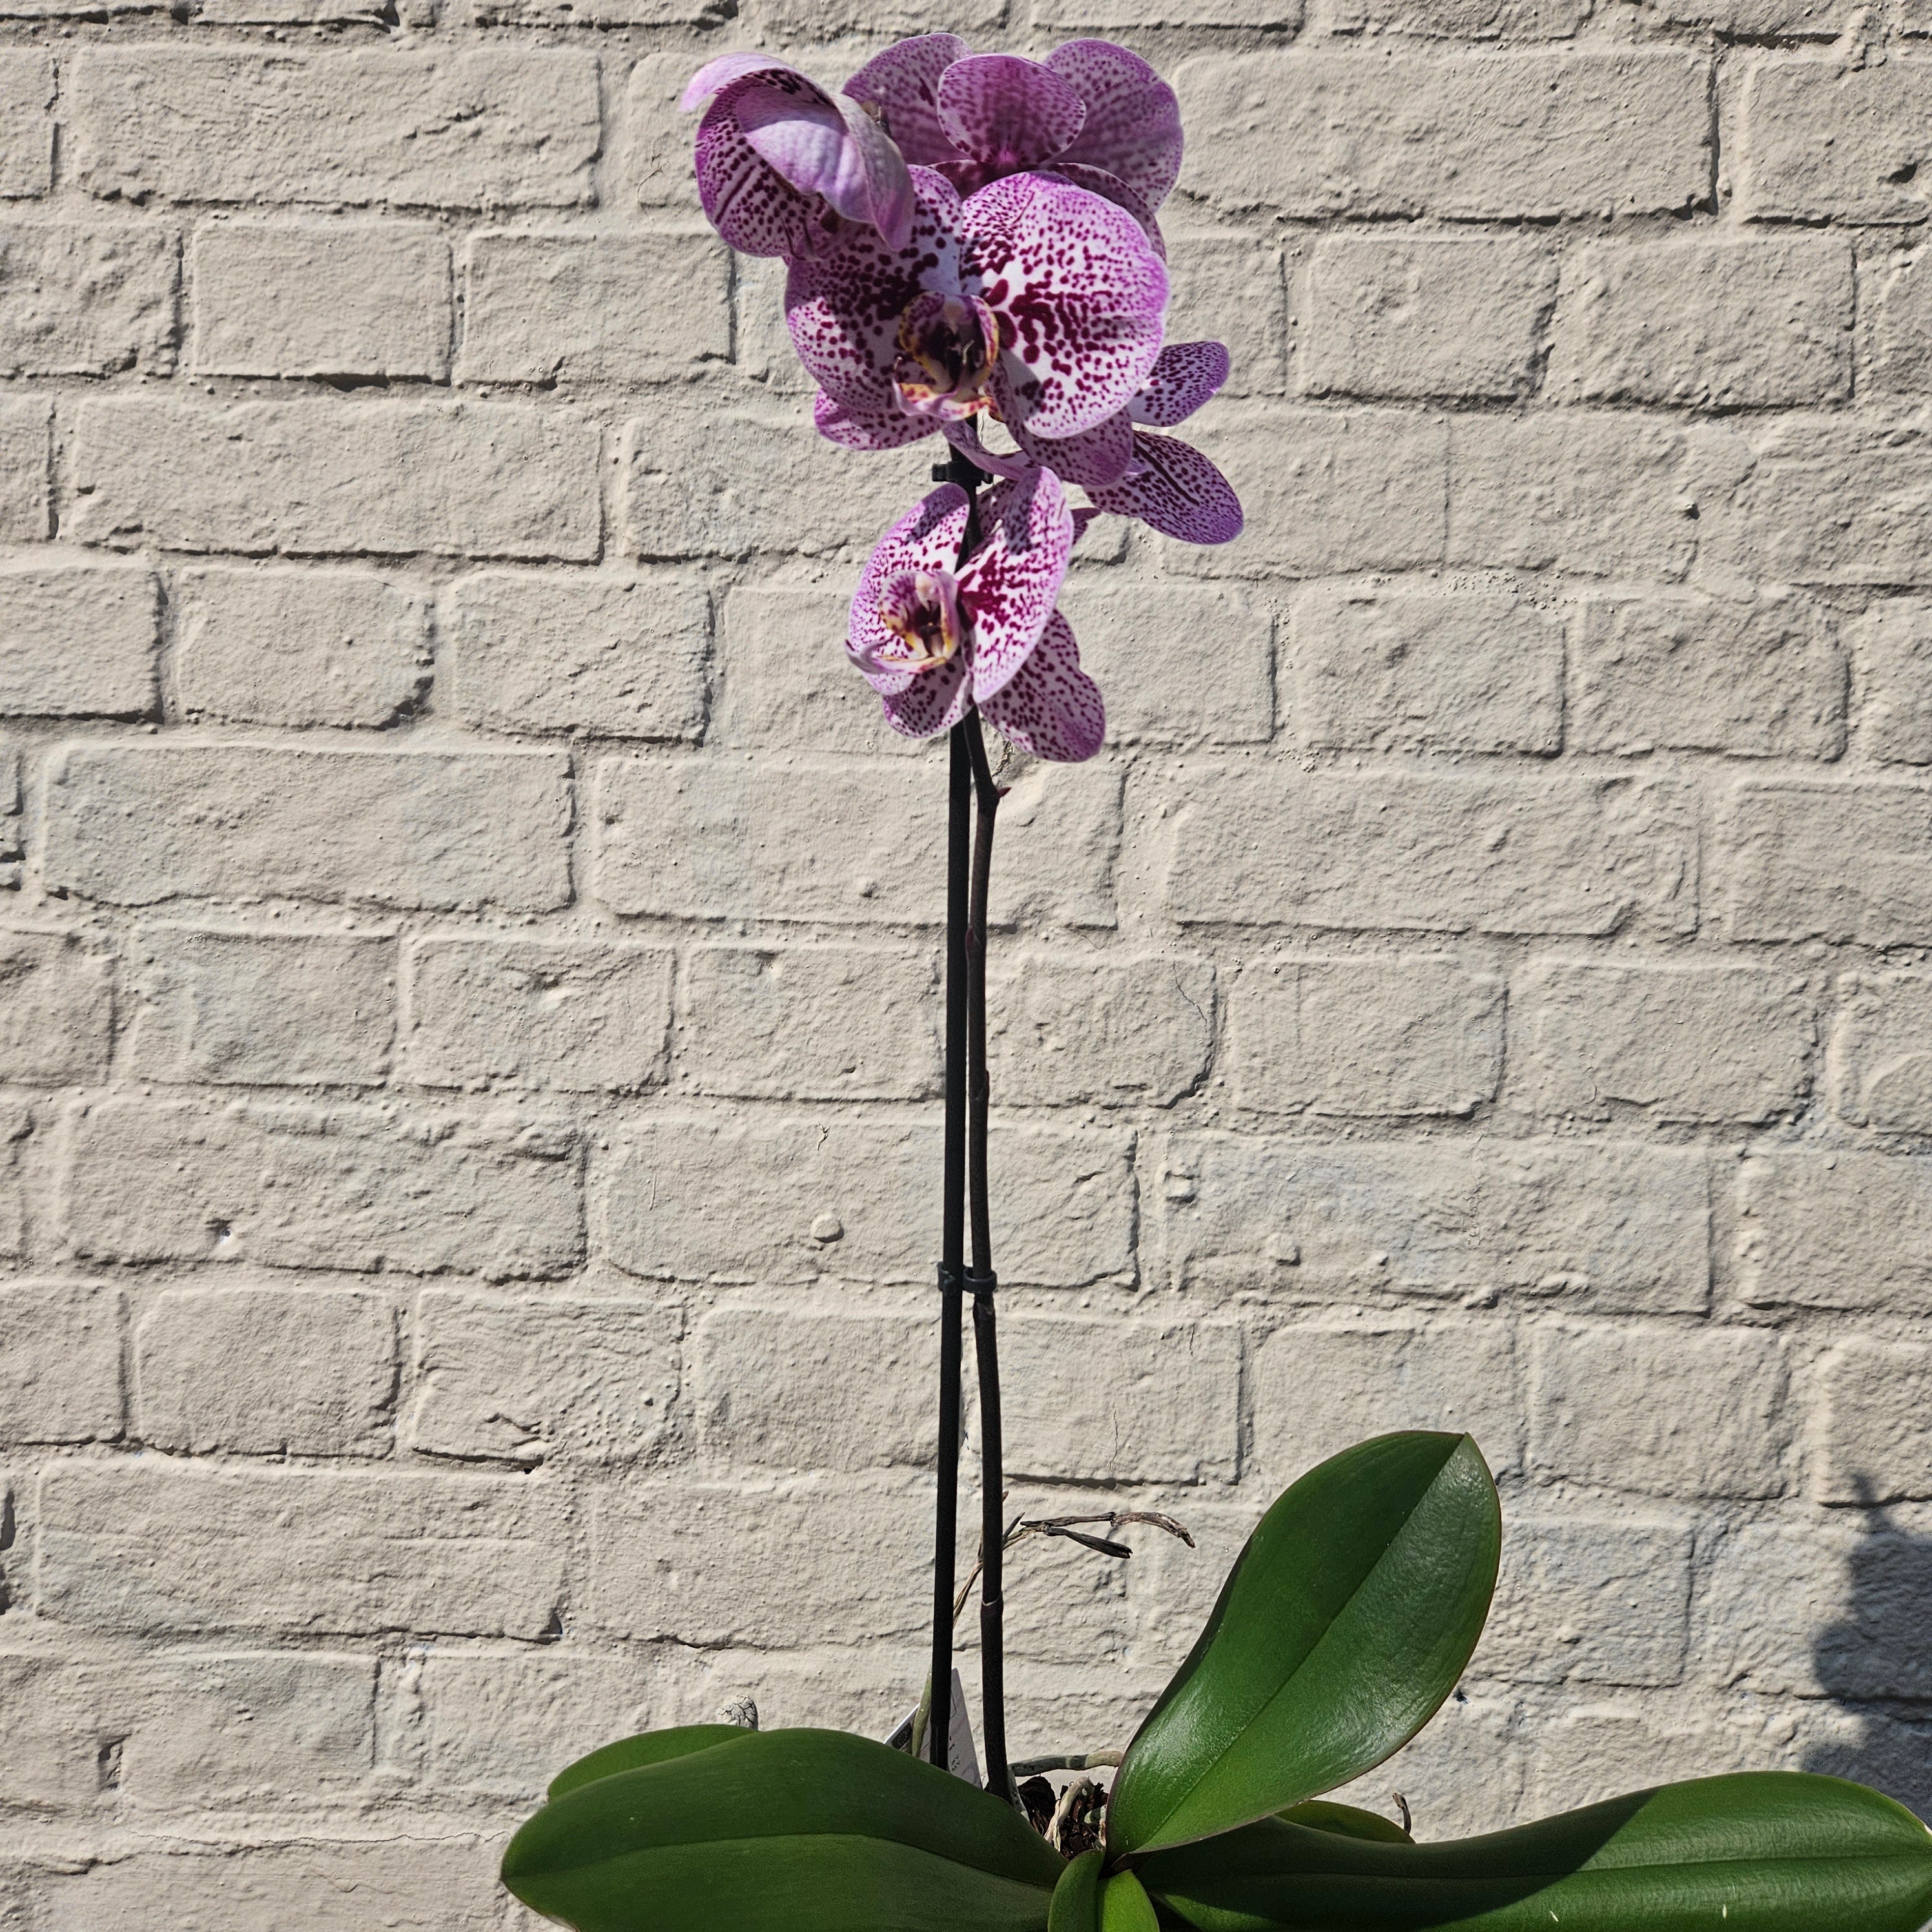
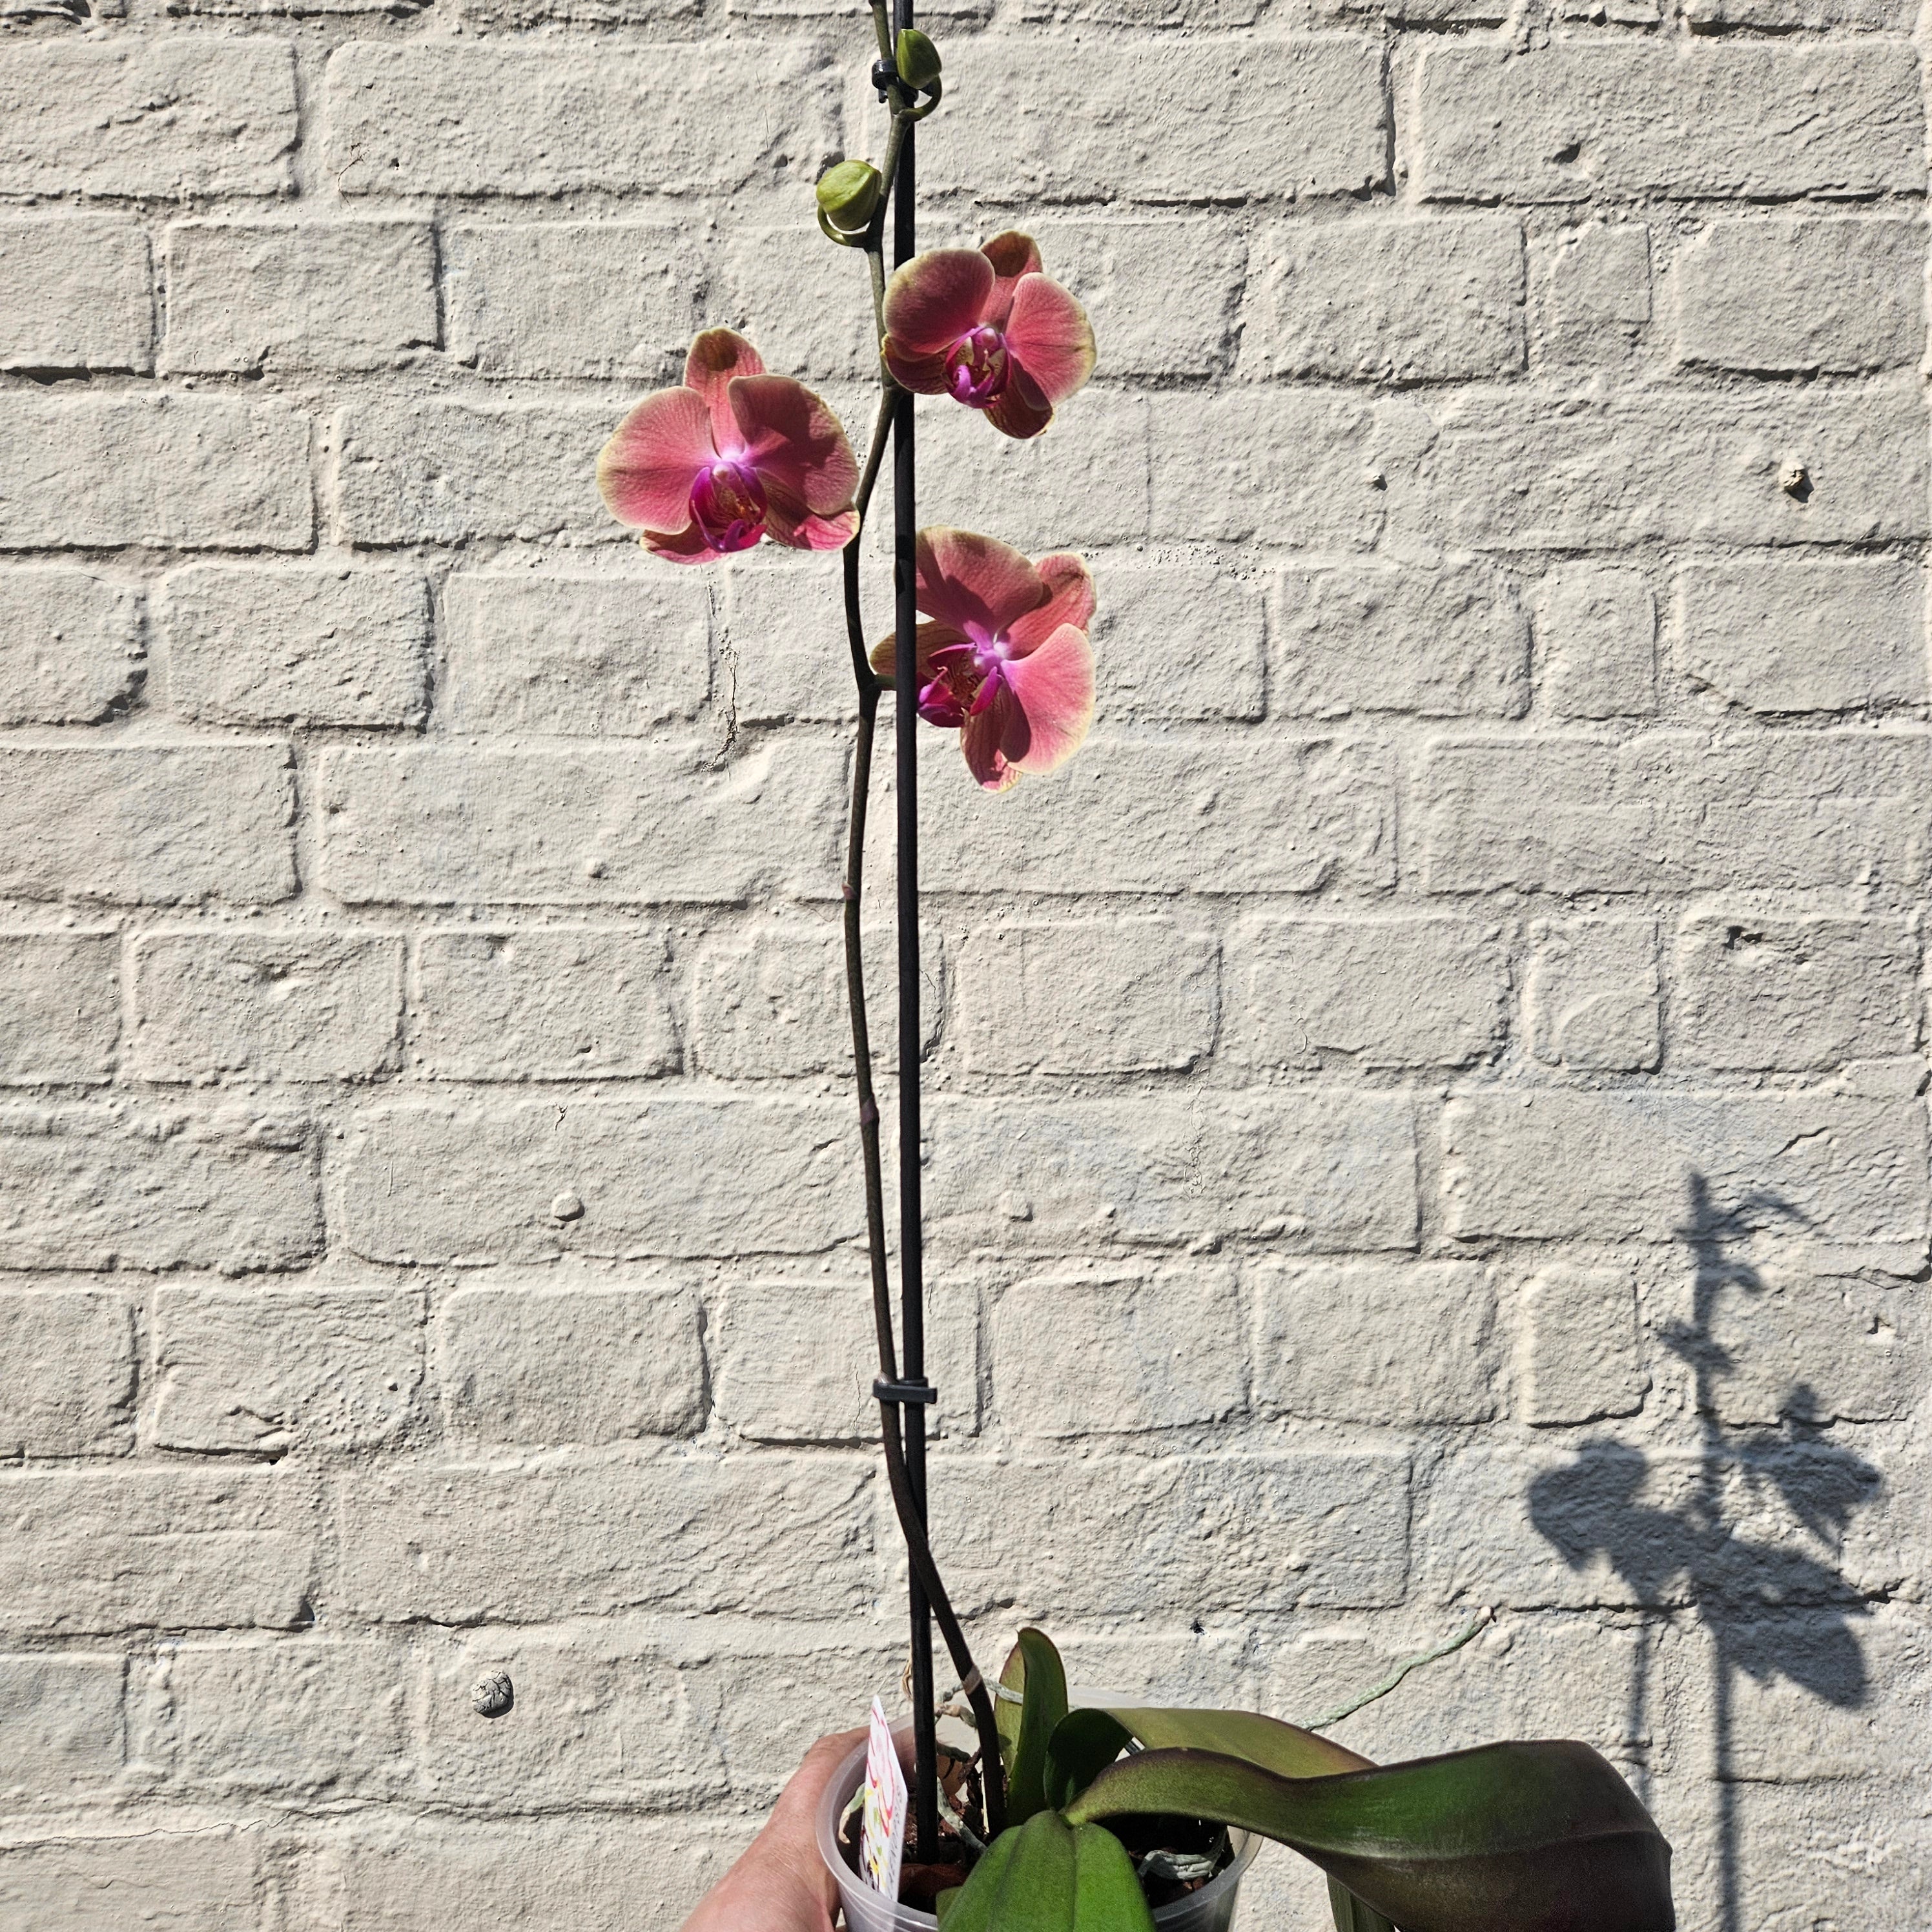
Phalaenopsis orchids grow from a single, central stem—this is called being monopodial. Their thick, leathery green leaves grow in a rosette formation from the base, and can reach up to a foot (30 cm) in length. From between these leaves, flower spikes (or inflorescences) emerge, which can grow up to 75 cm long. These spikes produce multiple blooms, and one of the orchid’s most admired traits is its ability to display long-lasting flowers for weeks—or even months—at a time.
How to Look After a Phalaenopsis Orchids
Light:
Phalaenopsis Orchids thrive in bright, indirect light, mimicking the dappled sunlight they would naturally receive beneath the forest canopy. Direct sunlight can easily scorch their tender leaves, so it’s important to avoid placing them in the path of harsh midday sun. An ideal spot is near an east- or west-facing window, where they can receive plenty of light without the risk of sunburn. A sheer curtain can help diffuse strong light from a south-facing window if that’s your only option.
Getting the lighting right is crucial—not just for healthy leaves, but also for encouraging those beautiful long-lasting blooms. If your orchid isn’t flowering, insufficient light is often the reason. Watch out for signs such as dark green leaves (which may look healthy but indicate low light) or the lack of flower spikes altogether.
Temperature and Humidity:
Phalaenopsis Orchids are tropical epiphytes, so they’re naturally suited to warm, humid conditions. They thrive in environments with humidity levels between 40% and 70%. If your home is on the dry side—especially during the winter months—you can increase humidity by placing the orchid on a shallow tray filled with water and pebbles (making sure the pot sits above the water line), misting lightly in the morning, or using a humidifier nearby.
Temperature plays a key role in the overall health and blooming cycle of your orchid. During the day, they prefer temperatures between 24 to 29°C, while at night they’re comfortable between 16 and 19°C. As the seasons change and autumn approaches, allowing slightly cooler night temperatures of around 13°C can help encourage the growth of new flower spikes. This drop mimics the natural temperature shift they would experience in the wild and signals the plant to prepare for blooming. Keep your Moth Orchid away from radiators, heaters, air conditioning units, or any area prone to sudden temperature fluctuations. These changes can stress the plant and often result in bud or flower drop.
Watering:
Because Phalaenopsis Orchids are epiphytes, they’re typically potted in a chunky, well-draining medium like bark rather than soil. This mimics the way they grow in nature, where their roots are exposed to air and dry out between rainfalls. It’s important to check the potting medium before watering. Simply insert your finger a couple of centimetres into the bark—if it feels dry, it’s time to water. If it still feels damp, wait a few more days and check again. One of the best indicators that your orchid is ready for water is the colour of the roots. Dry roots appear silvery white, while hydrated roots are a vibrant green. When you see that silvery colour, it’s a good sign your orchid is thirsty.
Always water thoroughly using lukewarm water, ideally rainwater if you have access to it. Let the water run through the pot until it drains out of the bottom—this ensures the entire root system is evenly moistened. Avoid letting the plant sit in standing water, as this can quickly lead to root rot. To prevent excess moisture from lingering in the crown or leaves, it’s best to water in the morning and avoid getting water on the foliage. You can also water from the bottom by submerging the pot up to three-quarters of the way in lukewarm water for about a minute. Then, remove it and let any excess water drain out. How often you’ll need to water depends on your home’s temperature, humidity, and the season, but as a general rule, once a week during the growing season is a good starting point.
Fertilising:
During the growing season, typically in spring and summer, Phalaenopsis Orchids benefit from regular feeding to support healthy growth and flowering. Use a water-soluble orchid fertiliser every two to four waterings, depending on the product and your plant’s needs. Always follow the instructions on your chosen fertiliser, as overfeeding can do more harm than good. Over time, fertiliser salts can build up in the potting medium, which may damage the roots. To prevent this, it’s a good idea to flush the pot with plain water every other week. Let water run freely through the pot and out of the drainage holes to help clear away any build up.
In autumn and winter, when the orchid's growth naturally slows, feeding is not necessary. Giving your plant a rest during this period helps it conserve energy and prepare for the next blooming cycle.
How to Re-pot a Phalaenopsis Orchids
Repotting is essential to keep your Moth Orchid healthy and thriving. These orchids typically need to be repotted every one to three years, or whenever the plant has outgrown its pot or the potting medium has started to break down. The best time to repot is after your orchid has finished blooming, as this reduces stress on the plant.
We recommend using a clear plastic pot with drainage holes, as this allows you to monitor root health and moisture levels. When repotting, you can size up slightly from the original container. You'll need either a specialist orchid mix or coarse bark—both allow for proper airflow around the roots.
-
To begin, gently remove your orchid from its current pot and shake off any old potting medium. Inspect the roots carefully and, using clean, sterile scissors, trim away any that are dead, mushy, or blackened. Healthy roots should be firm and green or silvery-white.
-
Add a small layer of fresh orchid mix to the bottom of your new pot. Place the orchid in so that the base of the leaves sits just above the rim of the pot. Carefully fill around the roots with the potting medium, gently tapping the pot to help it settle into the spaces—but don’t pack it down too tightly, as airflow is crucial.
-
Once potted, water your orchid thoroughly to help the new medium settle around the roots. Allow any excess water to drain away completely.
How to Propagate a Phalaenopsis Orchids
Propagating orchids is an exciting way to grow new plants. This can be done through division or by using keiki cuttings (small offsets that develop along the nodes of the flower stem). Follow the steps below for each method:
Division
Before dividing your orchid, make sure the plant has developed plantlets that are about a third the size of the mother plant and have already formed roots.
-
Gently pull the offset away from the mother plant, carefully supporting both the main plant and the offset as you separate the roots.
-
Pot the plantlet in your chosen potting medium, taking care not to damage the delicate roots.
-
Care for the new plant just as you would the original.
Keiki Cuttings
Keikis can appear naturally, especially if the orchid is under stress. You can also encourage their growth by applying keiki paste (a hormone treatment) to the nodes on the flower stem after it has finished blooming.
-
Be patient—wait for your keiki to develop roots that are at least 2–3 inches long before separating it.
-
Using clean scissors or snips, gently remove the keiki from the mother plant.
-
Pot it in your preferred orchid potting medium, and care for it as usual.
How to Prune a Phalaenopsis Orchids
Pruning your Phalaenopsis Orchids helps maintain its shape and encourages healthy growth. If you notice any brown or yellow leaves, remove them using clean, sterilized scissors to prevent the spread of disease.
When repotting, take the opportunity to inspect the roots. Trim away any dead, mushy, or blackened roots—healthy roots should be firm and green or silvery-white.
Spent flowers typically fall off on their own, so there's usually no need to remove them manually. However, once your orchid has finished blooming, you can cut back the flower spike to just above a visible node (a small bump on the stem). This may encourage the plant to produce a new flower spike from that node.
How Often Should I Water a Phalaenopsis Orchids
Watering frequency depends on several factors, including humidity, temperature, and location. Orchids placed in shadier spots typically require less frequent watering than those in brighter areas.
As a general rule, watering once a week is a good starting point—but always check the potting medium first. If it still feels damp, wait a few more days before watering again. Overwatering is one of the most common mistakes with orchids, so when in doubt, it’s better to be underwater than overwater.
Why Are My Phalaenopsis Orchids Leaves Going Yellow/Wrinkled?
Yellowing leaves can be caused by several factors. It may be due to overwatering or underwatering, too much or too little light, or using the wrong type of fertilizer. To help your orchid recover, start by adjusting your watering routine—make sure the potting medium has a chance to dry slightly between waterings. Move your plant to a spot where it receives bright, indirect light, as direct sunlight can cause leaf burn. Also, be sure you're using a fertilizer specifically designed for orchids, as general-purpose feeds may not provide the right balance of nutrients. While an occasional yellow leaf is normal, especially on older foliage, widespread yellowing suggests that something in the care routine needs adjusting.
Wrinkled leaves are often a sign of underwatering—the plant is dehydrated, and the leaves begin to lose their firmness. Make sure you're watering when the potting medium feels dry to the touch. It should be moist but not soggy. It's also important to check the roots. Healthy roots are essential for transporting water to the rest of the plant, keeping the leaves plump and vibrant. If you notice black, mushy, or hollow roots, your orchid may be suffering from root rot, which can also lead to wrinkled leaves. In that case, remove the damaged roots and repot in fresh orchid medium.
Why is my Phalaenopsis Orchids not Flowering?
In their natural habitat, Phalaenopsis orchids typically bloom once a year. However, when grown indoors under the right conditions, they can flower every six months. If your orchid isn’t blooming, several factors could be at play:
Light: Insufficient light is one of the most common reasons orchids fail to bloom. Phalaenopsis orchids need bright, indirect light. If your plant is in a dim spot, move it to a brighter location out of direct sunlight. Alternatively, you can position a grow light around 20 inches above the plant to supplement natural light.
Watering: Both overwatering and underwatering can inhibit flowering. Overwatering can lead to root rot, preventing the plant from absorbing nutrients, while underwatering can dehydrate the plant to the point where it can’t support flower production. Water only when the top inch of the potting medium feels dry, and always use a well-draining orchid mix.
Nutrients: A lack of nutrients may also prevent blooming. If your orchid’s leaves appear dull and lack their usual shine, it may be underfed. Use a balanced orchid fertilizer regularly to support healthy growth and flower development.
Temperature: Phalaenopsis orchids are sensitive to temperature changes. To encourage blooming, they need a drop in nighttime temperature. Maintain daytime temperatures between 24–29°C and nighttime temperatures between 16–19°C. Avoid placing your orchid near drafts, radiators, or areas with sudden temperature fluctuations.
Potting Medium: Over time, the potting medium can break down, affecting the roots’ ability to absorb water and nutrients. To keep your orchid healthy and encourage blooming, repot every one to three years, using fresh orchid mix.
Why are my Phalaenopsis Orchids flowers dropping or short lived?
Flower loss during bloom can happen for several reasons, including over- or underwatering, inadequate lighting, sudden temperature changes, or relocating the plant. Be sure to follow the care tips outlined above to help your blooms last as long as possible.
Moth orchid blooms are known for their longevity, so if the flowers fade quickly, it may indicate a problem—often low humidity. Orchids thrive in a humid environment, and dry air can shorten bloom life. You can increase humidity by placing the orchid on a shallow tray filled with water and pebbles (ensuring the pot sits above the water level), misting the air lightly in the morning (never the flowers), or using a humidifier nearby.
Are Phalaenopsis Orchids Poisonous to Cats and Dogs?
No, Moth Orchids are considered non-toxic to cats and dogs. But best to keep them out of reach of pets so they don't get damaged!
With these expert tips, you're well-equipped to care for your Phalaenopsis and enjoy its unique beauty in your home. Happy Moth Orchid growing!